
Smaller Version of this Dollhouse
Want to build an American Girl Dollhouse, but in a smaller version? We have created a new plan that is very similar, but only two stories. I found my daughter couldn’t reach that third story, so the shorter version worked better for us.

Does your child love American Girl or 18″ dolls?
American Girl dollhouses are outrageously expensive. Have you considered a DIY dollhouse?
American Girl Dollhouse Features
- Easy to build with about $150 in materials
- All plywood construction – so will last much longer than an MDF or particle board dollhouse
- Fun to customize and decorate
- Can add casters so easy to move
- Plans are easy to modify – so you can make it a two story dollhouse or change up the size
- Lots of reader submitted photos and success stories
How to Build the Dollhouse
Here’s how we built our DIY dollhouse –
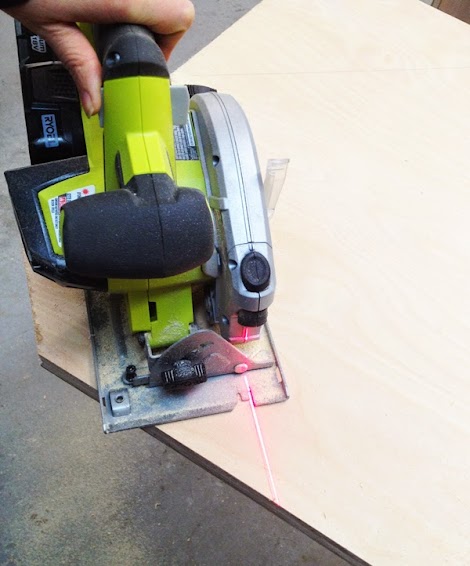
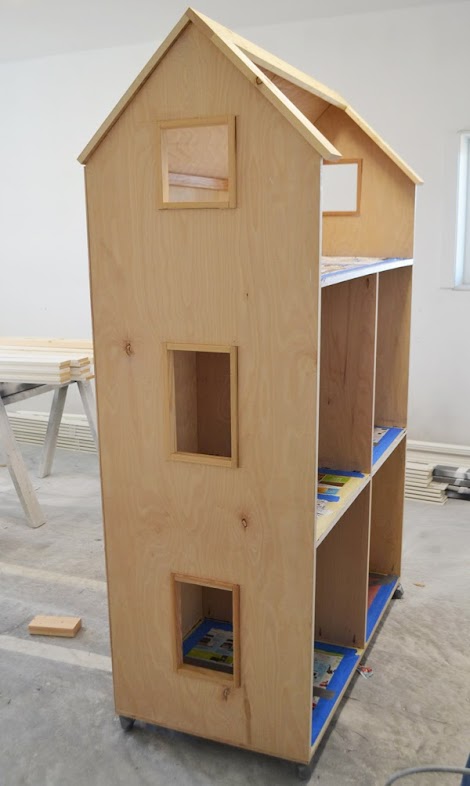
Rip Plywood for Sides and Shelves
We cut the plywood into strips 23-3/4″ wide by 8 feet long. You’ll get four strips from the two sheets of plywood. Have your home improvement store do this for you if you don’t have a table saw or a truck, just make sure the strips are exactly the same width.
Then cut the tops into the house shape for the two sides.
Cut Doors and Windows Out
Then to cut the doors and windows out,
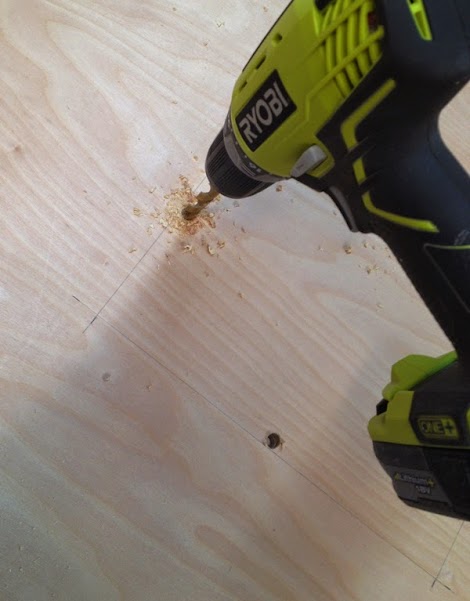
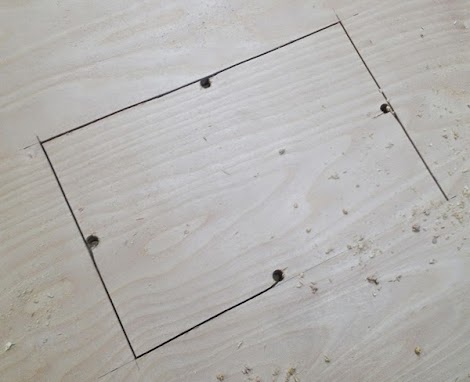
I drew the windows and doors out on each of the panels, and then drilled holes on each side, inside the lines,
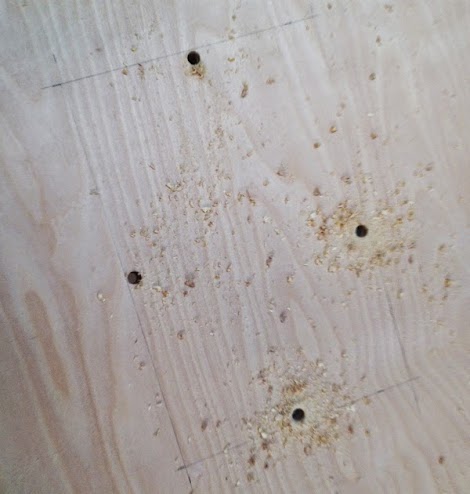
Then it’s just a matter of connecting the dots,
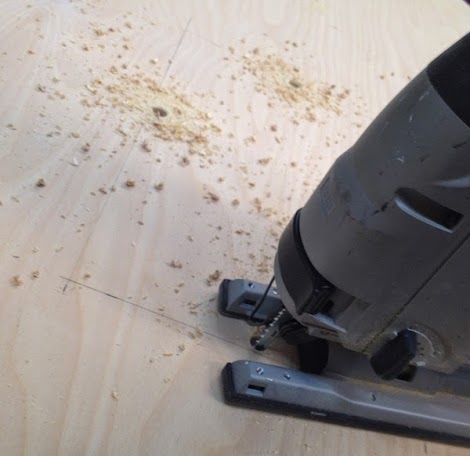
With a jigsaw.
Cutting out the windows and doors was probably the most time consuming part of this whole project.
Assemble the Dollhouse
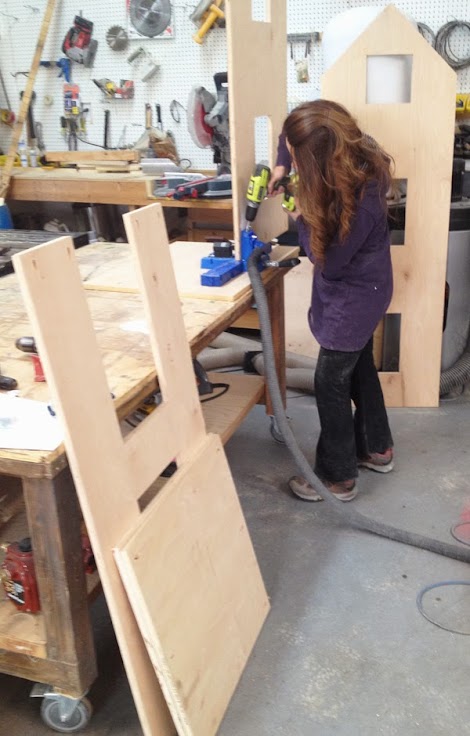
I used a Kreg Jig to assemble the pieces. There’s not alot of joints, but because the pieces are so huge, it was a little cumbersome – but nothing I couldn’t manage on my own. You don’t have to use a Kreg Jig – you can also use 2″ self tapping wood screws.
Window and Door Trim
The window and door trim makes a huge difference on the dollhouse. Here’s how I built it –
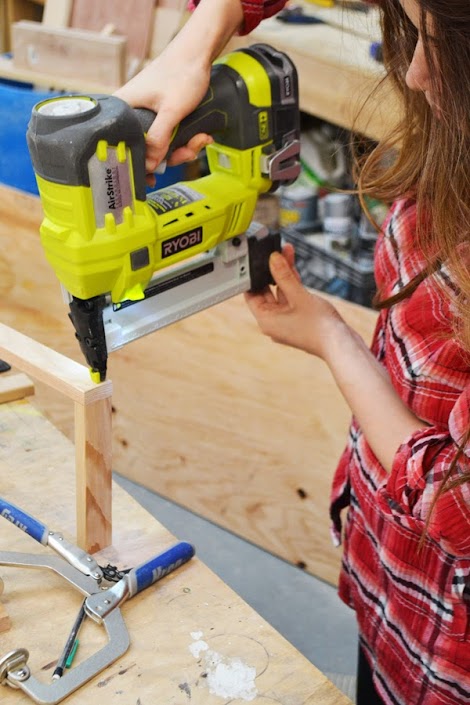
I nailed together 1×2 “boxes” first with 1-1/4″ brad nails and glue.

Then I just placed the trim in the openings and nailed to the plywood edges.
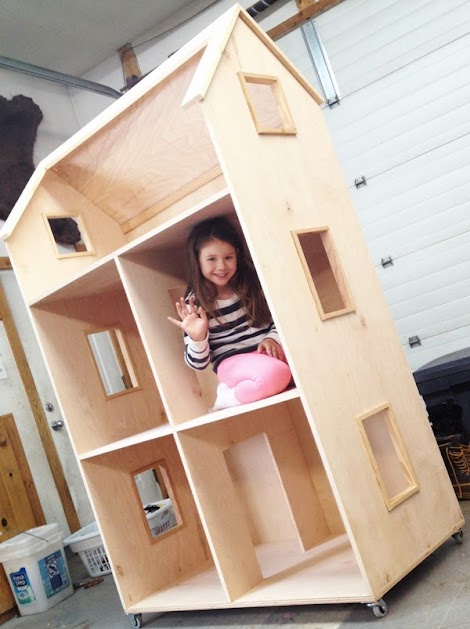
Our happy client made a few requests that aren’t in this plan – we did not add the bottom trim and used caster wheels instead. And instead of the two rooms upstairs, we made one full room upstairs (but had to add a 1×2 at the top to support the 1/4″ plywood on the back.
How We Finished the Dollhouse
I also added veneer edge banding to all exposed plywood edges to finish them off.
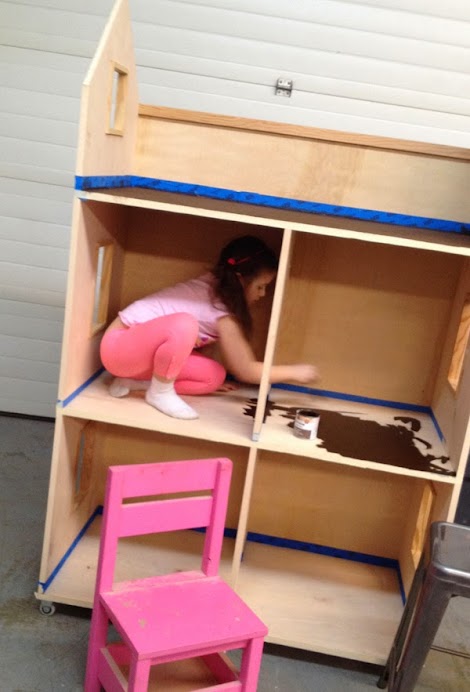
For the floors inside the dollhouse, we wanted to keep the wood, so we used Rustoleum Wood Stain in Dark Walnut.
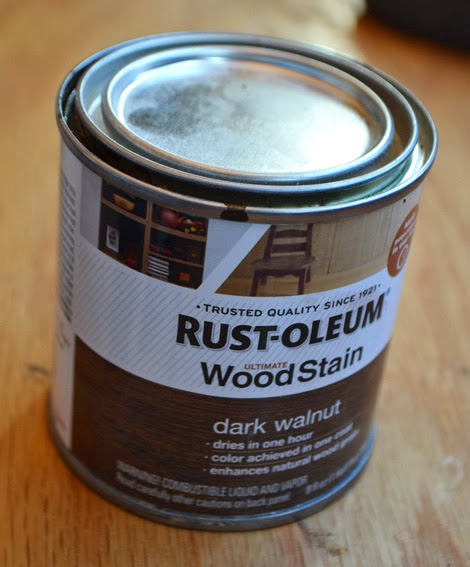
It’s a one step – just apply and wipe off. Easy enough for my seven year old to help out!
We also applied RustOleum polyurethane over the stain to protect the floors (just like a real wood floor!!!).
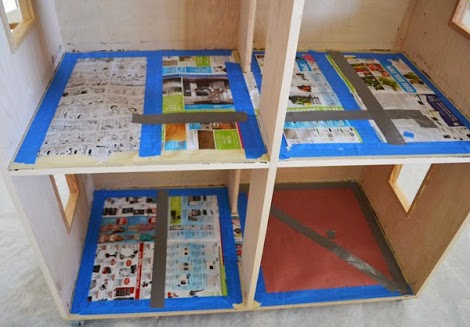
Then we taped over the floors with painter’s tape (until we ran out and had to use duct tape) and newspaper,
A quick sanding, and she’s ready for primer!
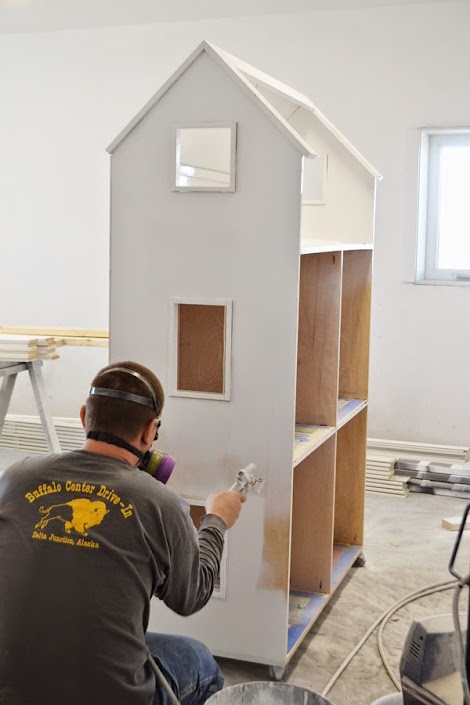
Jacob sprayed the dollhouse with primer,
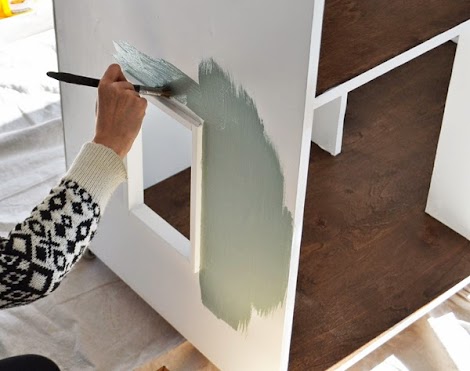
And then I painted carefully the blue exterior paint on the outsides.
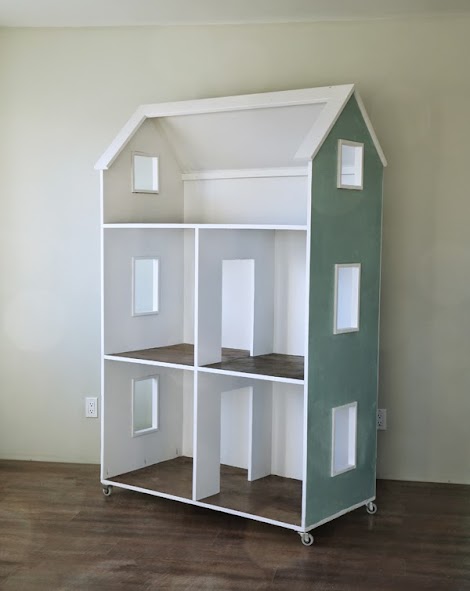
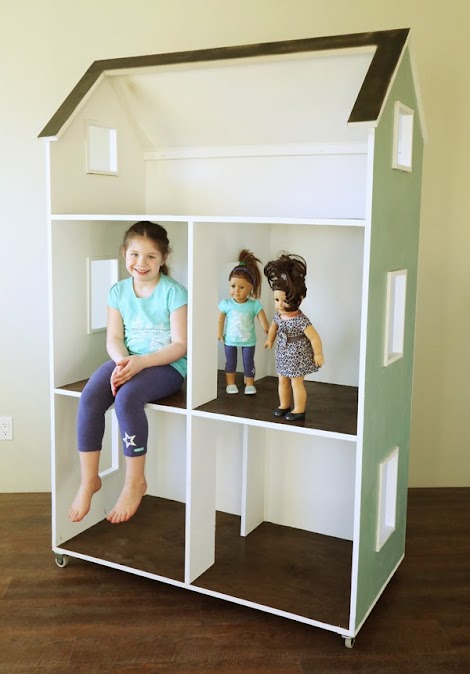
We LOVED how it turned out!!!!
But we wanted the roof to stand out a little more,
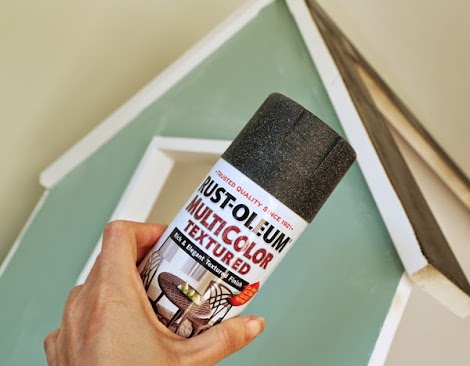
So I picked up some RustOleum textured spray paint and sprayed the roof. It loos like roofing!!!
Related: American Girl Dollhouse for Small Spaces
This dollhouse plan is VERY big. If you need a smaller dollhouse, we have one other plan that would fit in almost any space.
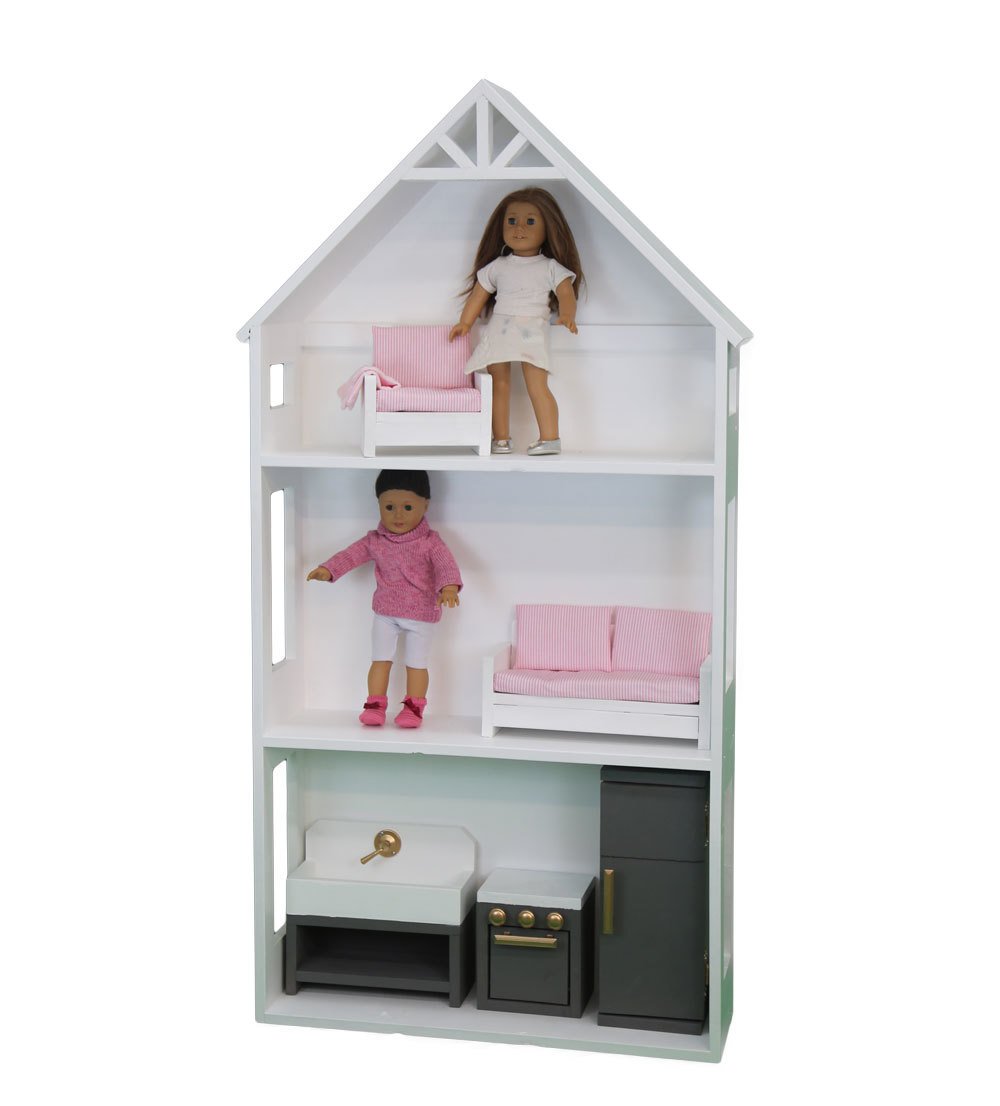
The rooms are not full depth, but I found my daughter preferred to play on the floor with her dolls, and just used the dollhouse to store and display her American Girls and their accessories.
You can find the free plans for the smaller American Girl Dollhouse here.
American Girl Dollhouse Plans
The plans for this dollhouse follow. You can easily customize to different size and of course, paint or stain any way you imagine.