

Before delving into the intricacies of furniture photography, I believe it is crucial to emphasize the value of simplicity, particularly in the early stages. By adopting a simple approach, you can concentrate on conveying a compelling narrative through your photographs. With simplicity as your foundation, you can gradually incorporate complexity into your technique, thereby accentuating the unique aspects of your work.
Equipment
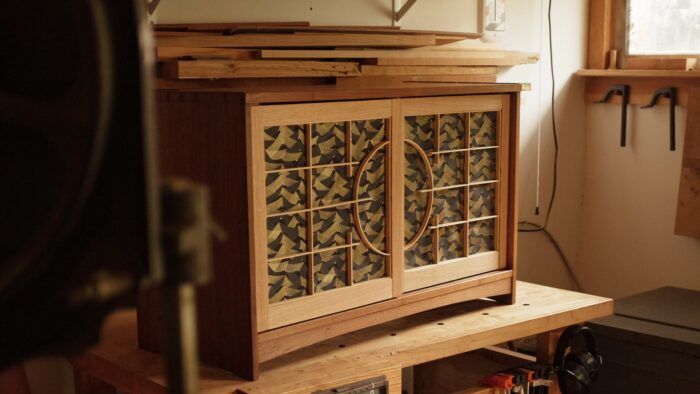
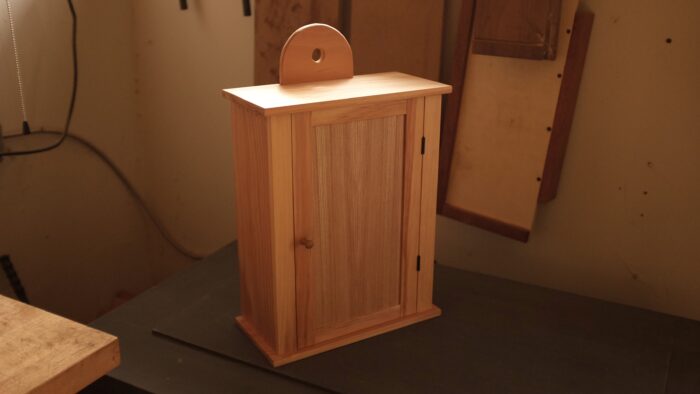
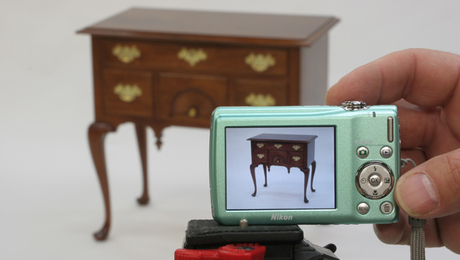
While it may be tempting to accumulate a range of photography equipment, such as cameras, lenses, and lighting gear, I’ve discovered that the most significant progress is often achieved by starting with just one camera and one lens. Let’s begin with the camera itself. While smartphones offer capable cameras, I prefer a dedicated camera that provides me creative control over the aperture, allowing me to manage the depth of field and to control exposure. Depth of field plays an important role in determining what appears sharply in focus and what is blurred. For instance, with a wider aperture like f/2.8, the depth of field narrows, resulting in a selective focus where only specific elements appear sharp. Conversely, a smaller aperture like f/22 widens the depth of field, bringing more elements into focus. In my cluttered workshop, I often opt for a wide aperture and a narrow depth of field to accentuate the details in my work. However, when I aim to capture a broader narrative or include more elements, I choose a narrower aperture to ensure greater detail is captured.
|
|
|

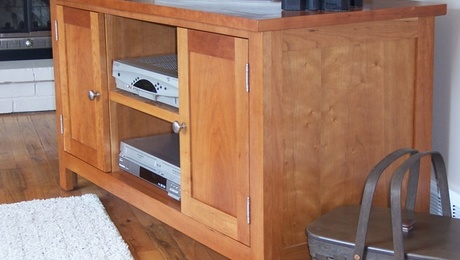
Moving on to the lens choice, while a zoom lens is an option, I prefer a fixed lens. Fixed lenses often offer wider apertures at a lower cost and encourage me to explore creative compositional choices. This is where your preference or specific needs regarding lens choice and composition intersect. In my small workshop, where space is limited, I have opted for a wider lens to capture entire furniture pieces in the frame. However, if you have the luxury of a larger workshop or studio space, you may find that a longer focal length works well. Longer focal lengths provide a more compressed image, simplifying composition by isolating the furniture from the surrounding areas.
Lighting
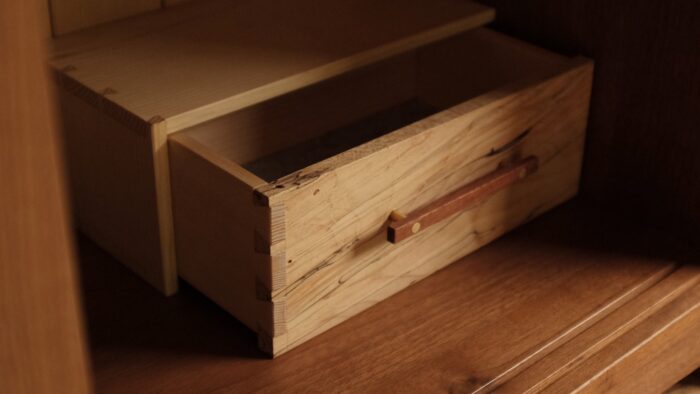
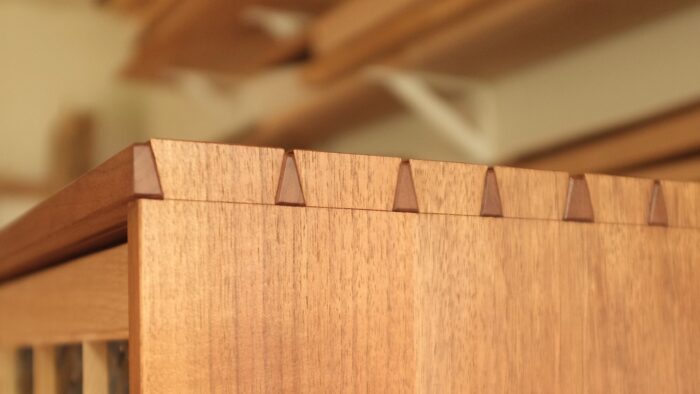
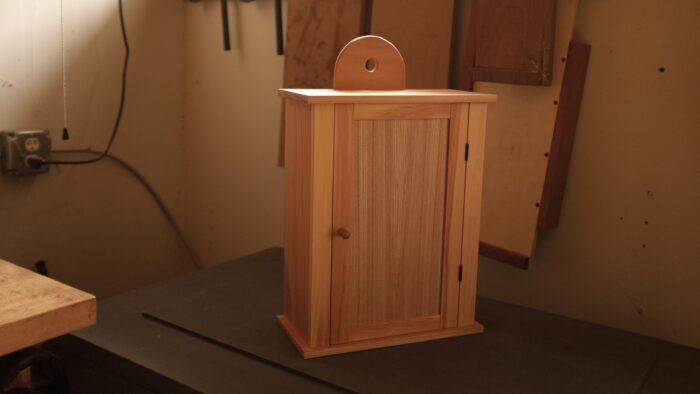
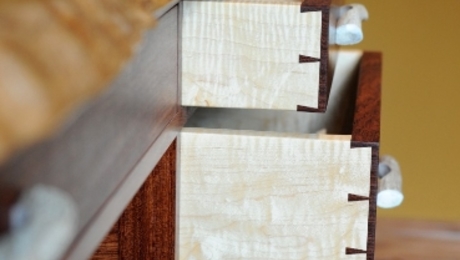
While artificial lighting certainly has its benefits, I’ve found that understanding the characteristics of natural light provides a good foundation for good photography. Here again, I prefer to keep it simple and consistent. As the portrait photographers of the past knew, a north-facing window (south-facing if you’re in the Southern Hemisphere) provides consistent, repeatable results regardless of most weather conditions. With furniture illuminated from one side (raking light), you can unveil textures and layers within your work, such as proud dovetails, open grain, or smooth finishes. This works by casting shadows within a piece and emphasizing texture. By simply moving the piece or the perspective from which you photograph, you can opt for frontal lighting. Frontal lighting will provide even lighting, reducing shadows and creating a softer feeling to your furniture. This was the go-to lighting of the first portrait photographers.
Composition
While it’s always good to experiment, keeping composition simple is always a smart choice at first. Start with the rule of thirds: Divide the frame into thirds, and place your furniture or major elements of your furniture within these intersections. Keep it simple. Remove distracting elements from the frame, either through the composition itself or by changing your aperture to emphasize certain aspects of your furniture. In a small shop like mine, using a large aperture (shallow depth of field) is paramount to removing distracting elements from the frame or de-emphasizing them.
Summary
In summary, simplicity reigns supreme. Master the basics, then venture into experimentation, new equipment, diverse lighting, and creative composition to accentuate the unique aspects
Sign up for eletters today and get the latest techniques and how-to from Fine Woodworking, plus special offers.