How to make poached eggs can feel overwhelming, but it doesn’t have to. Few breakfast preparations boast the elegance and versatility of a perfect poached egg.
Ditch the fancy gadgets! Poached eggs are surprisingly easy to make at home, even without a poacher. Simply simmer water, gently crack in your eggs, and watch the whites hug the yolks. This healthy protein powerhouse is bursting with flavor and versatility. Enjoy them on toast, salads, or as the star of your brunch spread. Poached eggs: easy, delicious, and perfect for any healthy eater!
Once you master the art of poaching eggs you can make various delicious egg poacher recipes for breakfast or brunch.
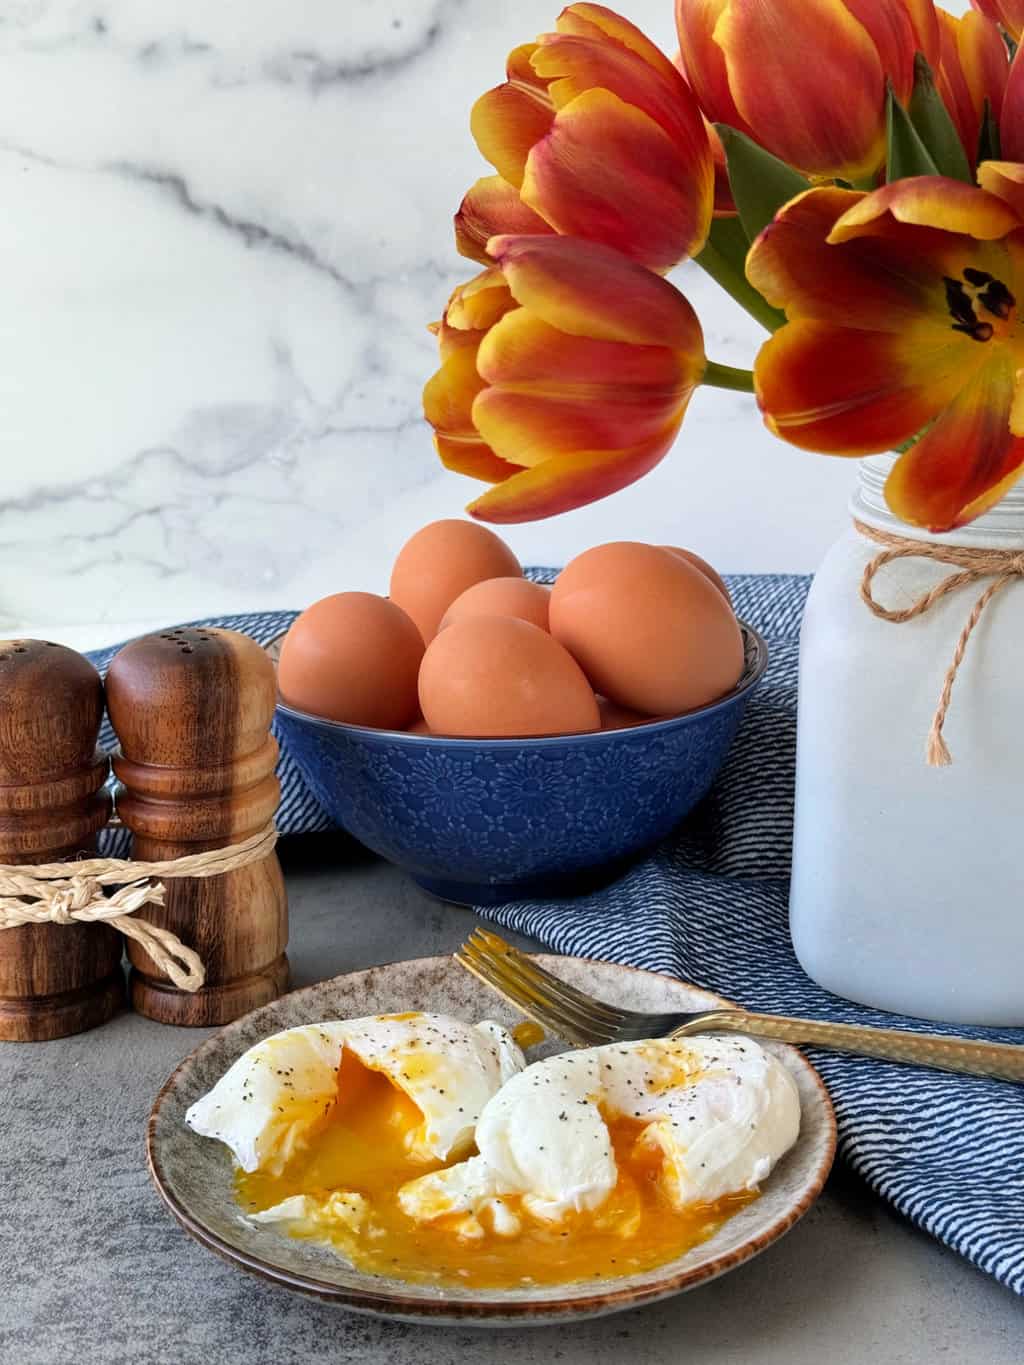
The success of a perfectly poached egg hinges on precise temperature control and the right cooking time. The simmering water acts as a controlled environment, allowing the egg whites to gently set into perfectly firm whites while the egg yolk maintains its desired level of creamy fluidity.
A brief swirl can guide the whites into a delicate envelope around the yolk. At the same time, precise timing determines the doneness of the center – a runner yolk or a harder yolk consistency, depending on preference. This delicate process between temperature and time transforms the humble egg into a culinary masterpiece.
How to Make Poached Eggs without a Poacher
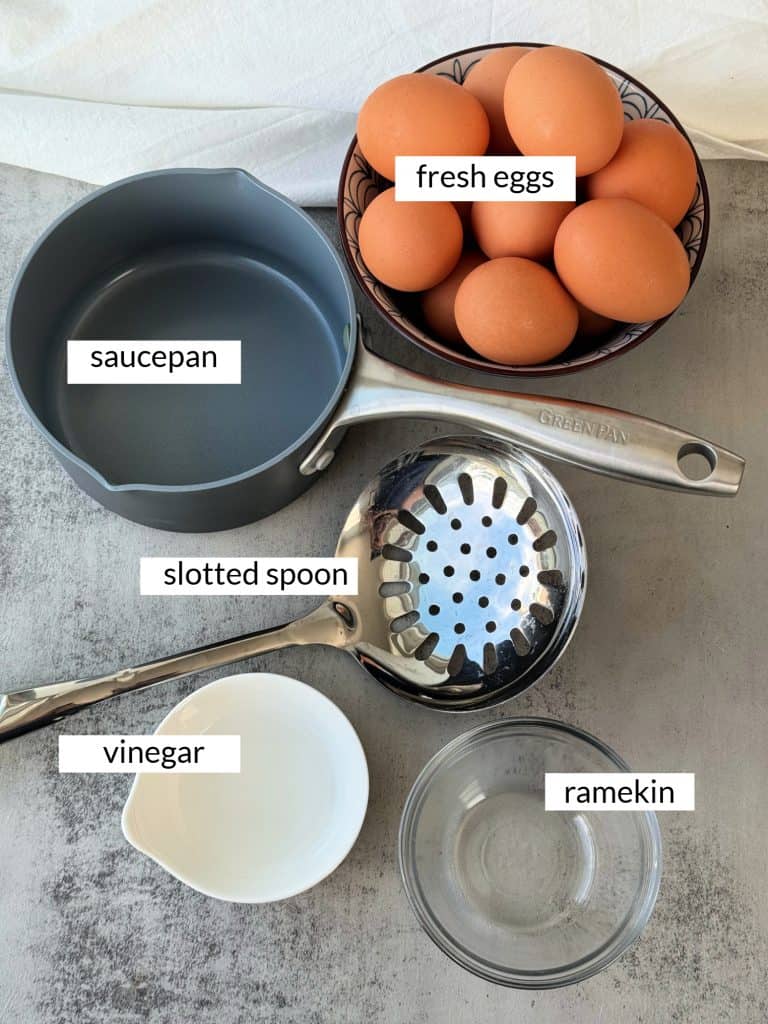
There are plenty of egg poaching techniques that require poachers and cups. This method for how to poach eggs requires no poachers or special equipment. You will only need a few basic kitchen items and fresh eggs. These are the ingredients and equipment that you need:
- Eggs – very fresh eggs work best)
- White vinegar
- Salt and pepper to taste
- Small saucepan
- Ramekins or small bowls (one for each egg)
- Slotted spoon
- Paper towel
Disclosure: This post contains affiliate links for your convenience. Click here for my full disclosure policy
Make sure to use the freshest cold eggs that you have. Older eggs tend not to make the best-poached eggs. Check out my egg poaching essentials for everything you need to make the best-poached eggs with or without a poacher.
How to Poach Eggs
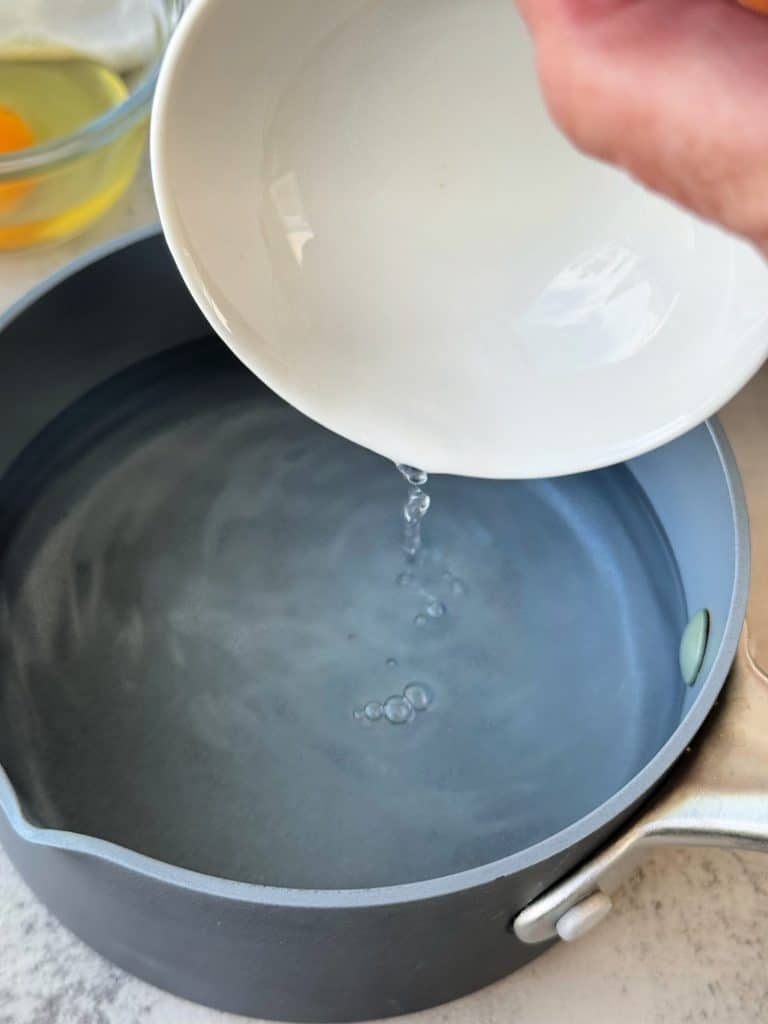
First, fill a shallow saucepan with 2-3 inches of water and add a little vinegar to the water. One to two tablespoons of vinegar is plenty, and don’t worry you won’t taste the vinegar. This is said to help the egg whites firm up and hold their shape.
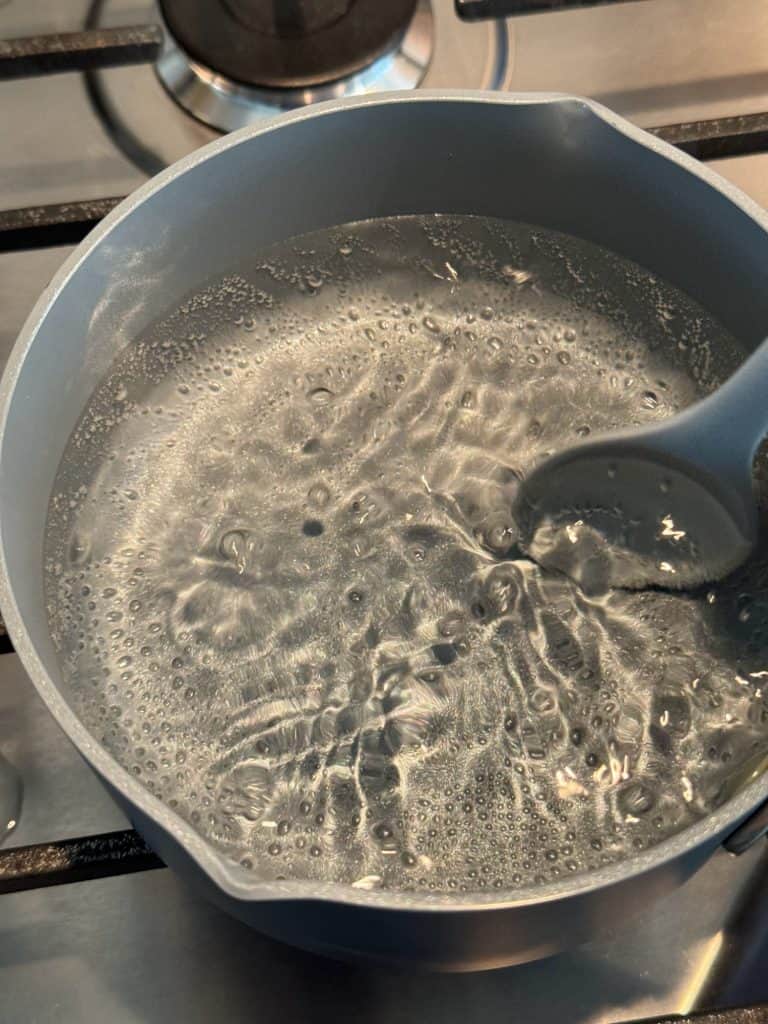
Bring the water to a simmer. You want to see small bubbles gently rising from the bottom of the pot. You do not want a rolling boil. If the water boils, lower the heat.
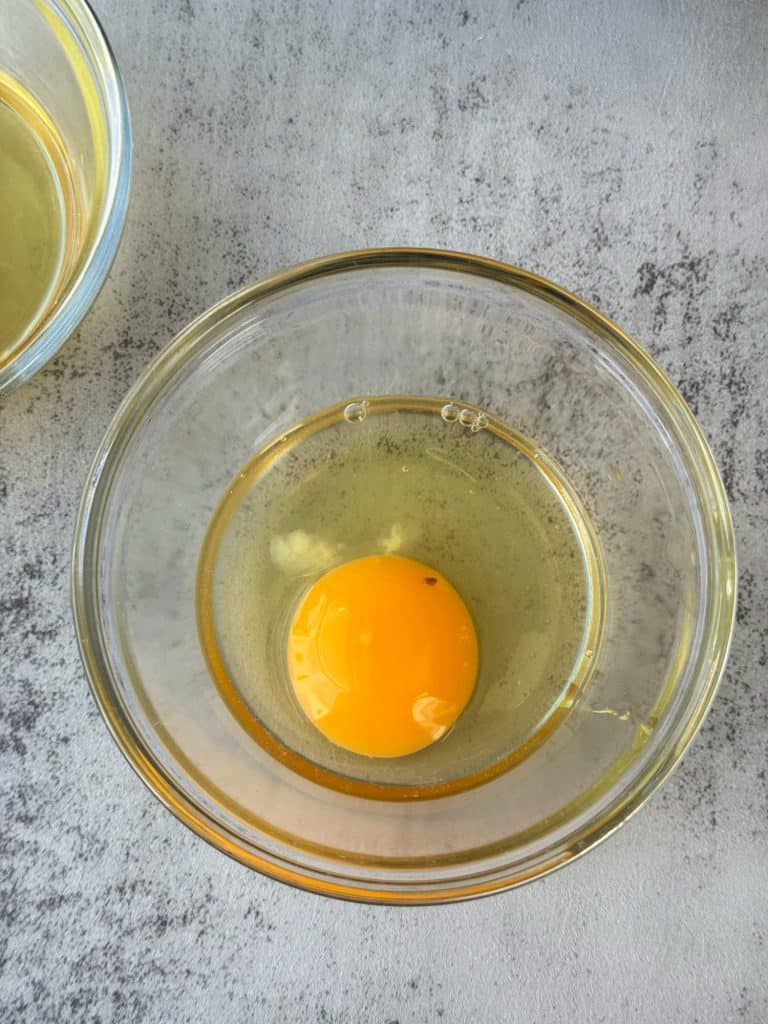
Next, crack each egg into a separate ramekin or small bowl. This way you can check to make sure that the egg yolk is intact and not broken. It allows you to check for any pieces of shell, and gently slide the cracked egg into the water.
Then use a spoon to create a vortex with the water. Gently stir the water in a circular motion until a whirlpool forms in the center of the pot. This will help the egg whites to set around the yolk.
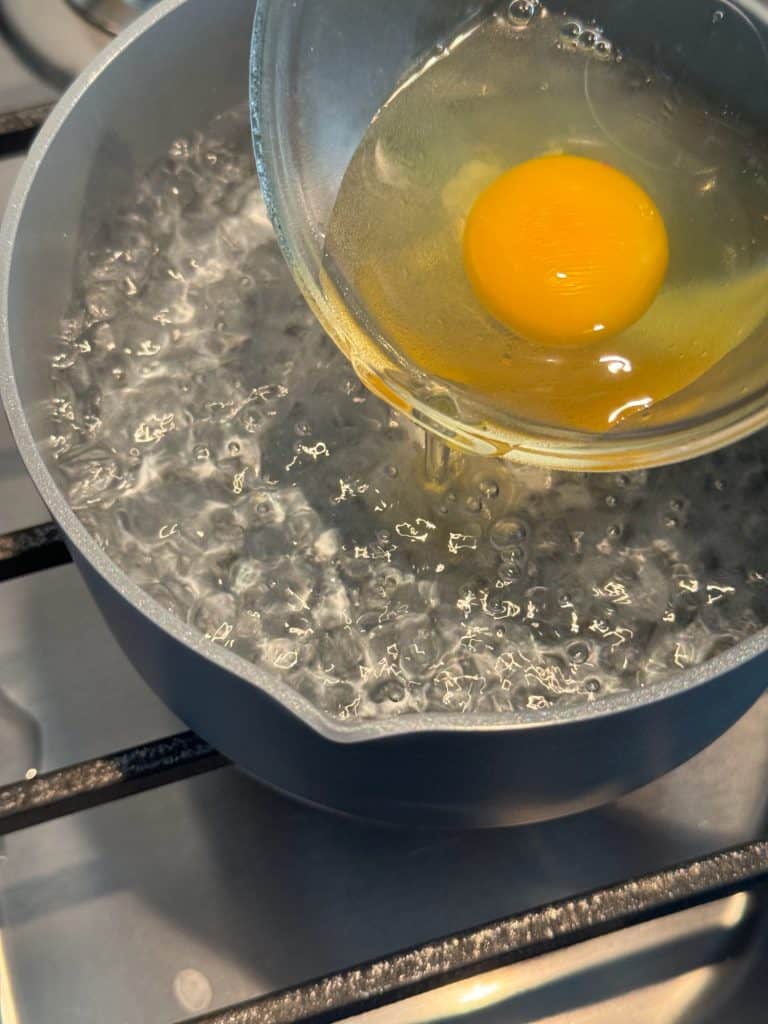
One at a time, carefully tip your ramekin and slide the egg into the center of the simmering water, or into the center of the vortex if you created one.
How Long to Poach an Egg
As soon as the cracked egg enters the water immediately start a timer. Set the time for 3-4 minutes, depending on how you like your yolks.
Three minutes will yield runny yolks, three and a half minutes will yield a soft yolk, and so forth. If you prefer a firmer yolk, leave the egg in the hot water for four whole minutes. Any less than three minutes will result in watery whites.
When the timer reaches its finish time use a slotted spoon to gently remove the egg from the poaching water.
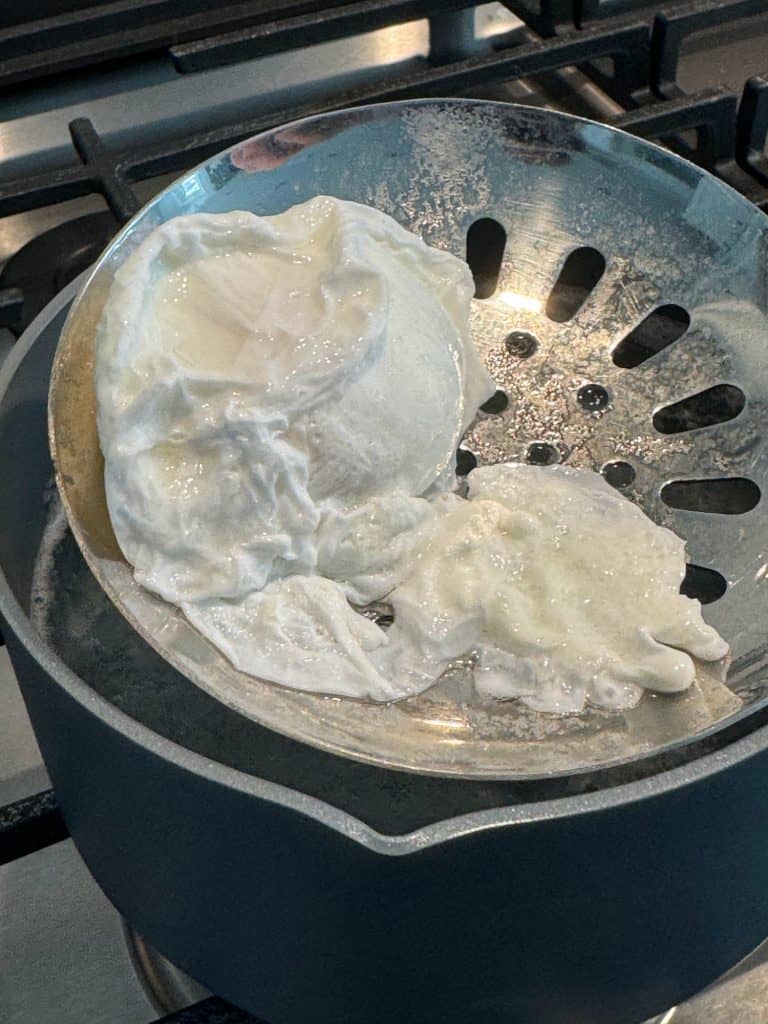
Next, let the water drain by dabbing the spoon on a paper towel-lined plate to remove excess water before plating.
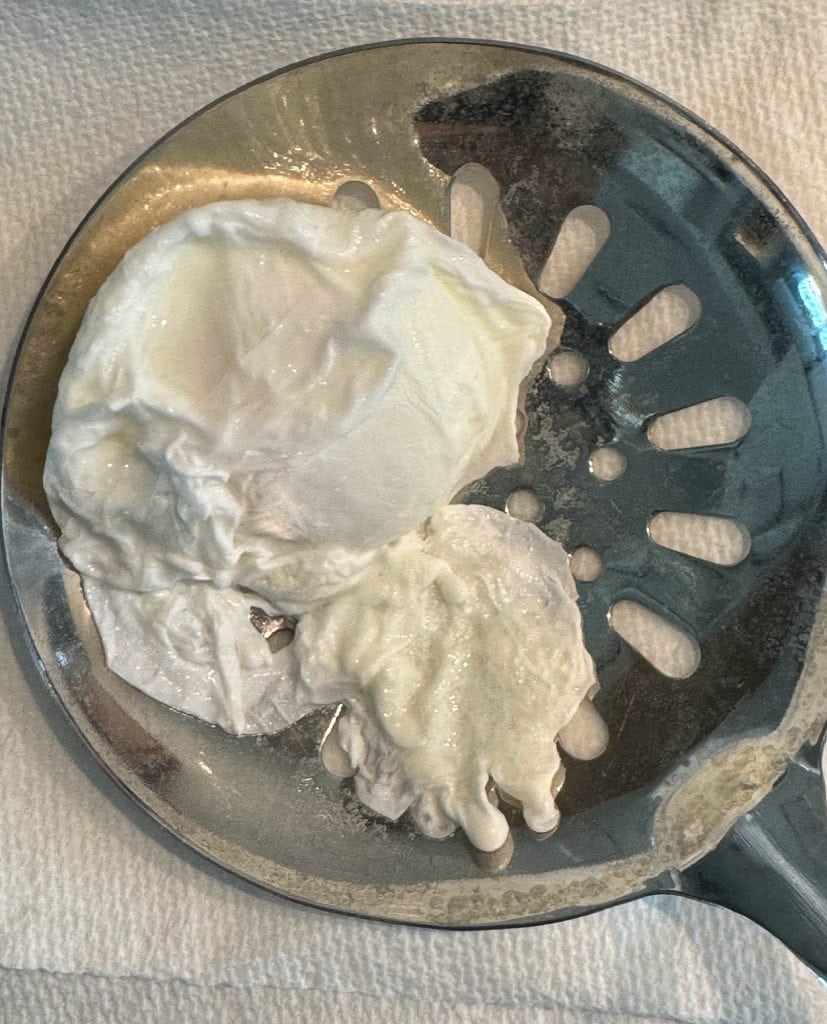
Then transfer the cooked eggs to a plate.
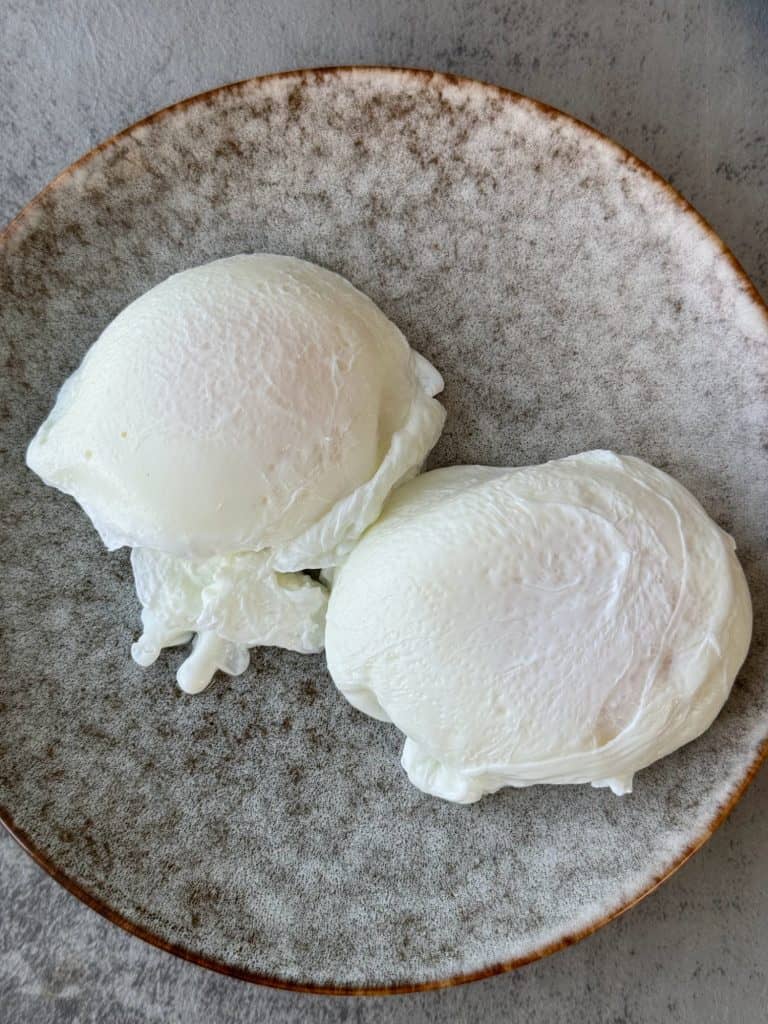
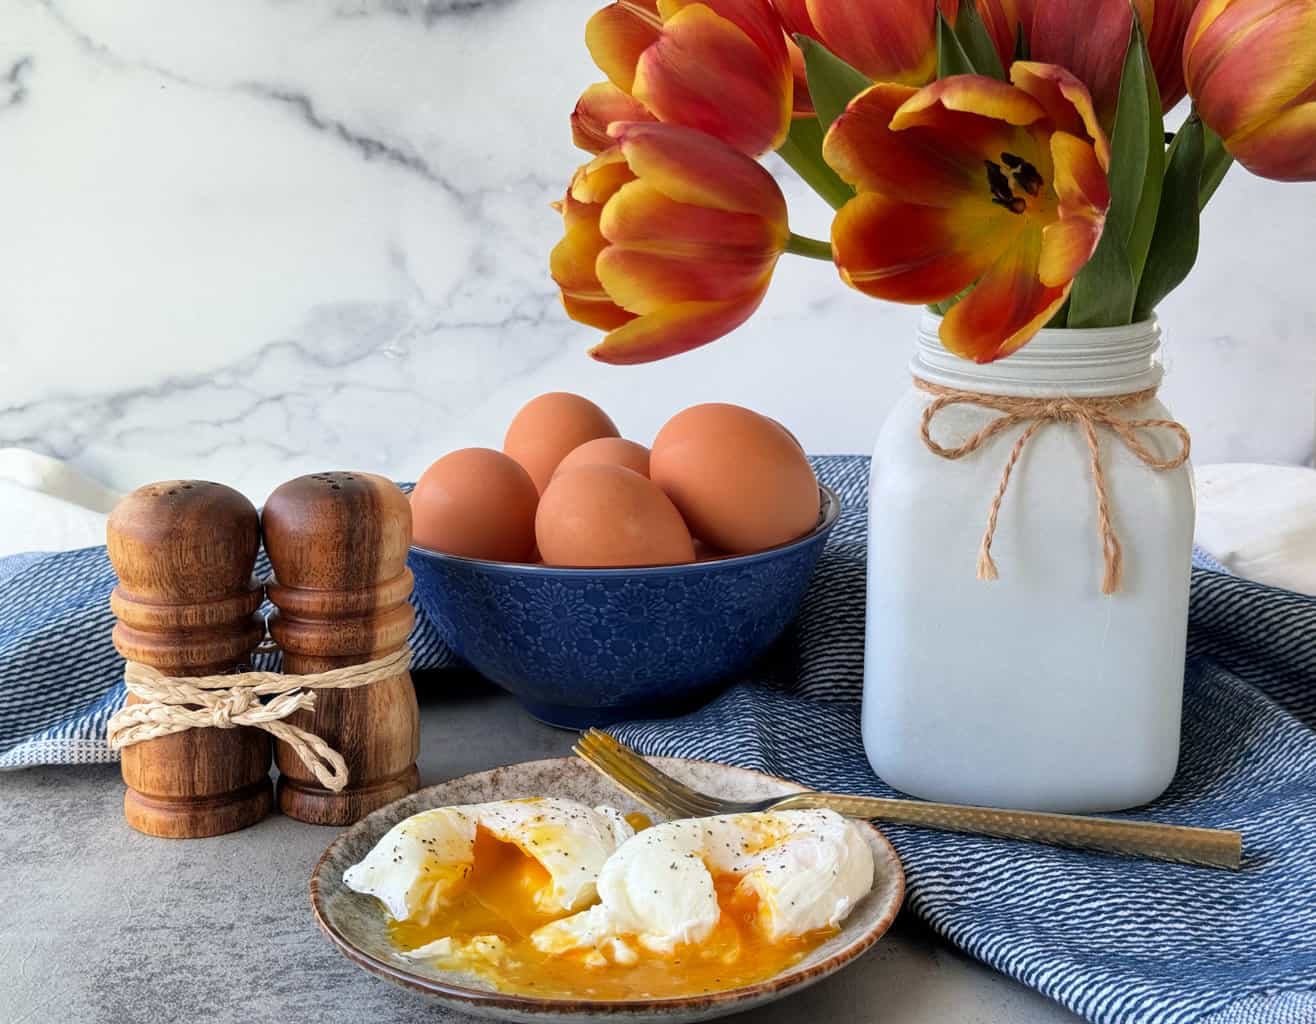
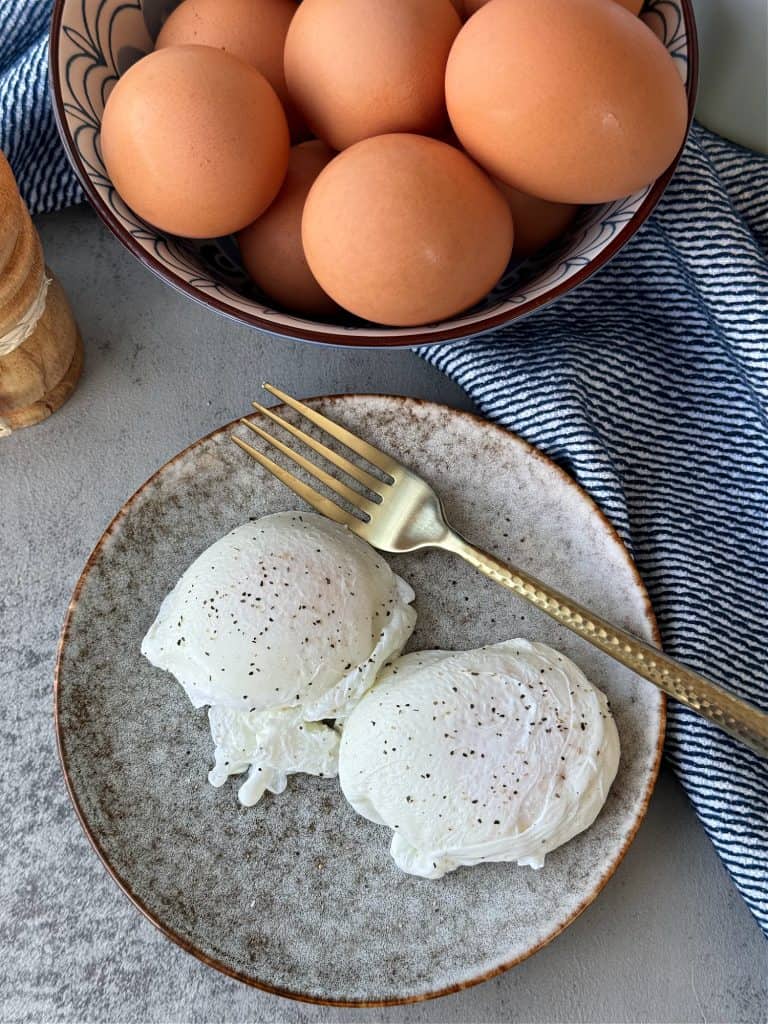
Season the poached eggs with a little salt and pepper to taste and enjoy immediately.
Click here to PIN this post for later.
How to Serve Poached Eggs
A perfect poached egg boasts a gloriously runny yolk, a vibrant center surrounded by pillowy white perfection.
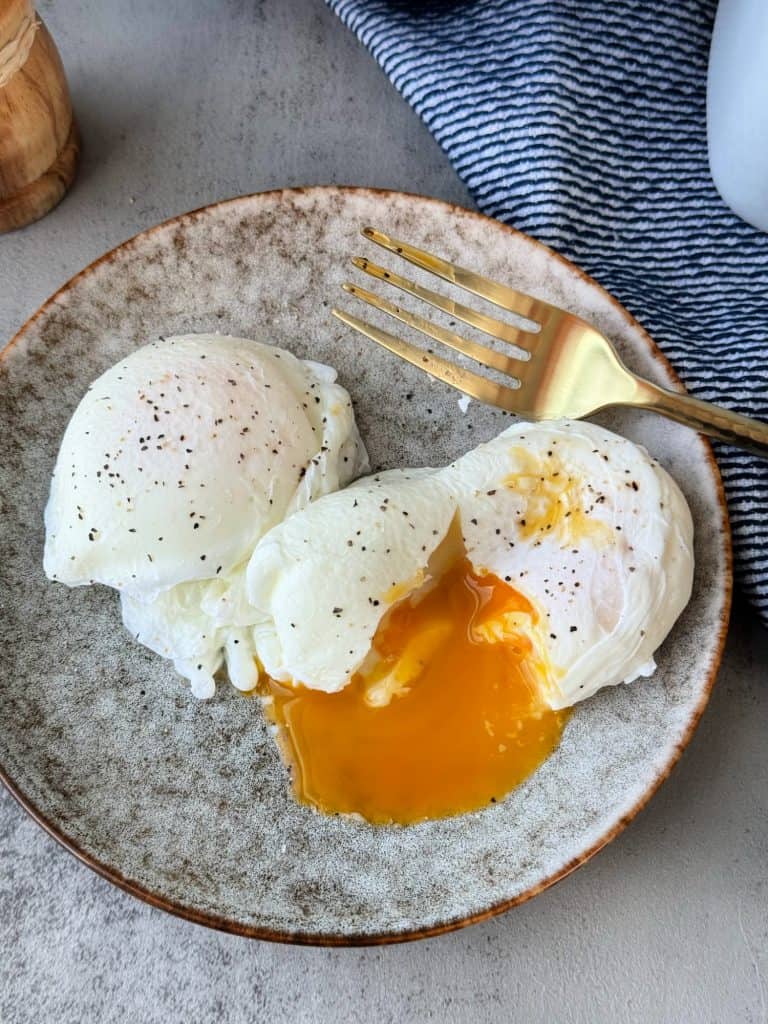
Unleash your culinary creativity! Drench your poached eggs in hollandaise sauce for a classic Eggs Benedict, or create a masterpiece on avocado toast. The possibilities are endless.
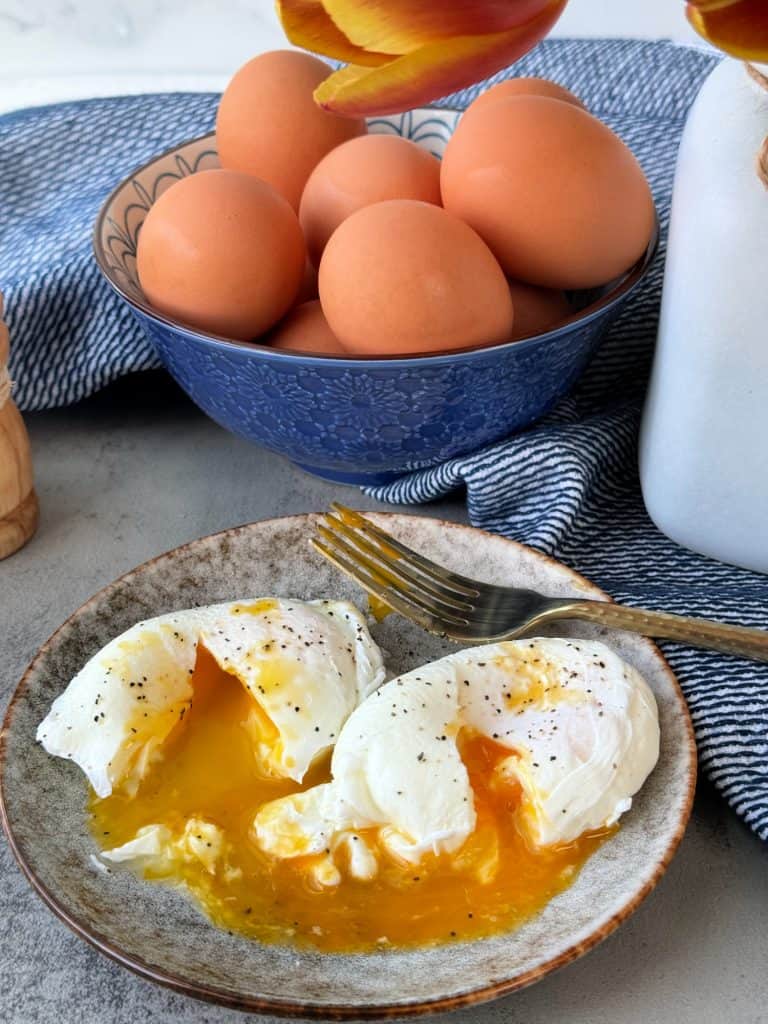
Best Tips for How to Make Poached Eggs
- Use the freshest eggs you can find. Fresher eggs will have tighter whites that will hold their shape better when poached.
- Don’t overcrowd the pan. Poach your eggs one or two at a time to ensure they have enough space to cook evenly.
- If your eggs seem to be spreading too much, the water might be too hot. Reduce the heat slightly and try again.
- Practice makes perfect! Don’t get discouraged if your first few poached eggs aren’t picture-perfect. With a little practice, you’ll be a poaching pro in no time.
You Might Also Like
For more tutorials and recipes to make the best poached eggs make sure to check those out:
Yield:
2
Prep Time:
5 minutes
Cook Time:
3 minutes
Total Time:
3 minutes
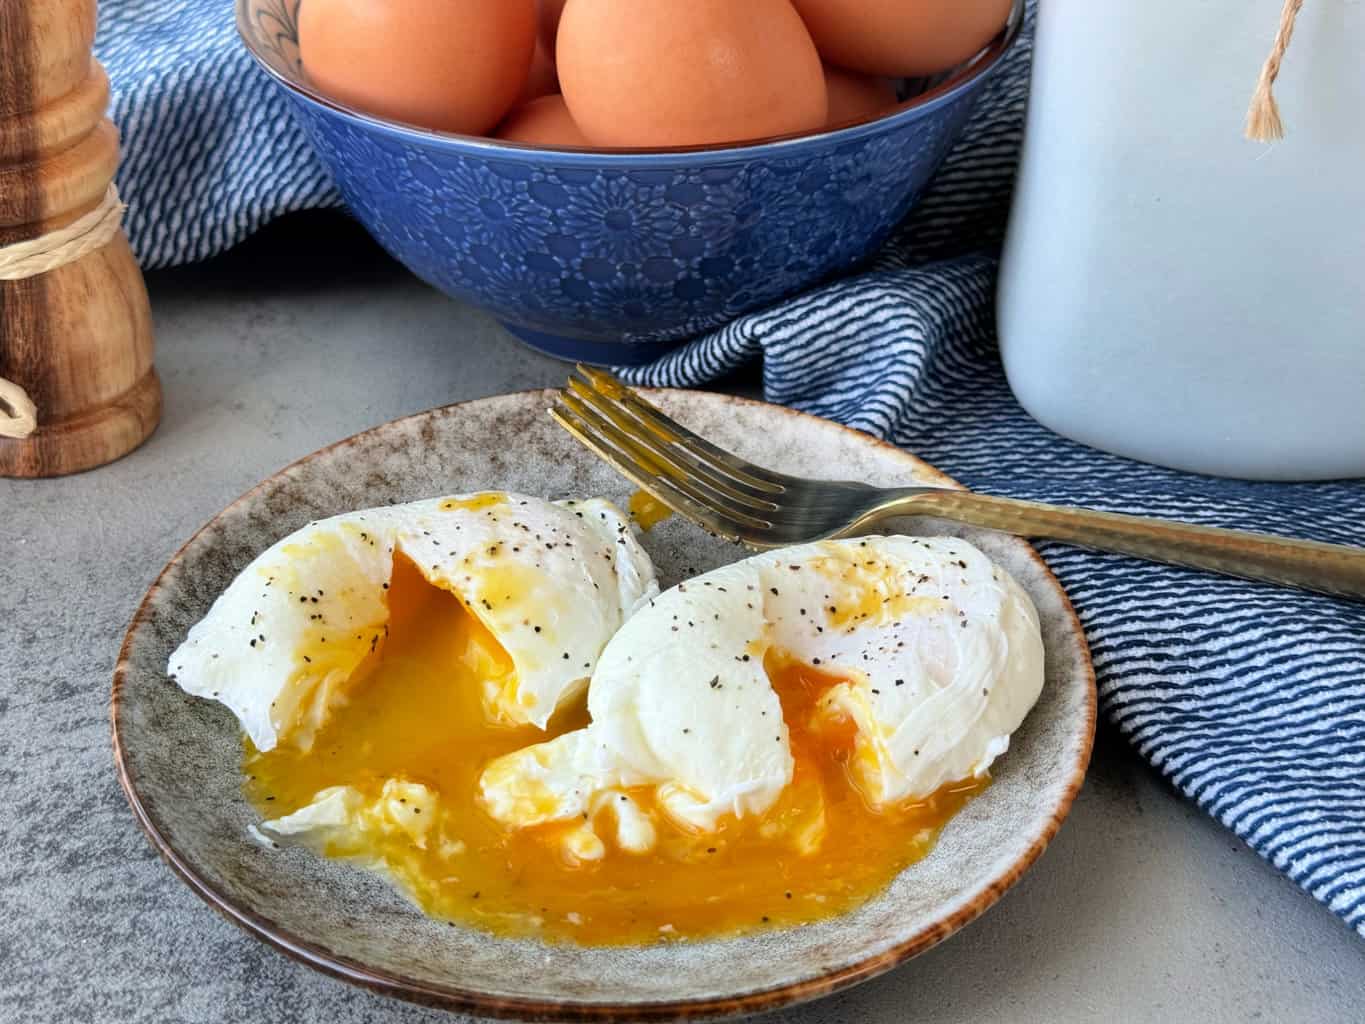
While poaching an egg might seem like a basic technique, the result is anything but ordinary. See how to make poached eggs without an egg poacher.
Instructions
- Heat 2-3 inches of water in a saucepan over medium heat and bring to a gentle simmer.
- Add 1-2 tablespoons of white vinegar to the water
- Crack a fresh egg into a small dish or ramekin.
- Make sure the yolk isn’t broken and there are no eggshells in the dish
- Create a water vortex by stirring the water in a circular motion with a spoon to create a whirlpool.
- Slide the cracked egg into the simmering water at the center of the vortex
- Start a timer. Cook the egg(s) for 3-4 minutes depending on how you like your yolks.
- Remove the cooked eggs with a slotted spoon and dab over a paper towel to remove excess water.
- Serve and enjoy
Recommended Products
As an Amazon Associate and member of other affiliate programs, I earn from qualifying purchases.
Nutrition Information:
Yield: 2
Serving Size: 1
Amount Per Serving:
Calories: 37Total Fat: 2gSaturated Fat: 1gTrans Fat: 0gUnsaturated Fat: 1gCholesterol: 93mgSodium: 36mgCarbohydrates: 0gFiber: 0gSugar: 0gProtein: 3g
nutritional values are estimates and may vary depending on products/ingredients used.
Don’t Forget – Follow Just the Woods and Share this post to Inspire others:
FACEBOOK * Furniture INSTAGRAM * Healthy Food INSTAGRAM * PINTEREST * RECIPES

