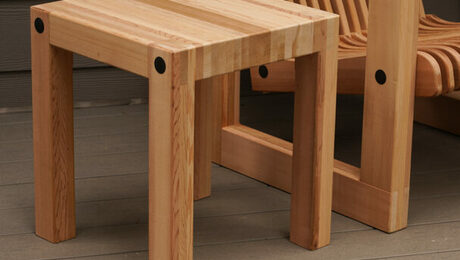
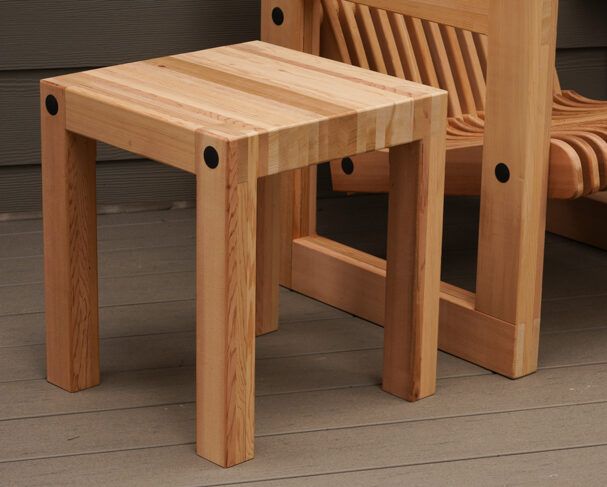
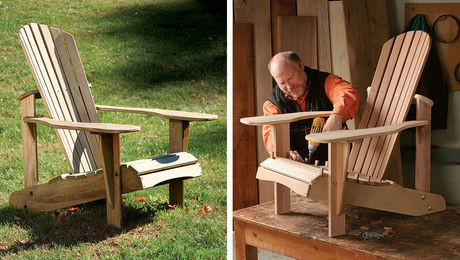
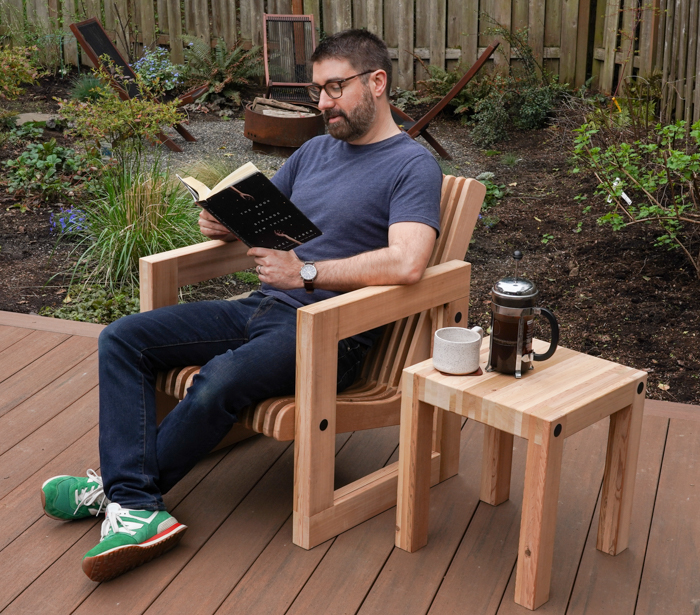
I designed this outdoor table to accompany the chair featured in FWW #309, and the two are assembled in similar ways. Holding both together are long threaded bolts, sometimes called “all-thread,” which offer a quick, easy way to create super-strong furniture. Better yet, the nuts and bolts can be tightened up at any point.
The rods, bolts, and washers come with zinc plating, which will help them resist rust. I covered the bolt holes with plastic caps, but feel free to omit the caps and embrace the industrial look.
One of the other great things about these projects is that they don’t need a finish, provided you use weather-resistant wood. I’m using one of my favorites here, Western red cedar. Lightweight yet strong, it’s a joy to work with. It also smells great and weathers to a lovely silvery gray.
 Like the chair, I began this project by laminating together the leg assemblies, using three layers of 3/4-in.-thick cedar boards. The first two layers are screwed together, with the screws acting as clamps as the glue dries. Then the last layer is simply glued and clamped, which hides the screw heads inside the assembly.
The cool thing is how the internal boards line up with the leg assemblies to create the tabletop. Once the leg assemblies are built, you drill at their corners for the bolts. After that, you drill the internal boards the same way. Then you spread glue on all of the mating surfaces, pass the long bolts through all of the pieces, and the bolts act as clamps while the glue dries. After it does, the nuts and bolts stay in place as insurance, so the table can’t come apart over the years. Even with all this sturdiness, it’s a good idea to bring the table and chair indoors during cold or rainy winters.
This is a cool way to build any sort of butcher-block-style piece with integrated legs, from a small table to a small kitchen island. Build a shelf into the legs, throw on some wheels, and you’d have a nice little rolling station for food prep.
Detailed plans are available at the bottom of this page.
Materials needed for the outdoor table
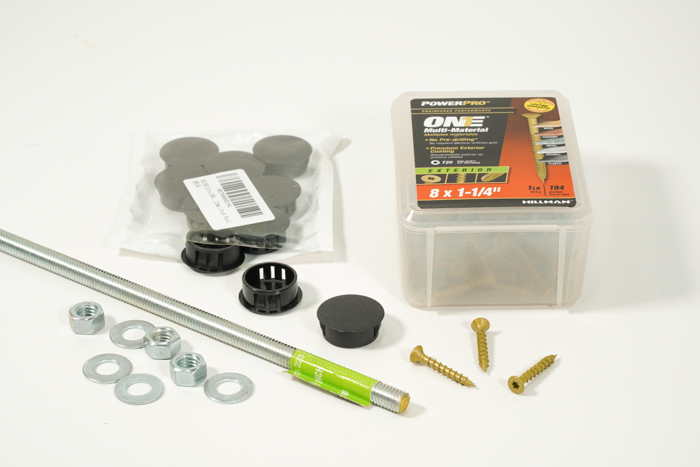
You’ll need a pile of short cedar boards, plus the hardware shown here:
- (1) threaded rod, zinc-plated, 3/8 in. dia. by 3 ft. long;
- (4) 3/8-in. nuts and washers, zinc-plated
- (4) plastic caps for bolt holes, black, 25 mm (1 in.) dia.
- Exterior wood screws, 1-1/4 in. long
- Exterior-grade wood glue
Start with the leg assemblies
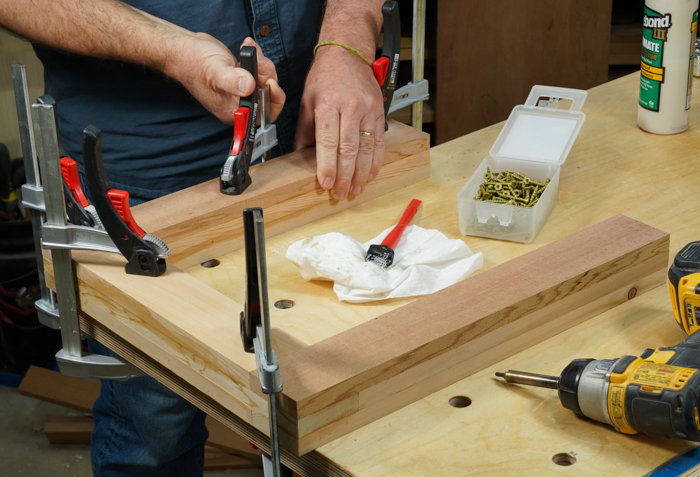
These leg assemblies are layered and overlapped like the chair frames are, with screws and glue holding the first two layers together, and glue and clamps attaching the third. Work to keep the top edges as even as possible, but don’t worry as much about the sides and bottoms of the legs, which can be trimmed later.
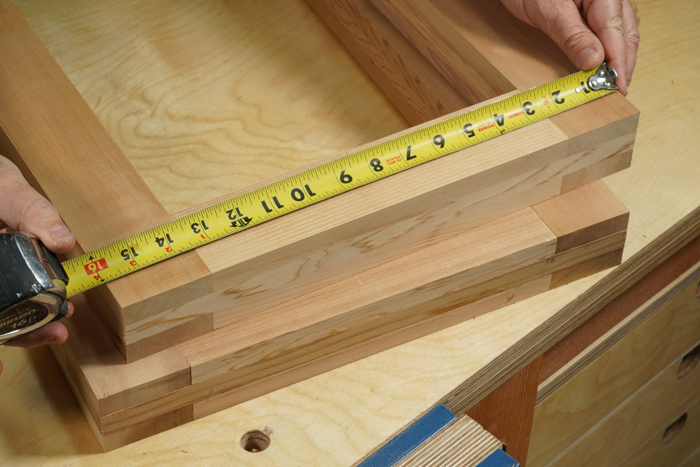
Measure for the interior parts. The rest of the table parts need to match the width of the leg assemblies precisely, so measure carefully.
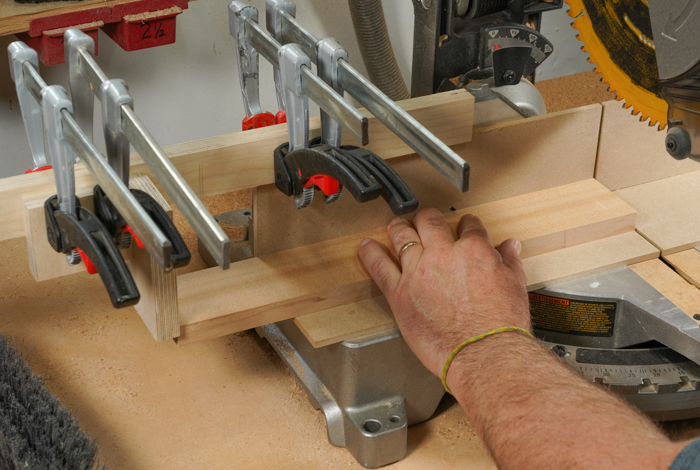
Chop interior layers to length. Use a stop block to make sure every piece ends up the same.
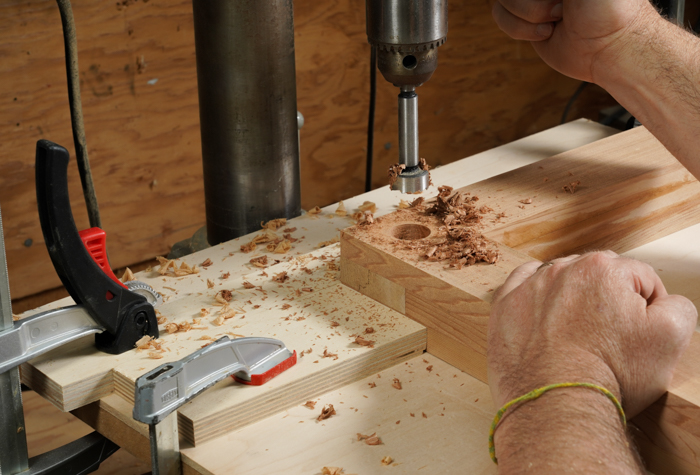
Mark and drill the counterbores. These are centered at the top corners of the leg assemblies. Set up a fence and end stop as shown to drill the left-side counterbores and through-holes on each assembly. Use a 1-in. Forstner bit, and go 1/2 in. deep.
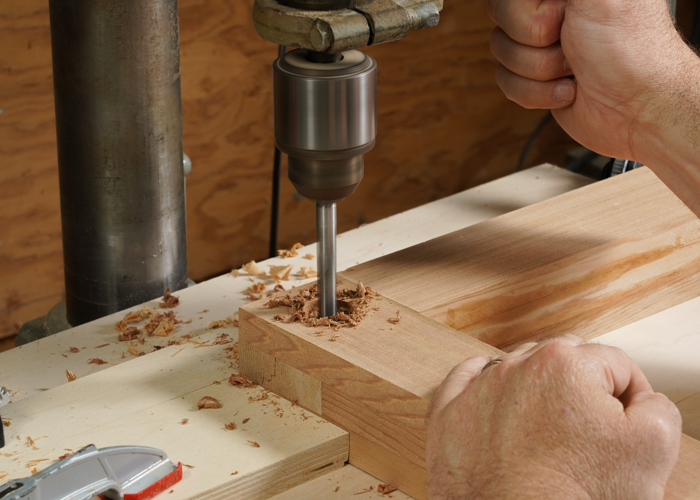
Follow with a through-hole. Use a 25/64-in. bit to drill holes for the bolts to pass through.
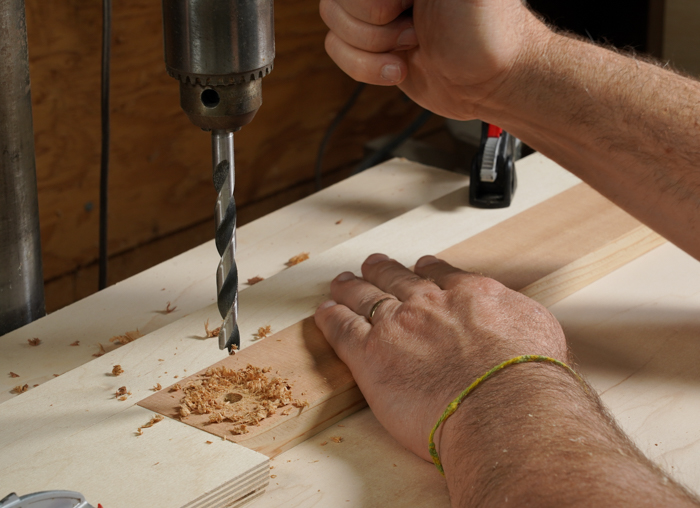
Drill interior slats with the same setup. Flip these parts to drill matching holes at each end.
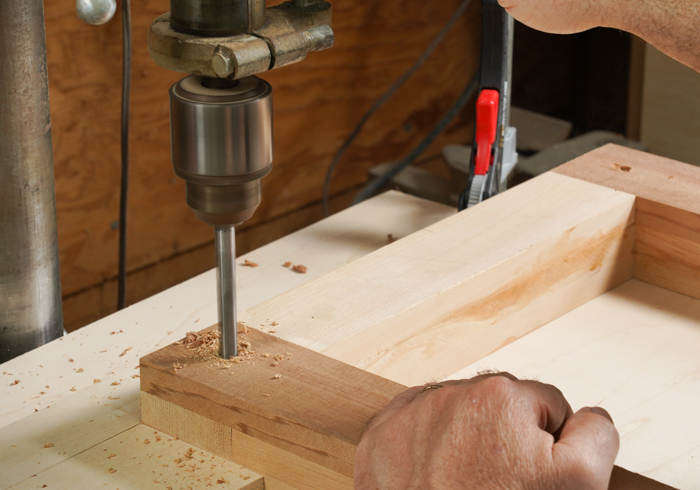
Last, drill the other end of the leg assemblies. Without changing the drill-press setup, flip the assemblies and drill through the back with the 25/64-in. bit. Then change the setup to drill the counterbores on the other side of these holes.
Begin the assembly
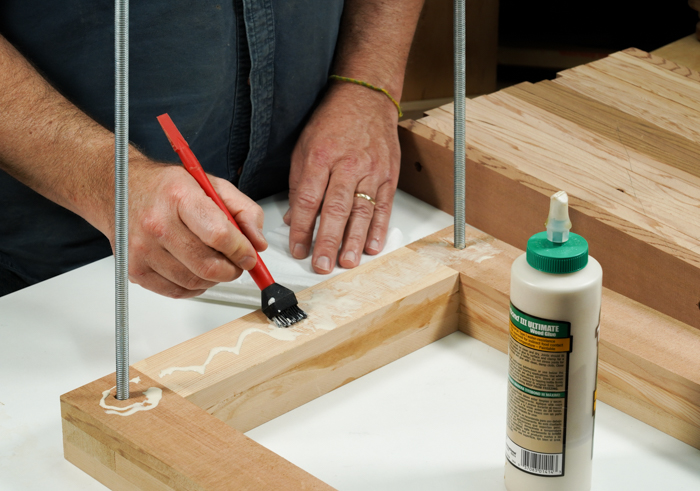
Start stacking the parts. Put a washer and nut on the end of each rod, thread the rods through one of the leg assemblies, and spread glue on the inside face.
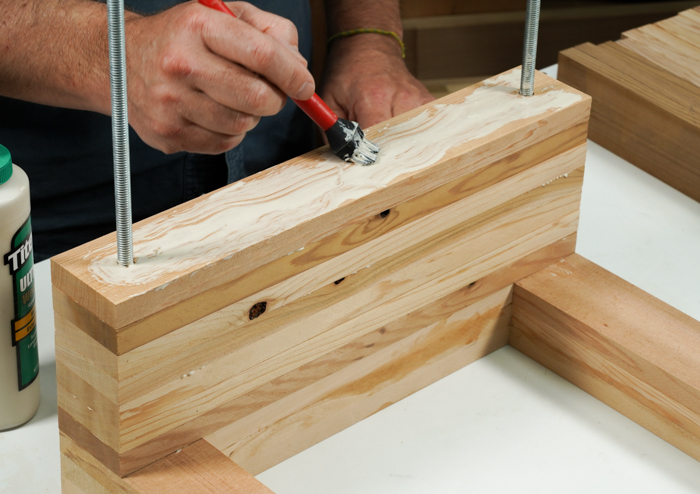
Continue stacking. Stack the interior boards onto the assembly, spreading glue between each one, and then follow with the other leg assembly.
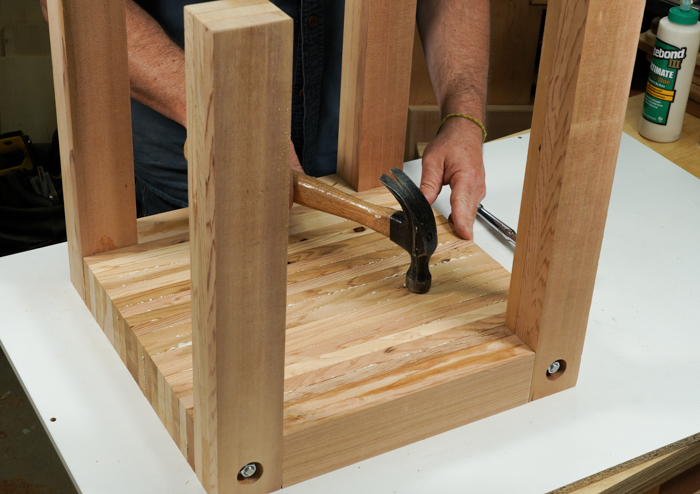
Tap pieces into alignment. After tightening the nuts lightly, tap the bottom pieces down against a flat surface to make the top side as even as possible.
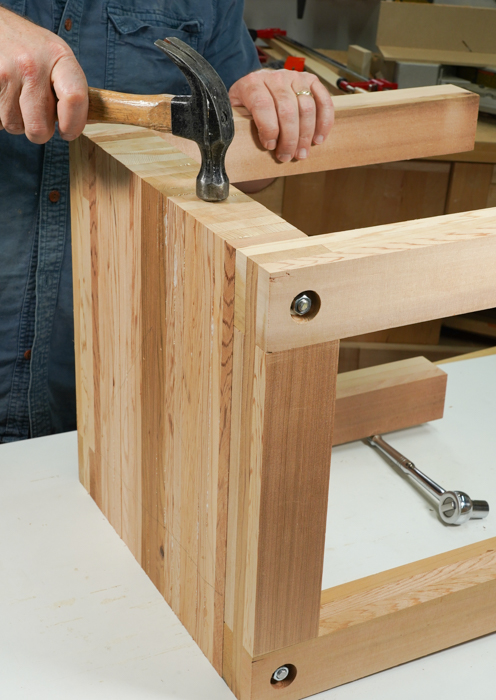
Tap the ends of the parts the same way, to make the edges as flush as possible.
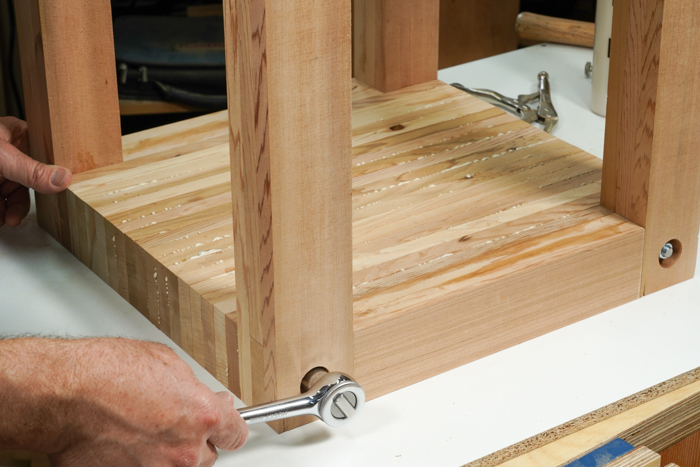
Now you can tighten the bolts firmly.
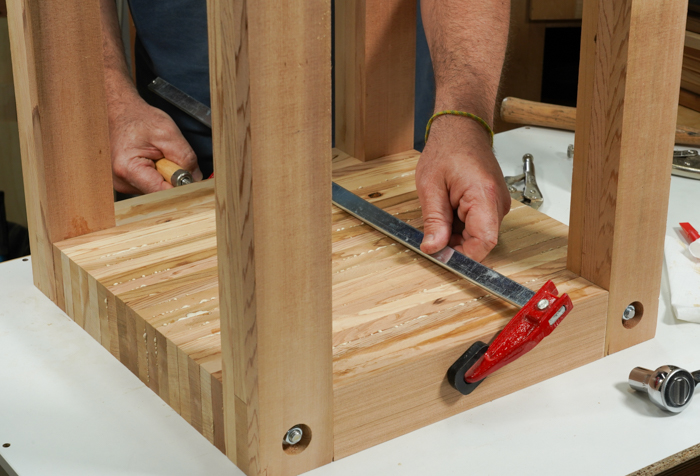
Add a clamp to be sure the center of the assembly is also pressed tightly together, and then start peeling or wiping off glue squeeze-out.
A no-finish finish
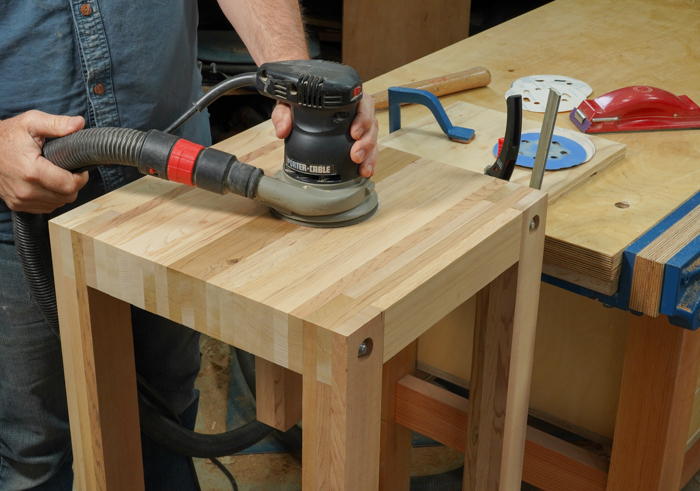
Sand the top. To support the table for sanding, clamp a board to the benchtop as shown. Start with an 80-grit disk in your random-orbit sander, and sand uniformly to level the surface. Follow with a 120-grit disk and you’re done.
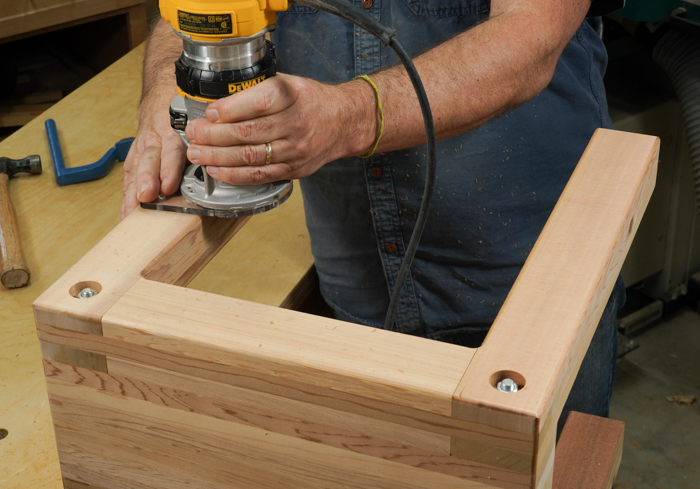
Hold the legs in your vise to sand the legs and edges of the outdoor table. And then round over all of the edges with a 3/16-in. roundover bit.
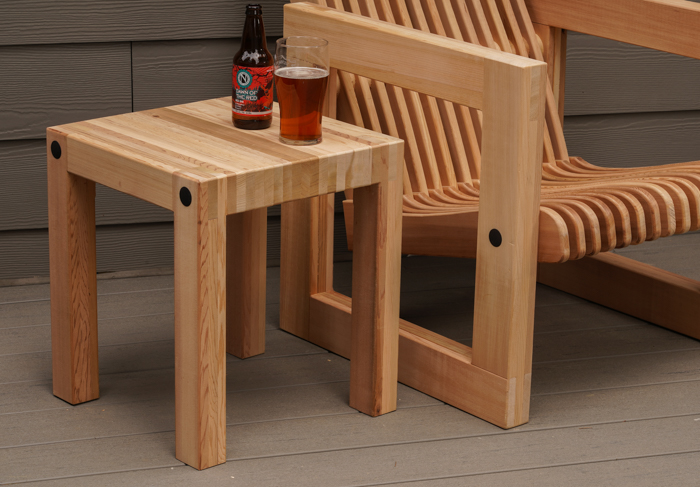
Choose your favorite beverage and put your little outdoor table to use.
Sign up for eletters today and get the latest techniques and how-to from Fine Woodworking, plus special offers.
Download FREE PDF
when you enter your email address below.

