

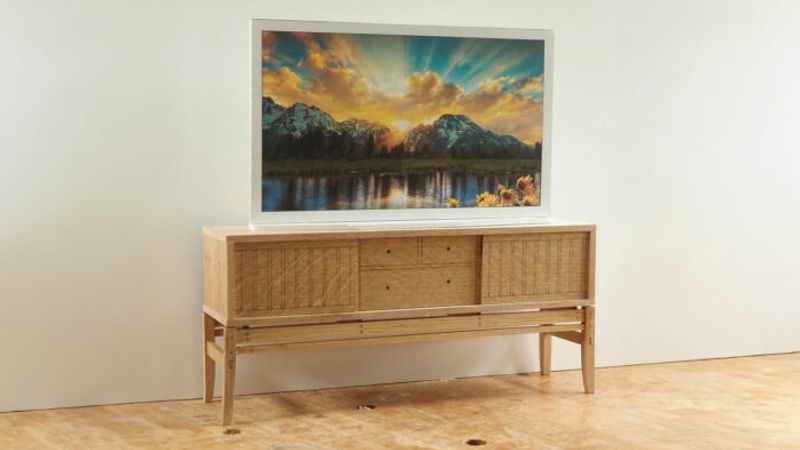
Mike Pekovich was recently presented with a design decision that would ultimately make joinery much trickier, given the orientation of the dovetails. He ultimately decided in favor of the aesthetics dictating his approach, and with that came several ingenious solutions for work holding, creating a secure way to reference the tail board to the pin board for transferring marks, and then securely holding the tail board in place for sawing.
Securing the pin board
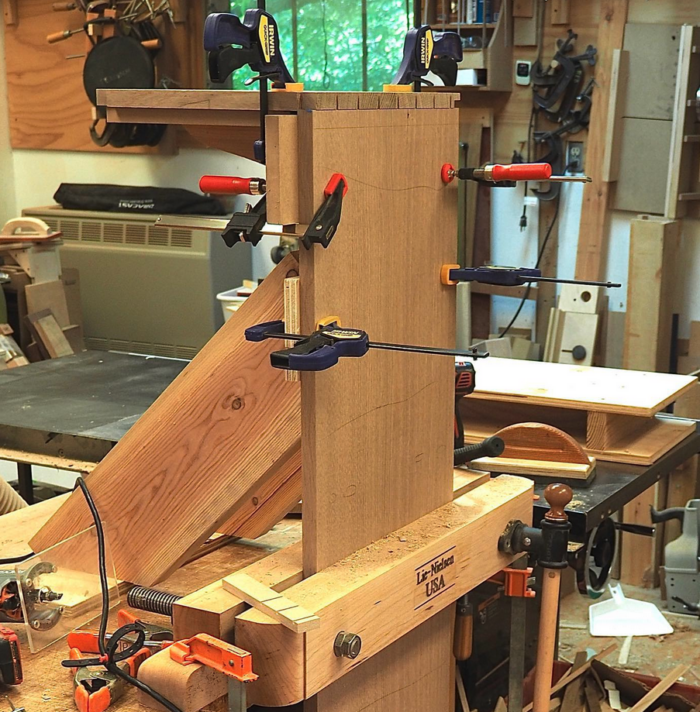
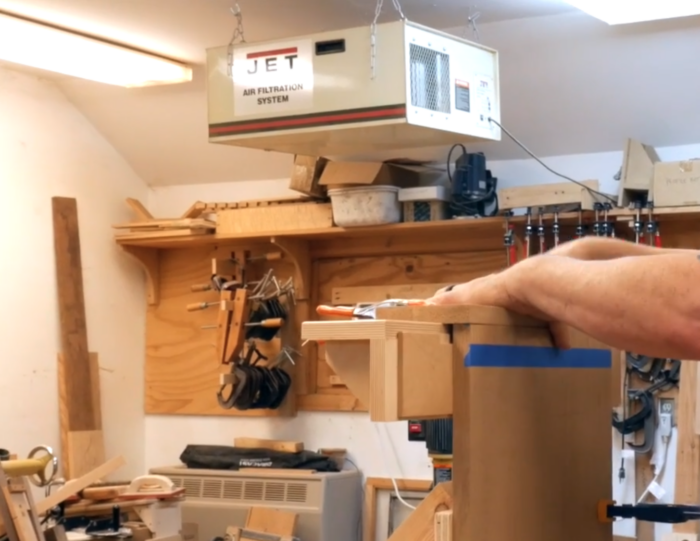
The first step is securing the tall pin board. Mike used a moxon vise to add four inches of clamping height to the top of the case, while also applying even clamping pressure the full width of the piece. For extra security, Mike added two braces, made from 2″x8″ inch boards with 45-degree angles cut on either side and secured together on both ends with a cleat. The base of the brace is secured to the bench with screws and the cleat that holds the board to the cleat clamped in place. This prevents any flex in the board while sawing and chiseling. Mike made a quick platform to stand on, which puts him at a more comfortable working height for sawing and chiseling.
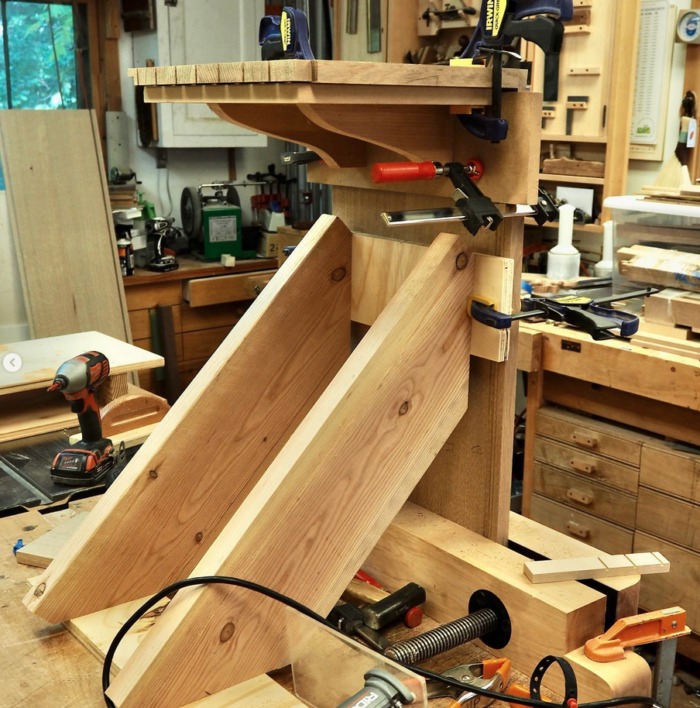
Holding the tail board in place.
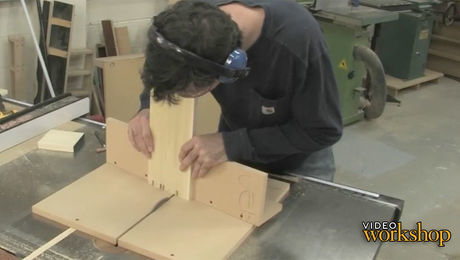
Mike then made a support to hold the tail piece in place for transferring the lines to the pin board. It is simply MDF wide enough to support the tail piece, secured to a cleat that clamps against the pin board, with a couple of brackets to support the weight. He also adds a shallow rabbet to the inside of the tail board, which provides positive registration for aligning the tail board to the pin board. Due to the size of the piece, he chooses to clamp everything in place before transferring the lines.
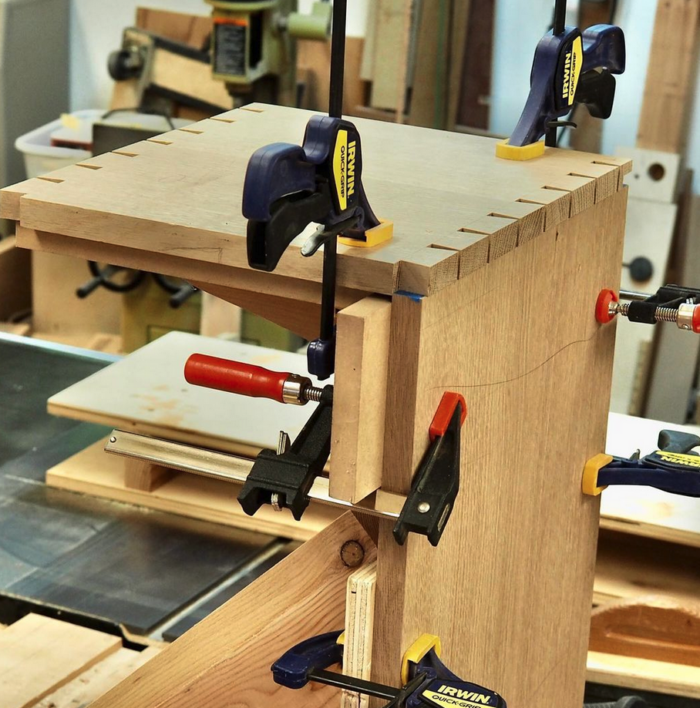
Cleaning up the shoulders
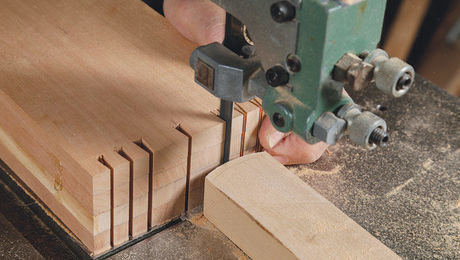
Once Mike has cut and coped out the waste for the pins, he uses another shop made jig, repurposed from an old router table fence, as a support for routing away a clean shoulder. to align this jig properly, he simple uses two spring clamps to affix a piece of MDF to the surface, as another positive registration point for setting the jig in place.
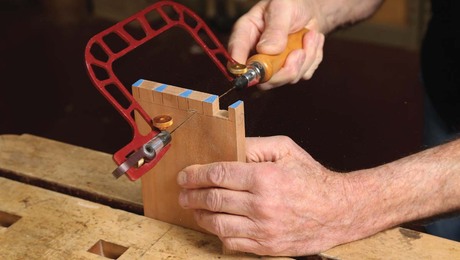
All this effort, though time consuming, makes cutting the rest of dovetails on the case go much more efficiently. What’s left is a design decision that will complement the through tenons that will be exposed on the sides of the case. As Mike says ” I don’t let making something easier drive the way I make something.”
Sign up for eletters today and get the latest techniques and how-to from Fine Woodworking, plus special offers.