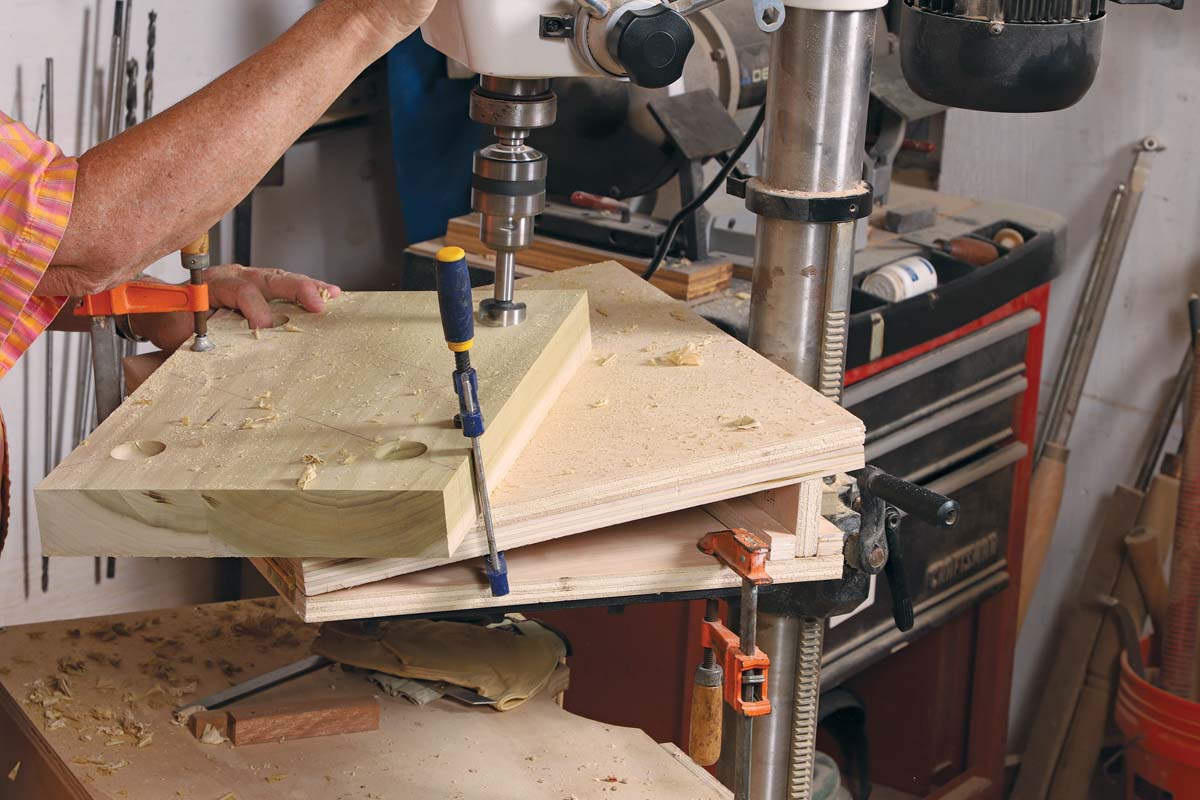
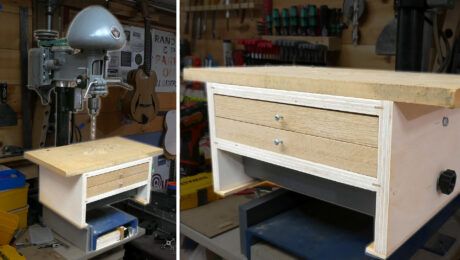
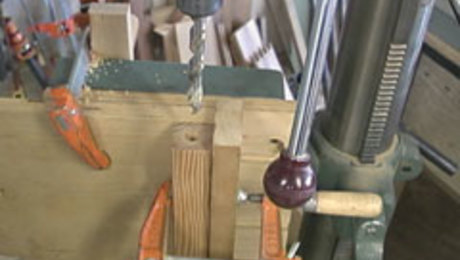
I have been making stools with turned legs for years. When drilling the angled holes for them, I always made a platform set to the desired angle of the legs, and I wound up with multiple platforms with different angles. When I moved my shop to a much smaller space, I decided to create one jig that would replace all those platforms—a jig that would allow me to easily change angles, would be applicable to almost all stool and chair seat shapes, and would take up very little space when not in use.
How it works
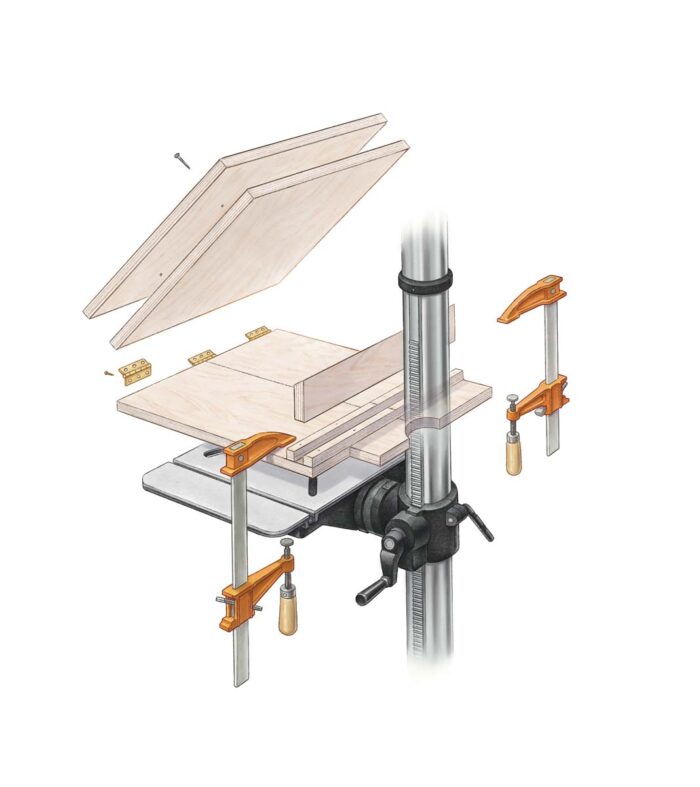
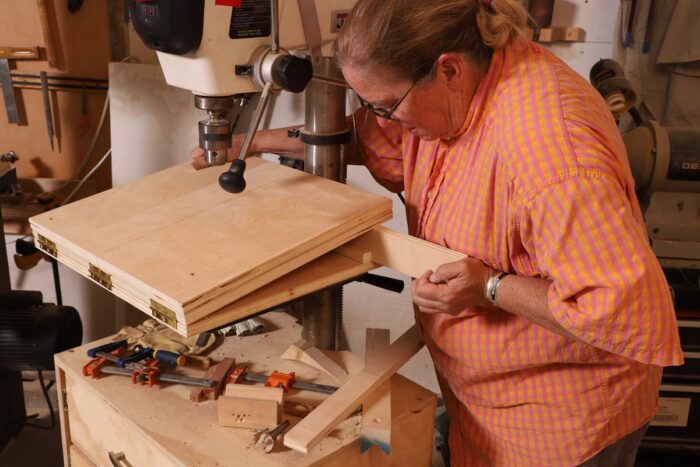
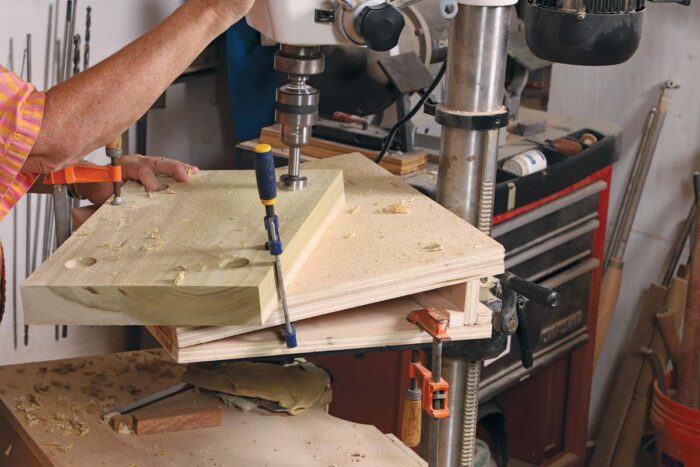
The heart of the jig I designed is the U-shaped cutout centered at the back of the base that gives the jig its controlled pivoting action. The base is hinged at the front edge to the ramped work surface, and spacers of different widths are slid into a channel at the back to adjust the drilling angle while supporting the ramp. The thing is so simple I can’t believe I did not see it sooner.
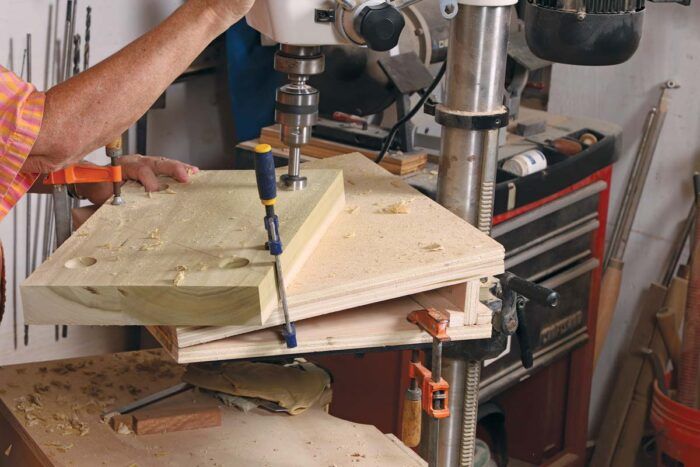
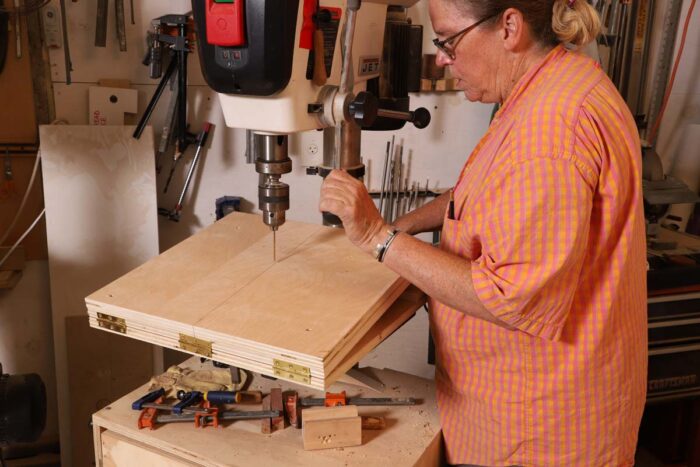
To get the jig ready for use, you place it on the drill-press table, slide it back so the cutout straddles the post, pivot the jig until its centerline is directly beneath the quill, and clamp it to the factory table. Then you raise the ramp and slide the appropriate support spacer into place beneath it.
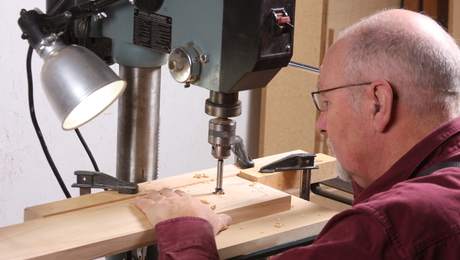
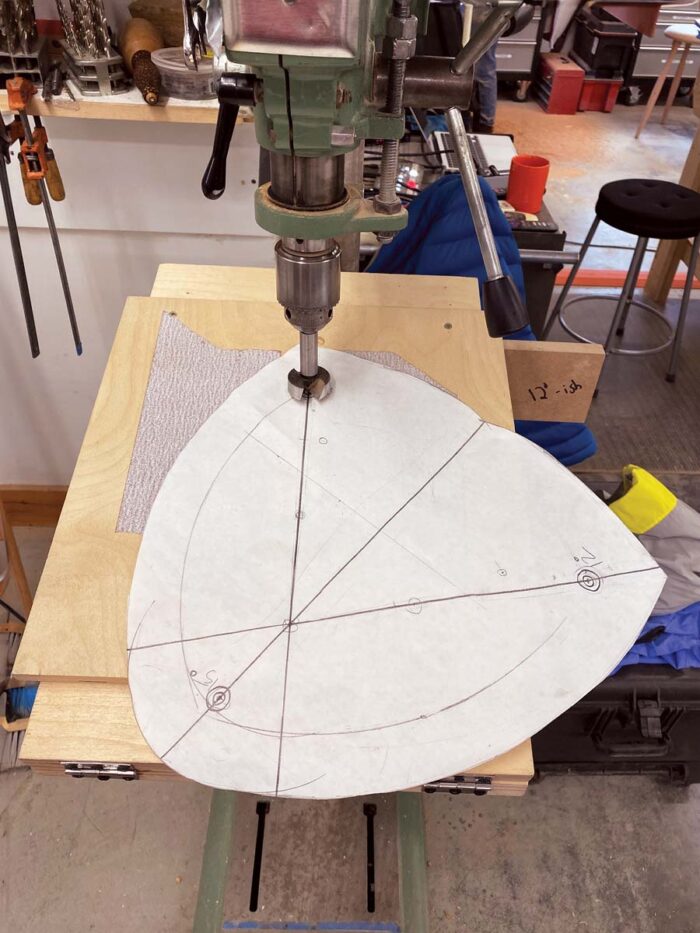
To get the workpiece ready, you draw lines across it representing the approach angles of the holes to be drilled. Then you align both ends of one of the pencil lines on the workpiece with the centerline on the jig. Adjust the workpiece up or down the incline until the bit is centered over the hole you’ll drill. Some drill presses have laser lines for centering, but you can also simply put a small-diameter twist bit in the chuck and use that as a centerpoint finder. Then clamp down the workpiece, switch the twist bit to a Forstner bit, and drill.
Building the jig
The jig consists of three pieces of 3⁄4-in. plywood, one for the base and two, face screwed, for the hinged ramp. I made the ramp double thick to stiffen it up and provide a sacrificial surface to drill into.
The plywood pieces must all be the same width. What width exactly is not important, just be sure to choose a size that will be convenient when it comes to clamping the base to your drill-press table. The front-to-back measurement of the jig is flexible too. The ramp on my jig is 18 in. from front to back, and that has worked for any stool or chair that I or any of my students have built.
Strike a front-to-back line at the exact center of each of the pieces of plywood and bring the lines down over the front and back edges. Make sure the centers are aligned when you install the hinges and when you screw the sacrificial piece on top.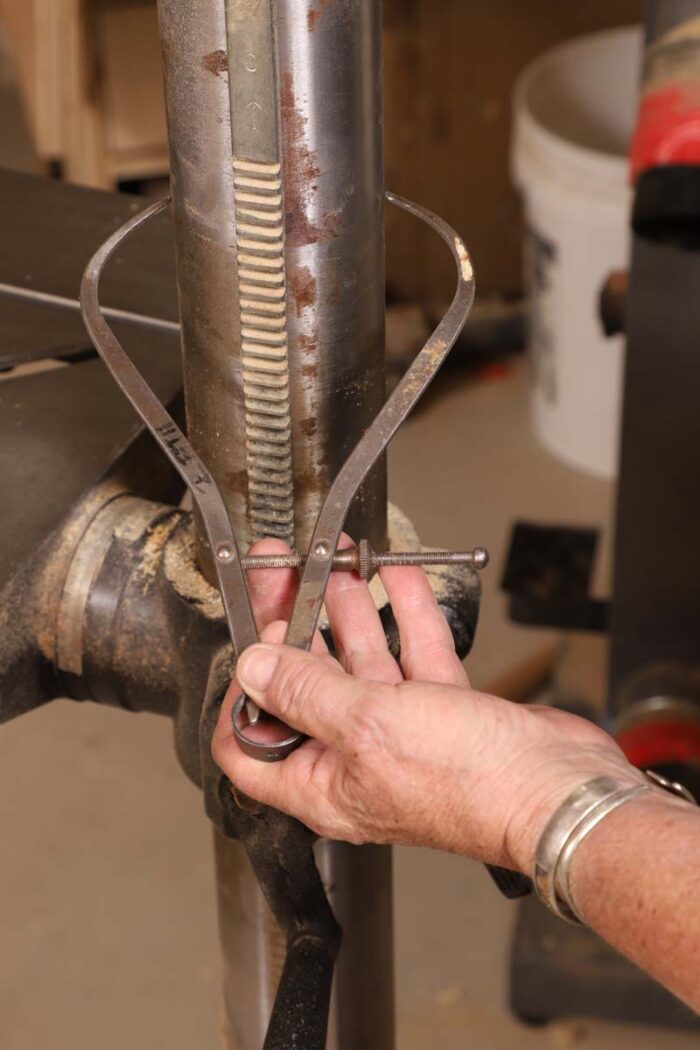
Before installing the hinges, however, make the cutout and the notch in the base. For the cutout, find the radius of the post on your drill press. Then use a compass to draw a half circle that will match your post. Cut it out with a jigsaw. If you have a toothed winding strip on the post, you might have to cut a little off of the right side of the curve, so the base has room to pivot without hitting the teeth. You may also have to cut a notch at the back corner of the base to allow the crank handle to move easily.
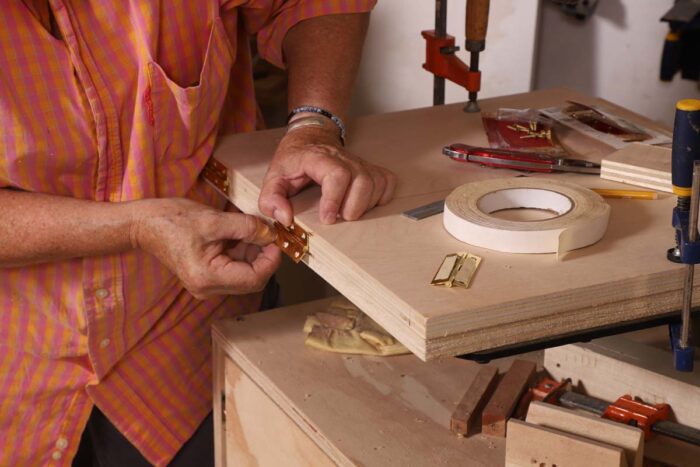
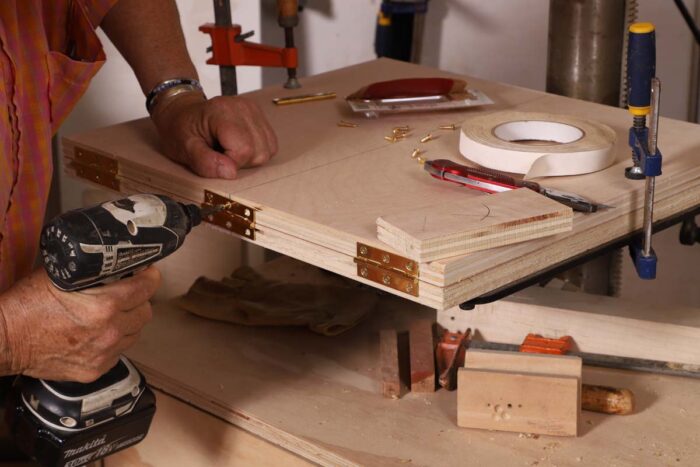
With the cuts in the base made, install the hinges.
 |
 |
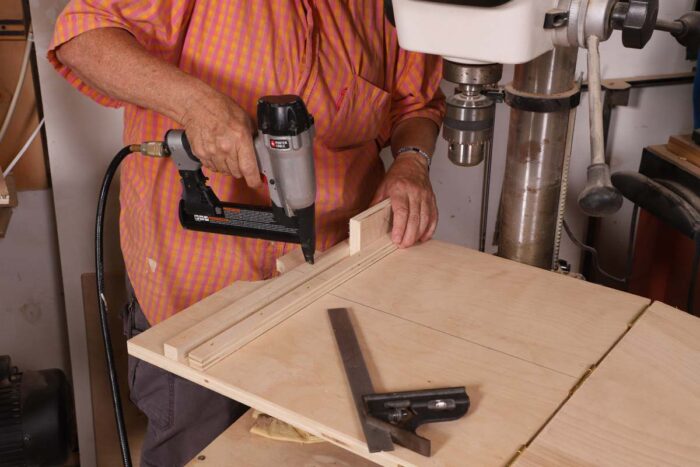
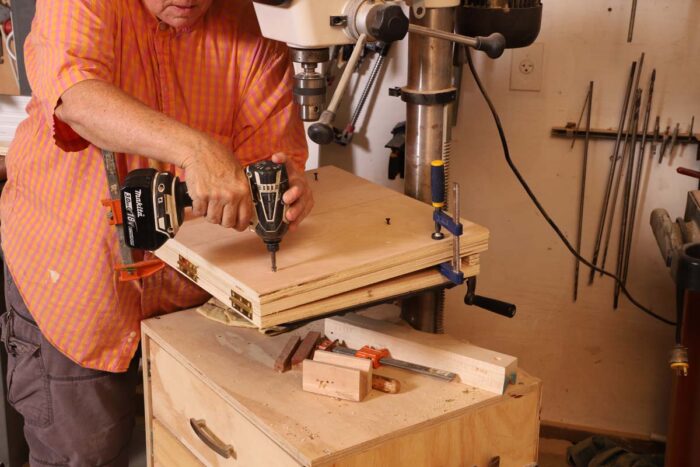
Next, create a channel at the back of the base to accept the support spacer. I make the spacers out of 3⁄4-in. plywood, so I used a scrap of that as a temporary spacer while I glued and stapled the strips that make the channel. Last, face-screw the sacrificial top board onto the ramp.
 |
 |
To determine the width of the spacer you’ll need, first set a bevel gauge to your drilling angle. Set the gauge on the jig and lift the ramp until the bevel’s blade is parallel to the quill of the drill press.
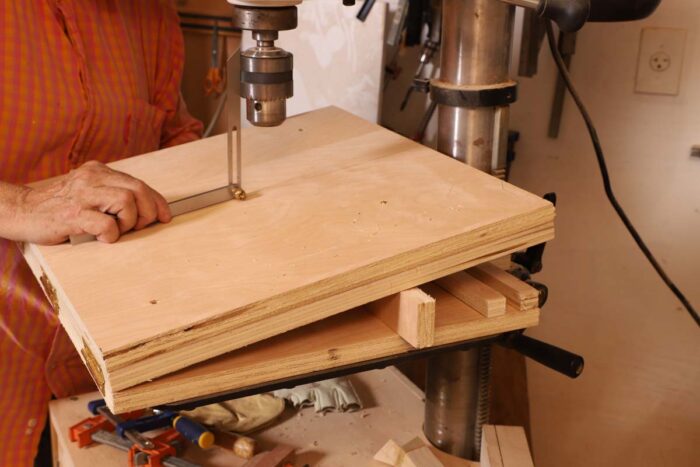
Insert a scrap below the ramp as a shim to hold the ramp at that angle. Then measure from the bottom of the spacer channel to the underside of the ramp, and cut a spacer to fit.
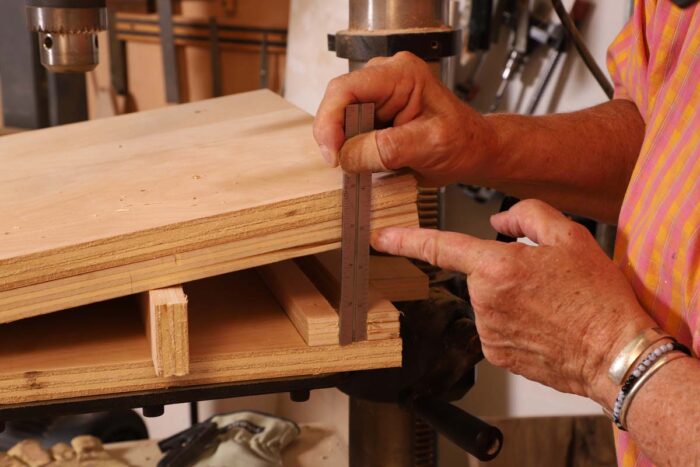
The spacer can be angled to match the ramp (as I show in the photos), but it doesn’t have to be. It just needs an edge to be the proper height to hold the ramp at the desired angle.
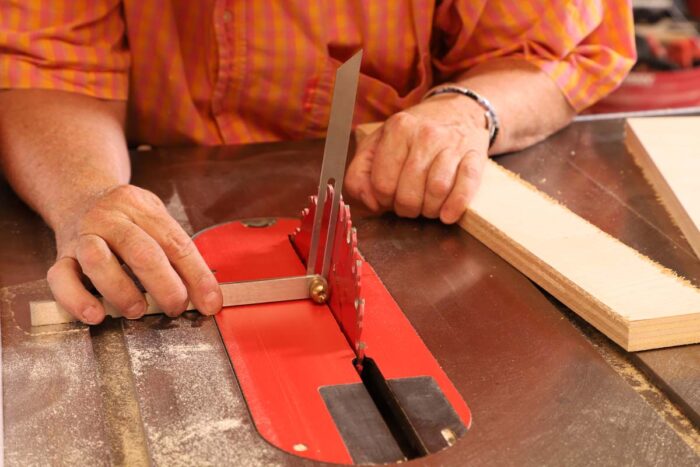 |
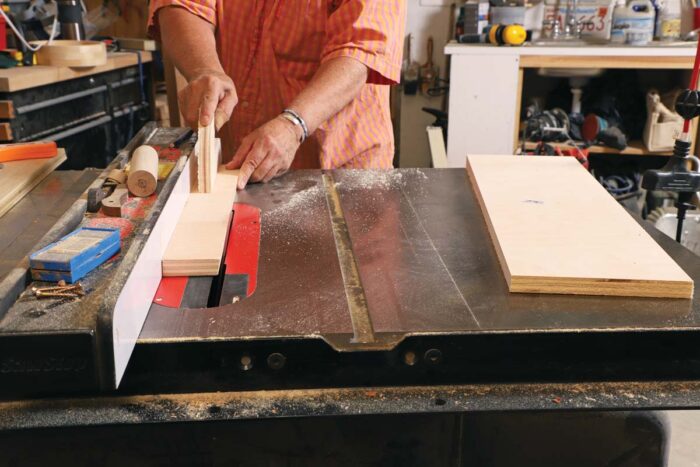 |
Once your spacer is in place, push the jig tight to the curve of the drill-press post, pivot it until it is centered, and clamp the jig to the table. Adjust the drill-press table to the proper height for drilling and you’re ready to drill.☐
 |
 |
Beth Ireland works wood in Saint Petersburg, Fla., and teaches across the country.
Sign up for eletters today and get the latest techniques and how-to from Fine Woodworking, plus special offers.

