

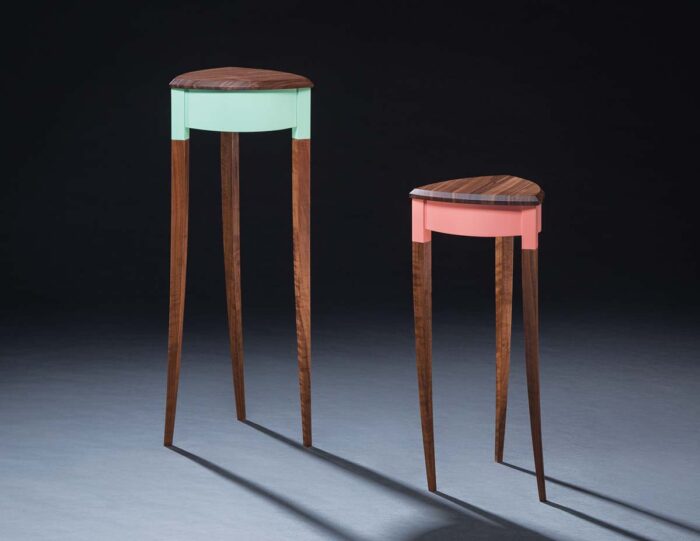
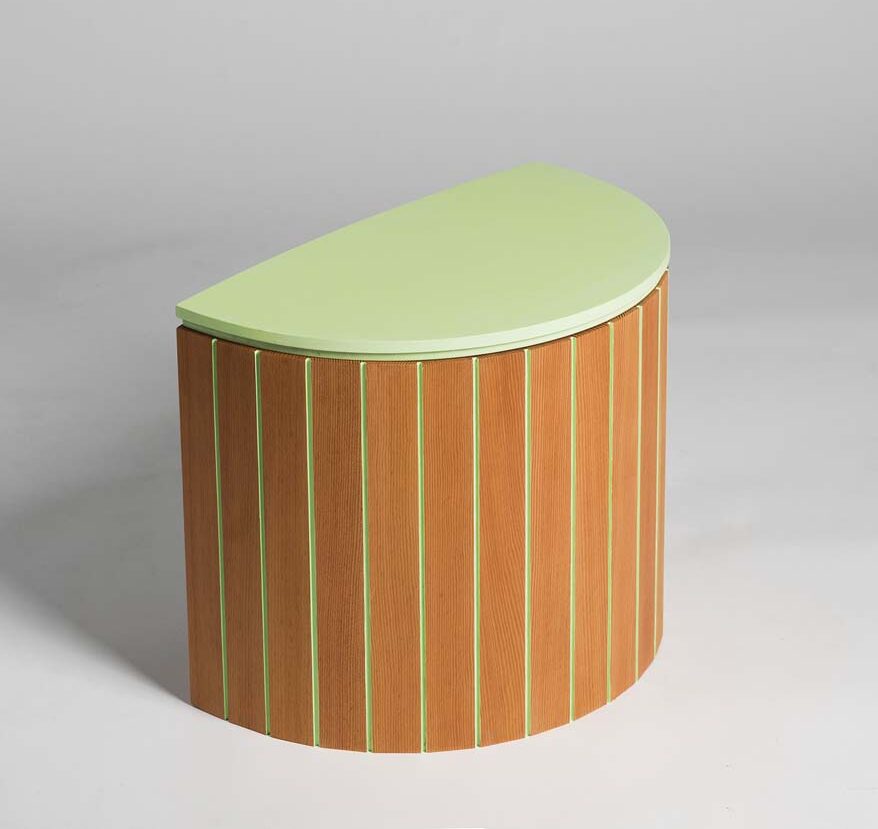
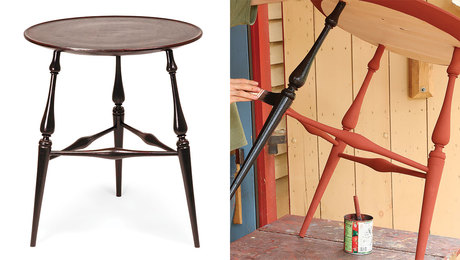
A distinctive design carries the designer’s “voice” or personal style. I’ve cultivated my own through learning design fundamentals and trial-and-error. I’ve experimented extensively with painting furniture, and found that, done right, paint adds not just color, but textural and geometric interest as well. Of course, it pays to be intentional. Pairing the right color with the right wood, choosing the right paint type, and applying it skillfully can transform by-the-numbers designs into works of art.
|
|
|

Start with the finish
After establishing the form and function of a piece, it’s never long before my mind wanders to the question “What about the paint?”
I first establish where I want it. I might paint a table’s aprons while leaving the top bare, or vice versa. I’ll paint parts of a leg, perhaps breaking the height of the piece into thirds and stopping the paint about a third of the way down. Take your time planning, and consider how you want the paint to balance with the rest of the piece. My goal here is entirely aesthetic, but there’s a practical benefit to planning since I can figure out where it’s possible to prefinish.
Applying finish to a piece isn’t usually wholly considered until assembly, but I find that when dealing with intersections between painted and clear areas it’s helpful to determine how painting and construction can work together. In some cases, you can paint entire components, and perhaps clear-coat others, before glue-up and assembly.
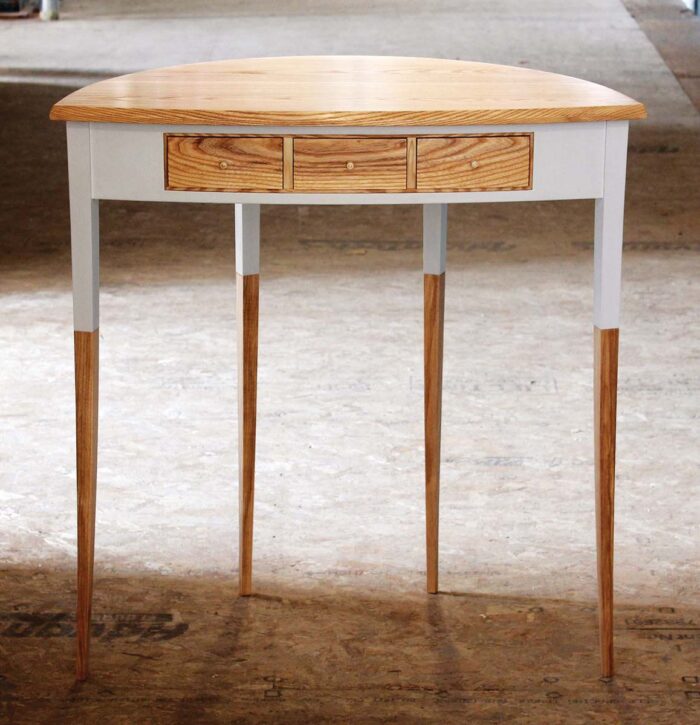
Now it’s time to select wood species and paint. Not all woods accept paint in the same way, and not all types of paint get along with all woods. Although I am no stranger to bolder colors, I typically pair lighter-color woods, like ash or maple, with a white or cream paint. Maple is very easy to paint over because of its tight grain. Conversely, ash requires far more applications and labor between coats due to its coarse and open grain. Paint settles in wood pores similarly to varnish and other clear finishes, so if you are looking for less texture, open pores must be filled to achieve a level final coat.
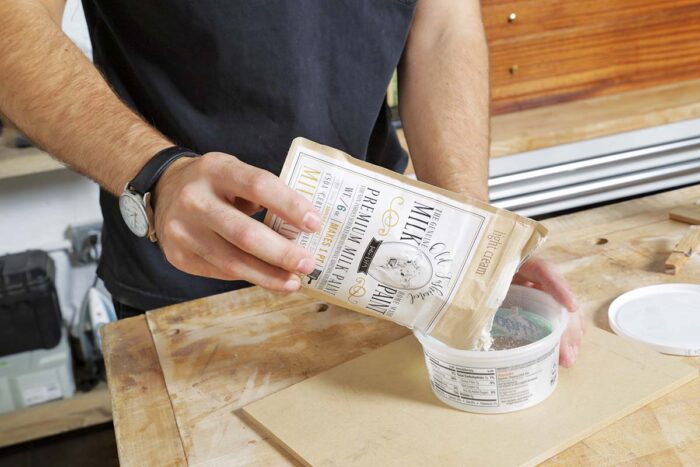
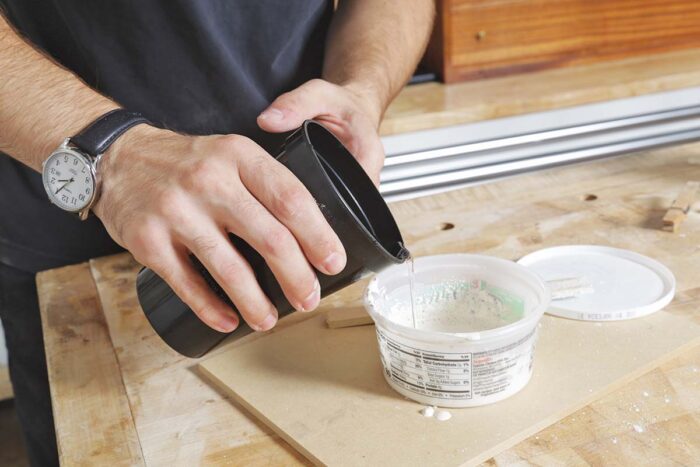
Closed-grain woods allow for a broad selection of paint options. I have used a wide variety of paints, from acrylic enamels and latex paint thinned with water all the way to artist-grade spray paints. Yet, I still find myself regularly reaching for traditional milk paint, with which I’ve had great success. Milk paint has wonderful pore-filling qualities and a visually appealing texture. It’s also forgiving and easy to work with. Applied well, it will patina beautifully with use. And no primer coats are needed with milk paint.
|
|
|
The paint color you choose is completely up to you, but remember that the color of any wood left unpainted must be considered. When using bold paints, I first choose my primary wood and generalize it as a color so I can use color theory to make a paint selection. For example, if my primary wood is cherry, it’s safe to consider it as red or a very warm orange. From this point I can identify the colors that work well with red, such as green, which is complementary. Very light-color woods, like soft maple or basswood, are perfect to combine with paint, offering great latitude in the colors they pair well with because they are closer to white or a neutral beige than anything else, much like a blank canvas.
Sharp transitions, clean results
Painting furniture soon presented me with two problems: creating crisp transitions and preventing flaking. Blue tape alone won’t produce a consistently crisp line, and even if it did, simply taping and painting leaves the paint layer higher than adjacent unpainted surfaces, making it prone to flaking. My solution has been to knife or chisel transition lines, then carefully tuck the tape into them. The score line serves as both a cavity and a dam for the paint. As a result, the transition is both stronger and cleaner.
Once I have decided where to terminate the paint, I establish the knife lines. I use a square to wrap knife lines around square parts, and a bevel gauge for angled parts.
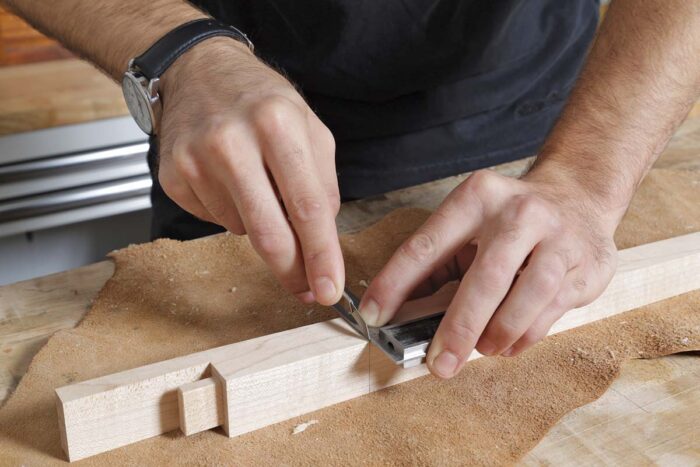
When knifing, be bold. The deeper the knife line, the easier it is to get the tape seated inside it. I prefer a good box cutter instead of a marking knife because it leaves a slight bevel on each wall of the knife line. On harder woods, I will occasionally use a chisel to set the knife lines deeper.

Tape it off
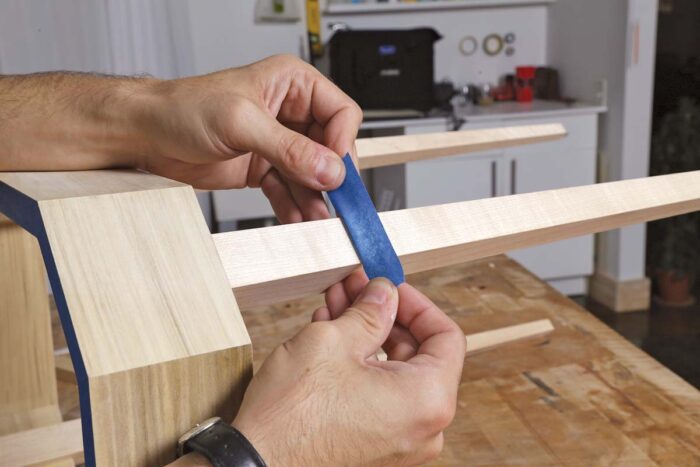
I use a good quality blue tape. One roll goes a long way, and the extra money spent on better quality tape is worth it. I carefully tuck blue tape into the knife lines and burnish it with a plastic palette knife.
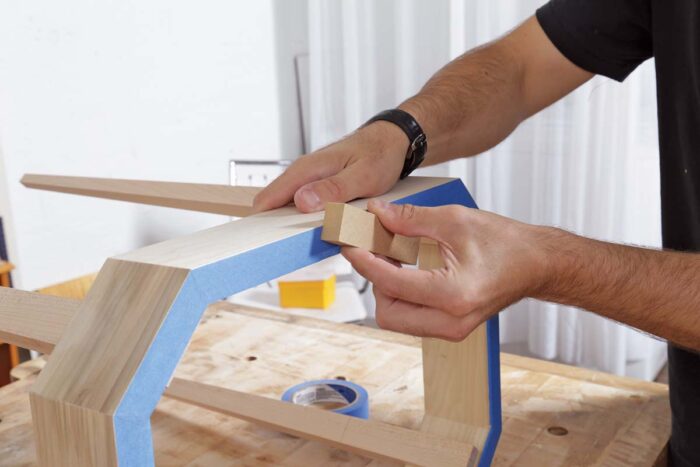
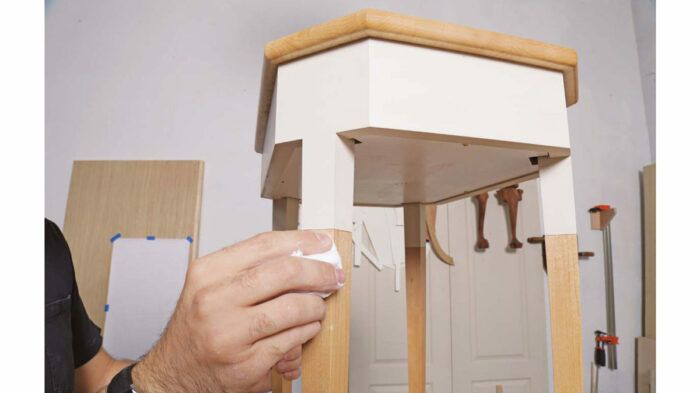
Tape off any edges you don’t intend to paint, even after assembly if necessary, being sure to press the tape down with a piece of MDF.
 |
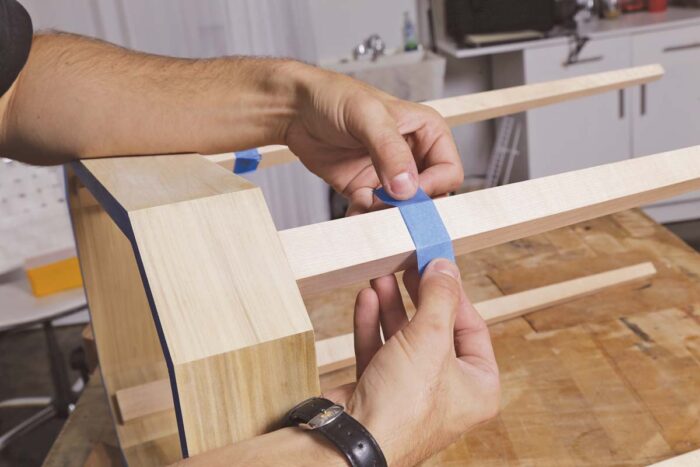 |
Tuck the taut tape into your knife line. This will ensure a much sharper and bleedfree transition between paint areas and clear areas and protect the paint from flaking.
 |
 |
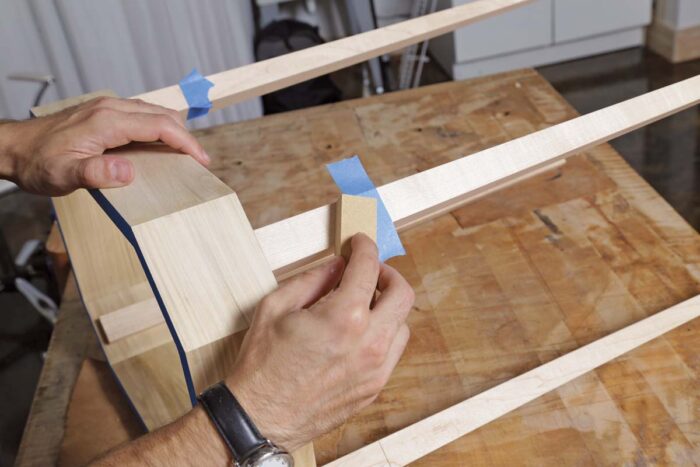
Flatten the tape and press it down with a block of MDF. Use a flat block to ensure it adheres well to the wood. Then burnish down the tape in the knife line with a plastic palette knife. The eased edge of the knife can firmly press the tape into the knife line without cutting it. Fold back any excess tape.
Paint with the grain
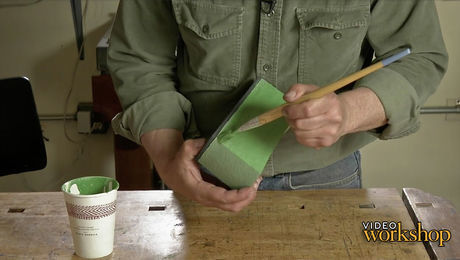
Wrap any areas that will remain natural with craft paper to guard them against accidental splashes of paint. Use a foam brush to apply the paint. Brush away from the transitions to avoid a buildup of paint at the tape. Brushing with the grain helps to fill the pores and create a smooth finish. Leave the tape on until you’re satisfied with the results.
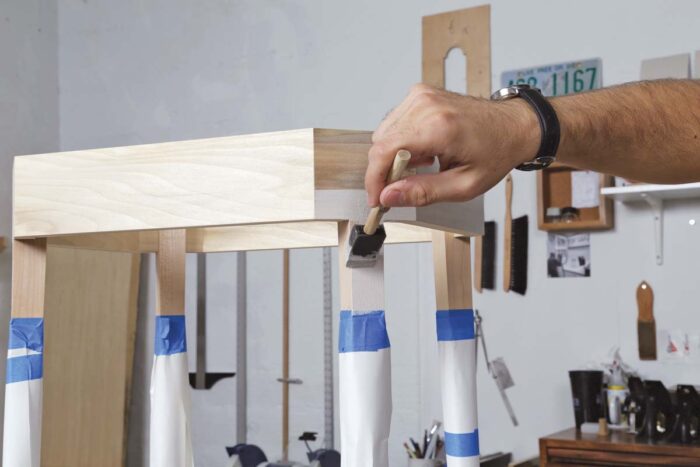
Using a foam brush ensures smooth application. Brush away from the tape to prevent any paint from pooling in your knifed lines. Follow with strokes along the grain to help fill the pores.
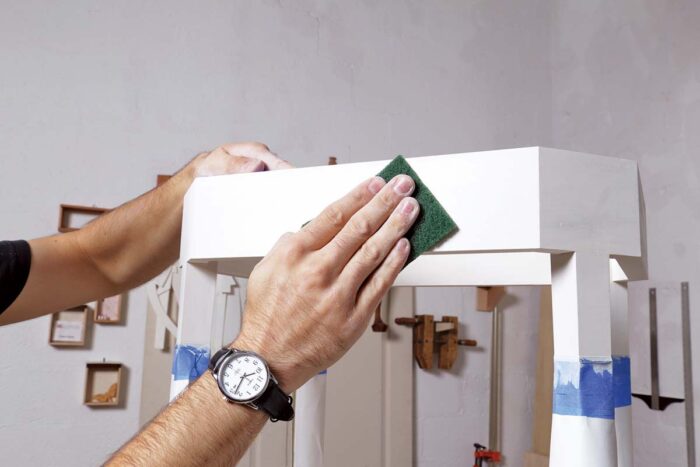
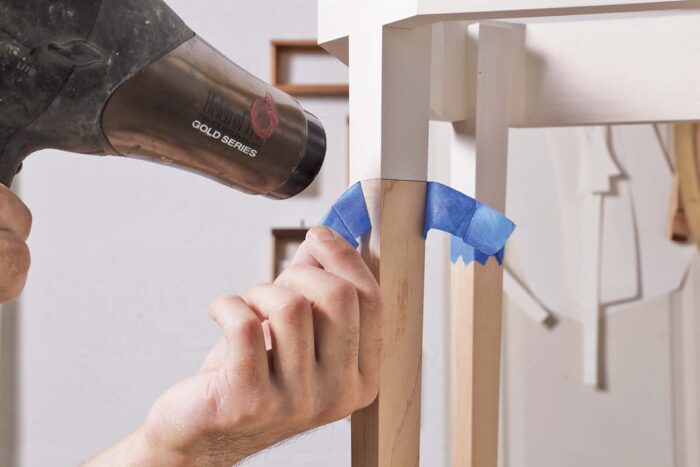
Take care when pulling off the tape; it tends to pull up and tear the fibers, especially after burnishing. Use a hairdryer or heat gun set on low to gently heat the tape and melt its adhesive before lifting the tape.
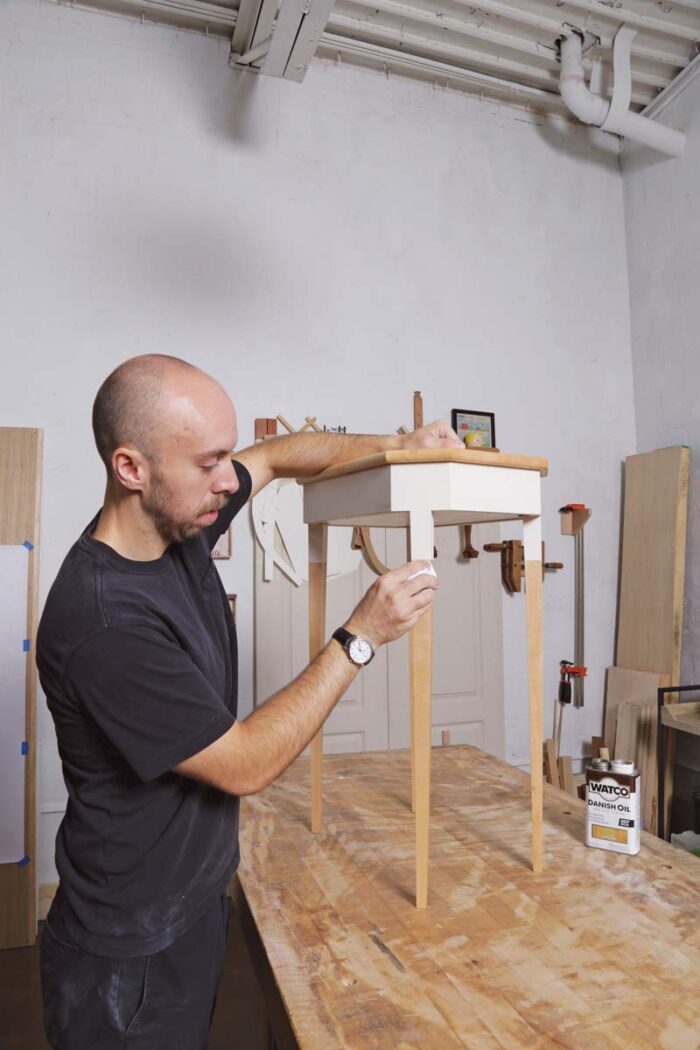
Finally, I apply Danish oil to the clear finished areas. Begin by finishing just the unpainted areas. Once the finish is dry, apply a second coat to the entire piece.
-Evan Court is a furniture designer and craftsperson in Dallas, Texas.
Sign up for eletters today and get the latest techniques and how-to from Fine Woodworking, plus special offers.