

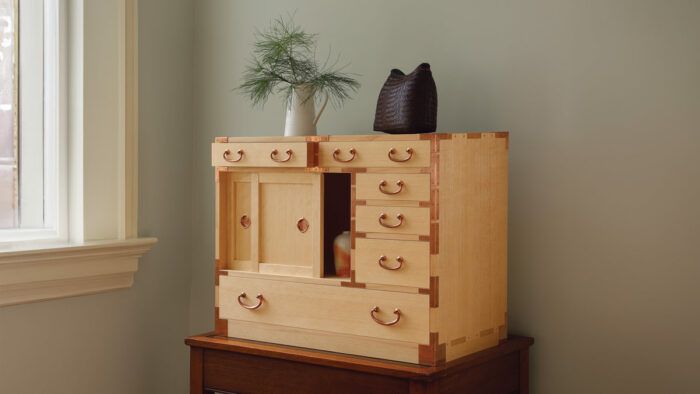
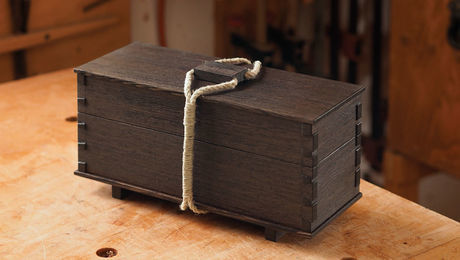
Tansu have long fascinated me. In fact, a tansu in an antique shop window contributed greatly to my taking up serious woodworking. Something about all of those drawers and doors spoke to me, not only of function but of potential. Like the pages of a brand new sketchbook, it’s not the empty drawers that make a tansu compelling, but what you might fill them with. The particular tansu that inspired this build is called a ko-dansu, or personal storage chest. What all of the drawers were intended for I have no idea, but the proportions and layout appealed to me. While the original was built from kiri (paulownia), I’ll be building this one from Port Orford cedar. Enough talk, let’s build a tansu!
Finger joints
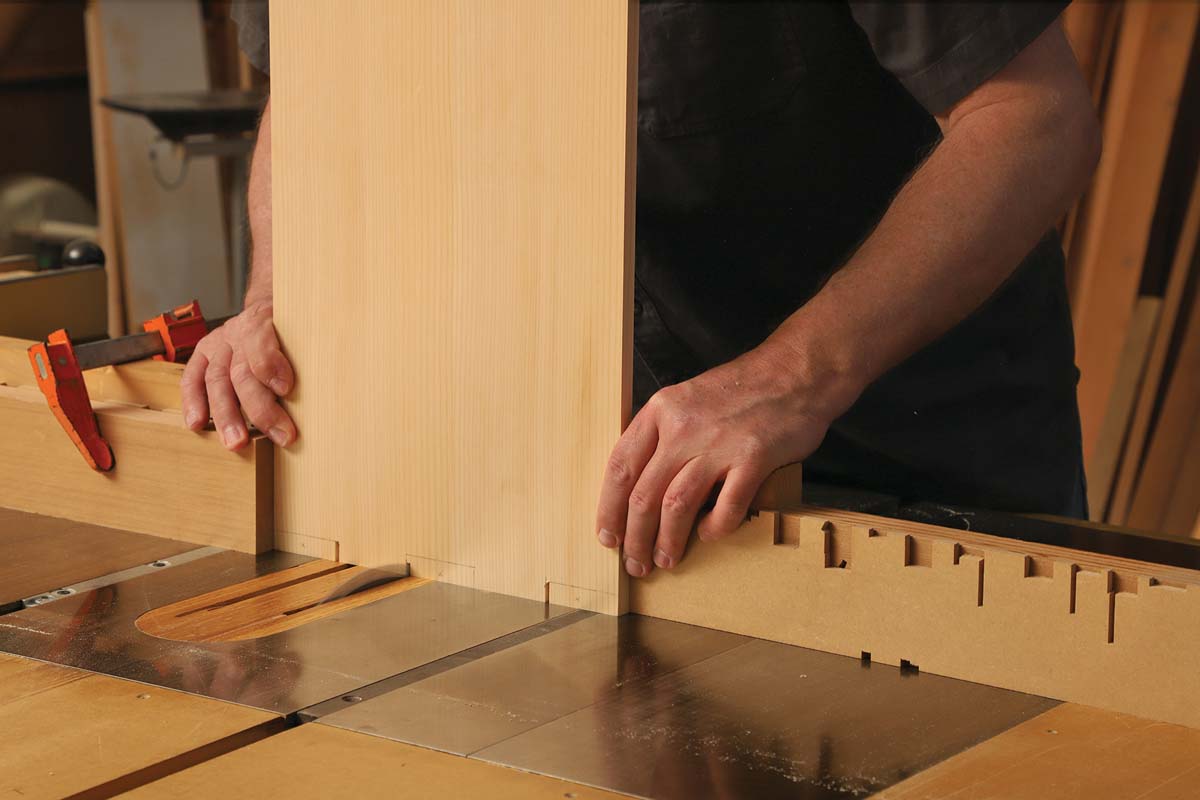
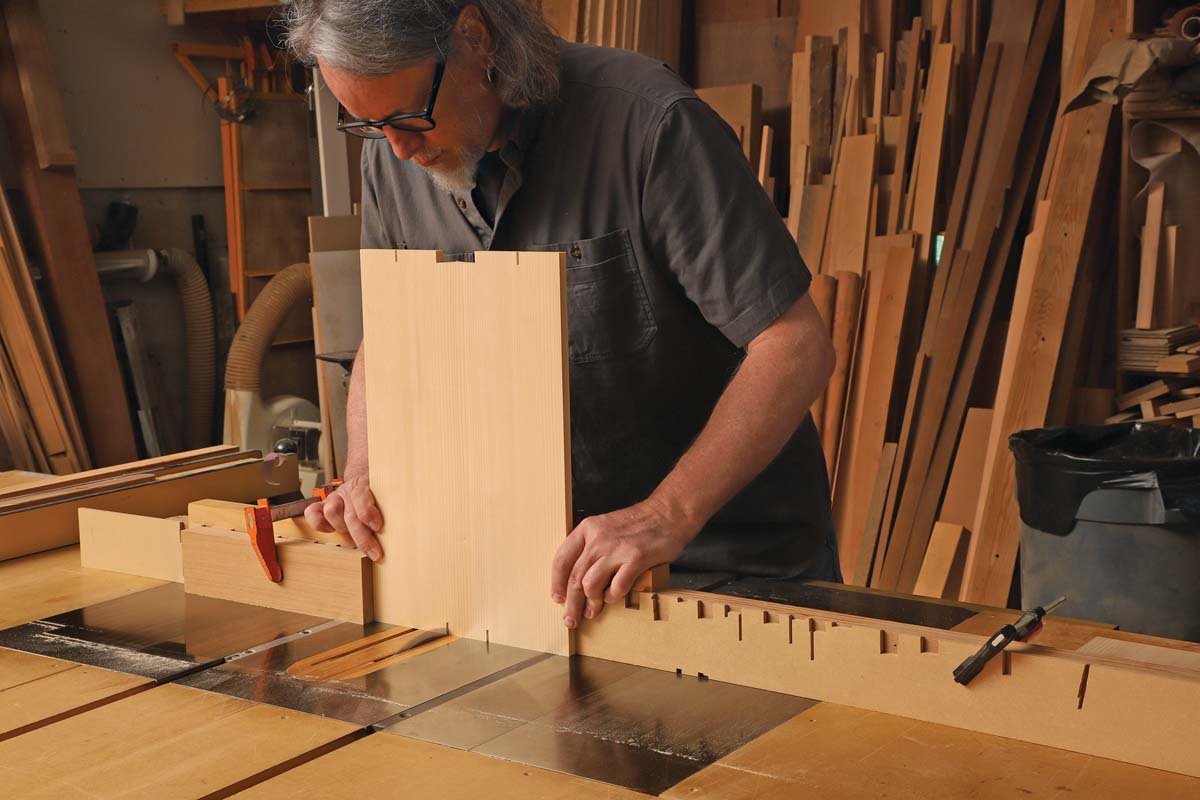
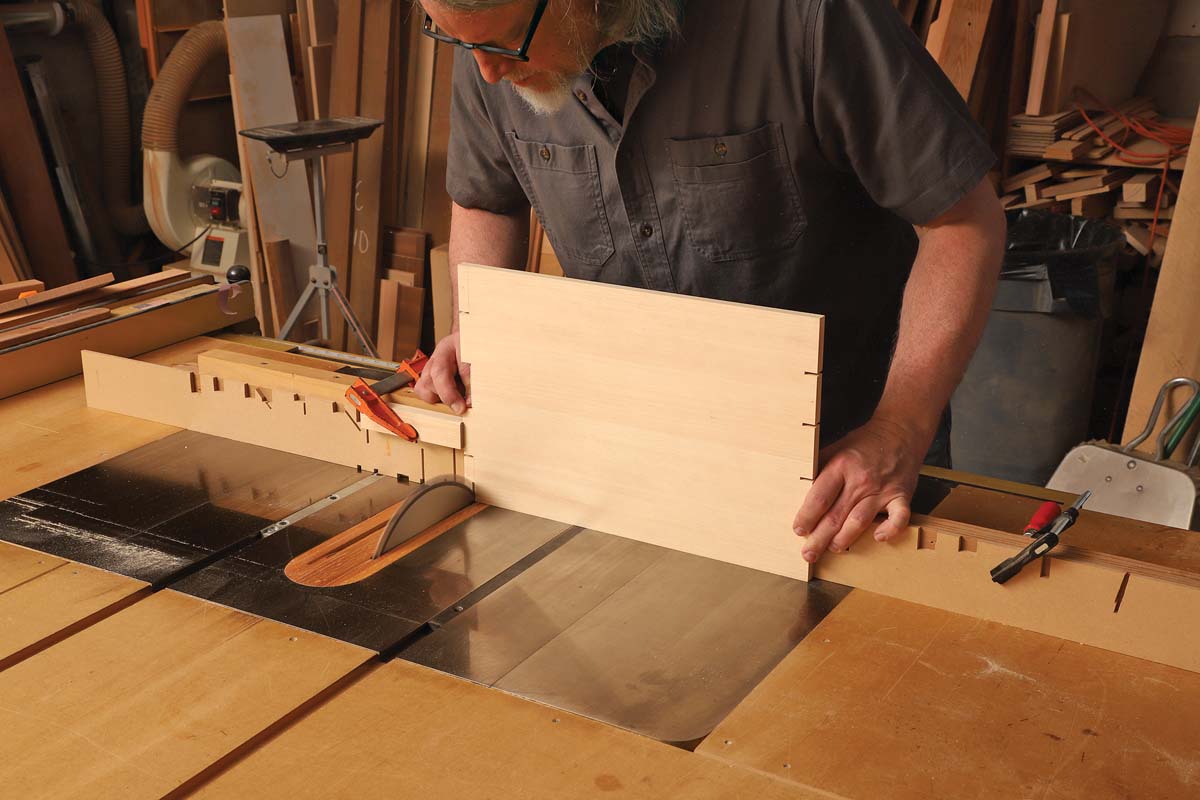
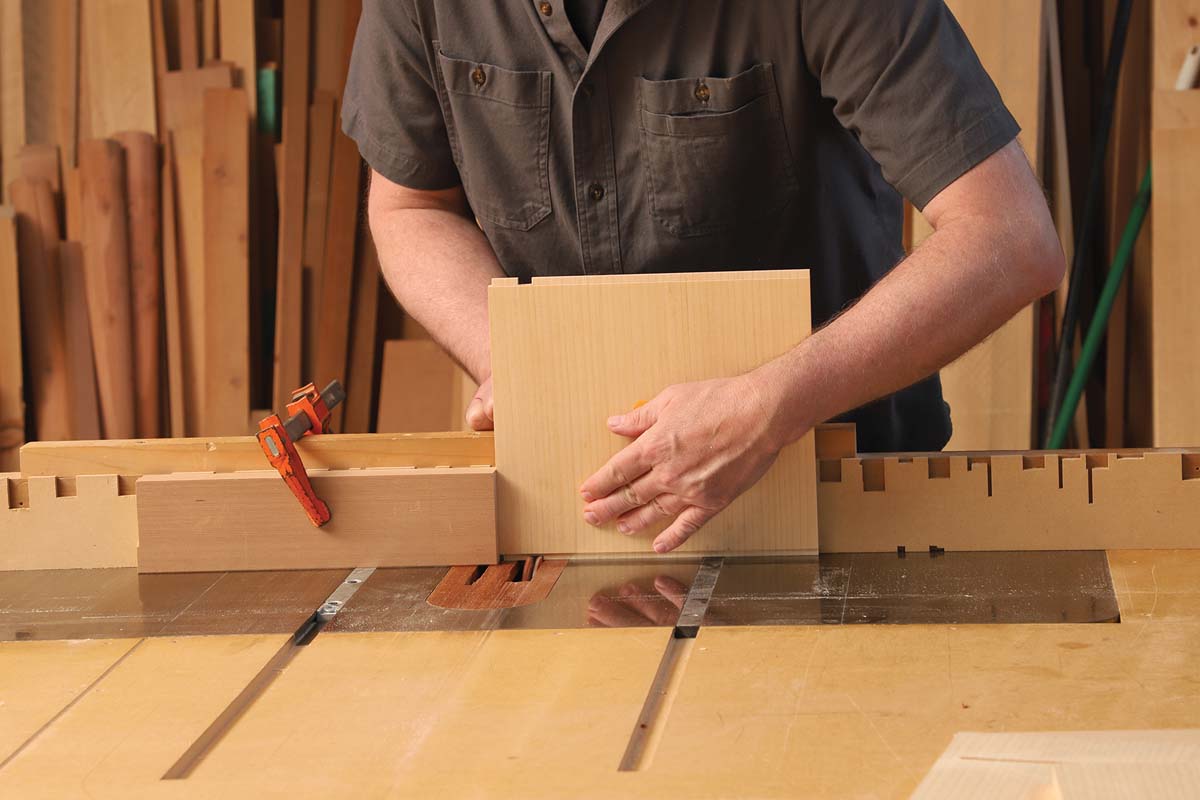
The carcases of box-style tansu like this one (as opposed to frame-and-panel style) are commonly constructed using wide, pinned finger joints, and almost always have five fingers per corner. The fingers are typically cut in opposition at the top and bottom corners, and because keeping track can get confusing, it’s important to mark which fingers will be removed and which will stay.
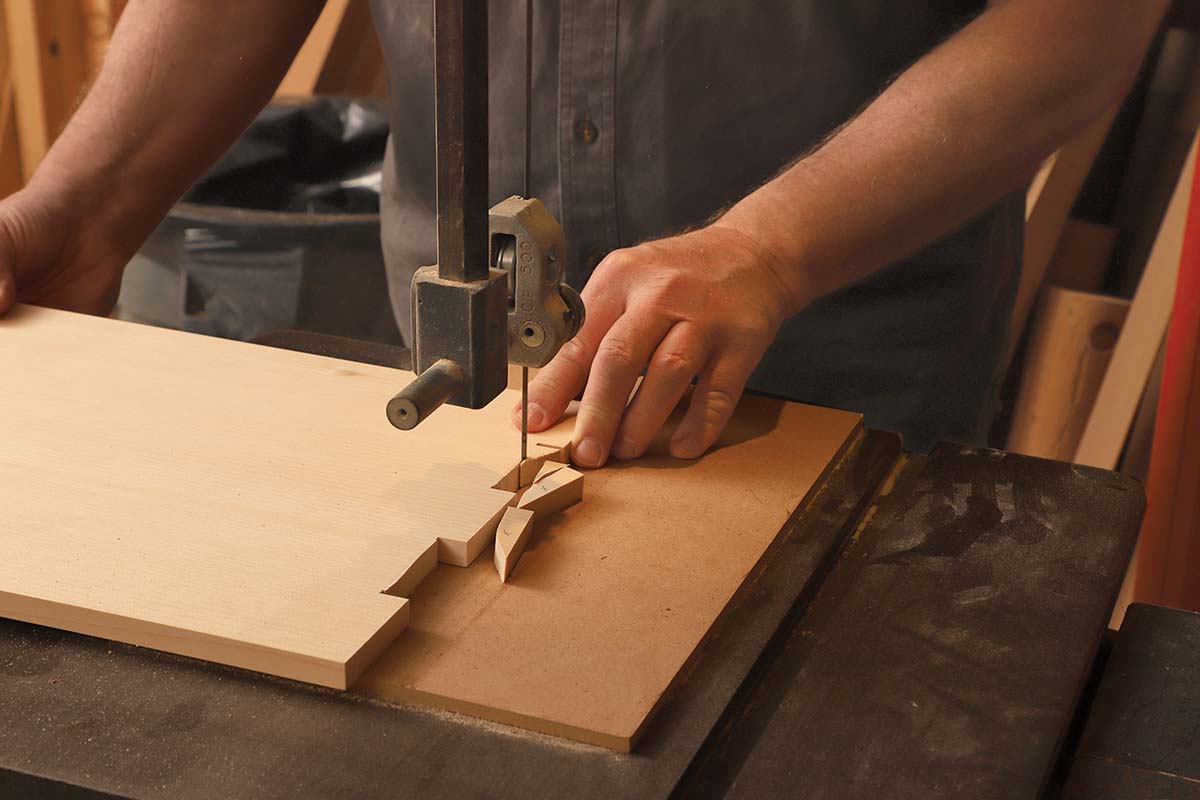
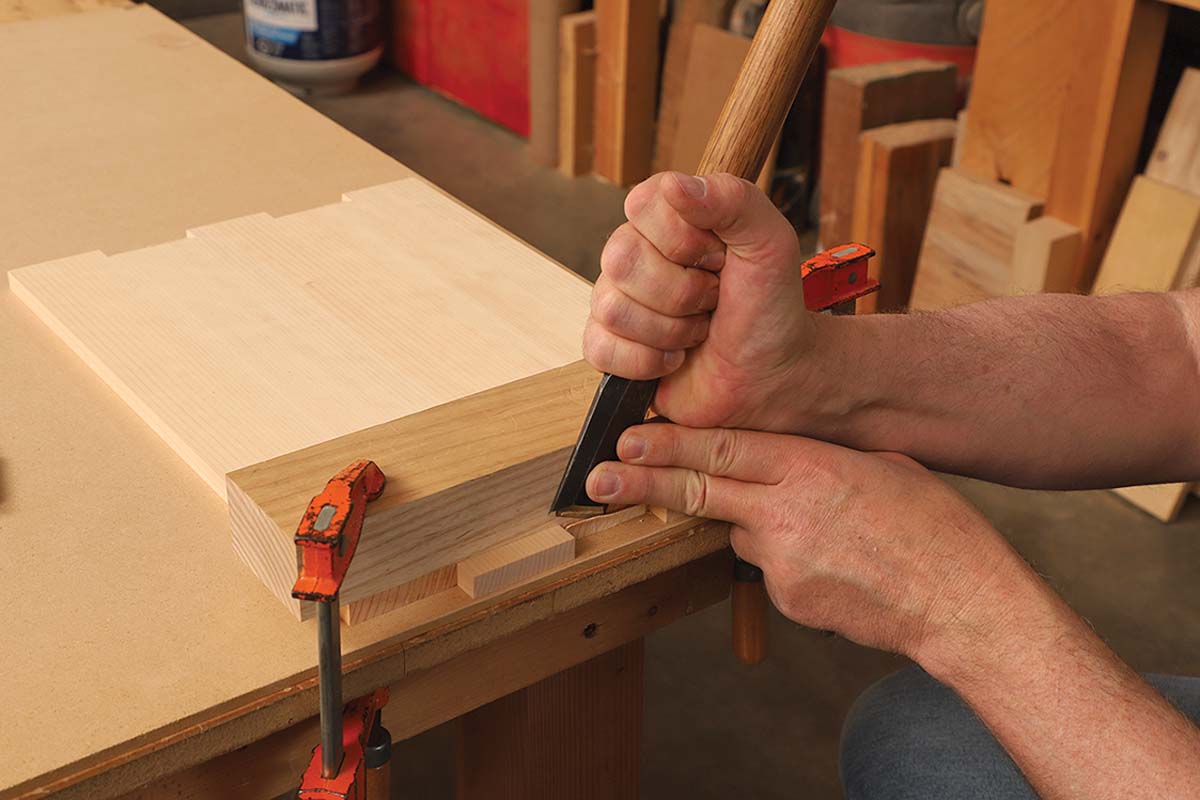
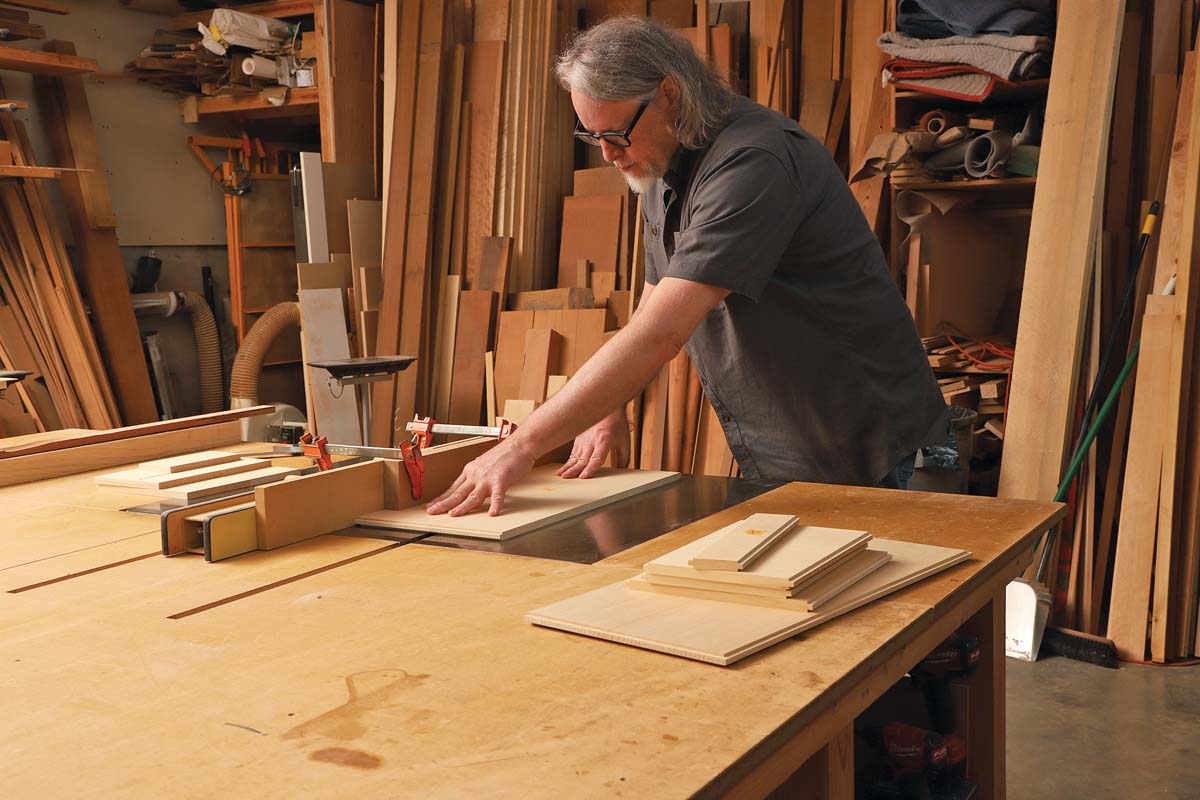
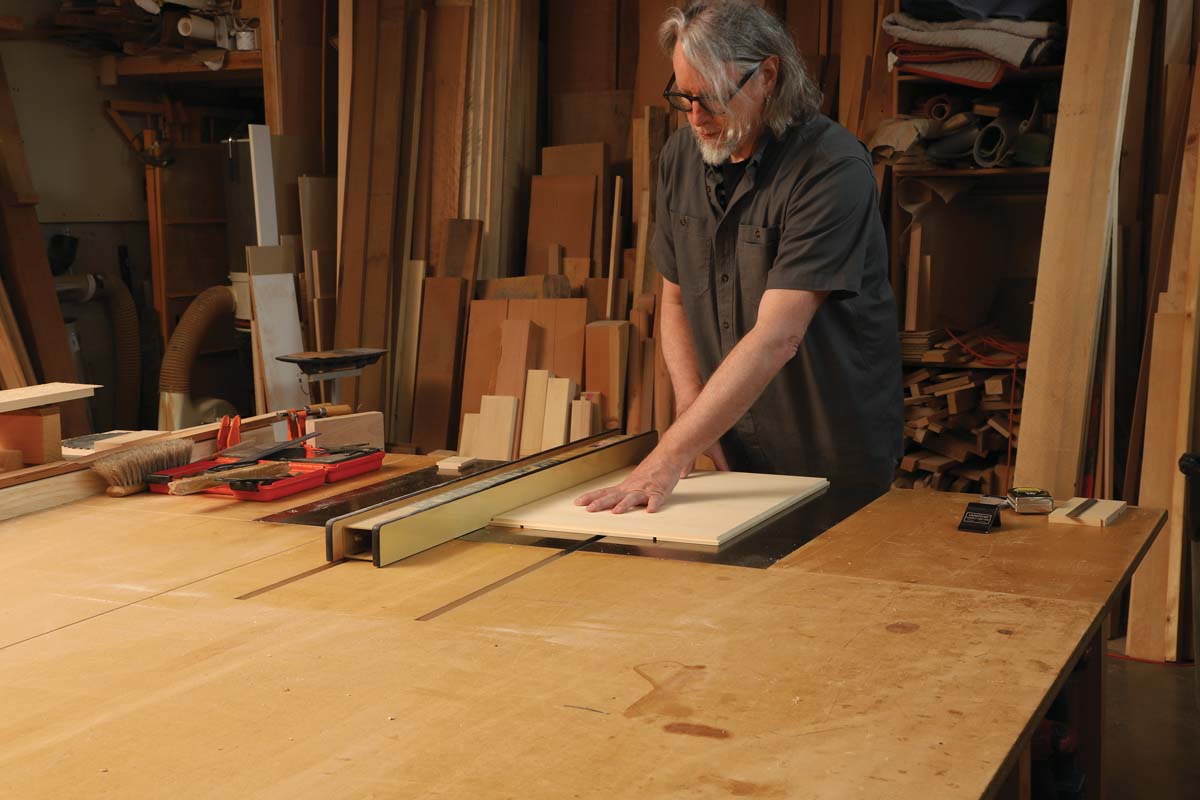
I lay out all of the fingers with a square. The case sides are 1⁄2 in. thick, but because I want a little overhang to plane off later, I make the fingers 9⁄16 in. deep. At the table saw, I carefully set up stops and make cheek cuts for both ends of the top piece and the bottom ends of the side pieces. Before cutting the cheeks for the mating fingers, I use an offcut the same width as the case pieces to reset the stops. To make shoulder cuts at the edges of the boards, I use a miter gauge at the table saw; for the shoulders between fingers I use the bandsaw followed by hand chiseling.
When all of the joints are cut, I dry-fit the four sides and double check the inside dimensions. I also make reference marks showing the location of the dadoes that house the back panel. These help keep track of inside/outside, front and back on all four parts.

|
|
|
Tongues and tenons
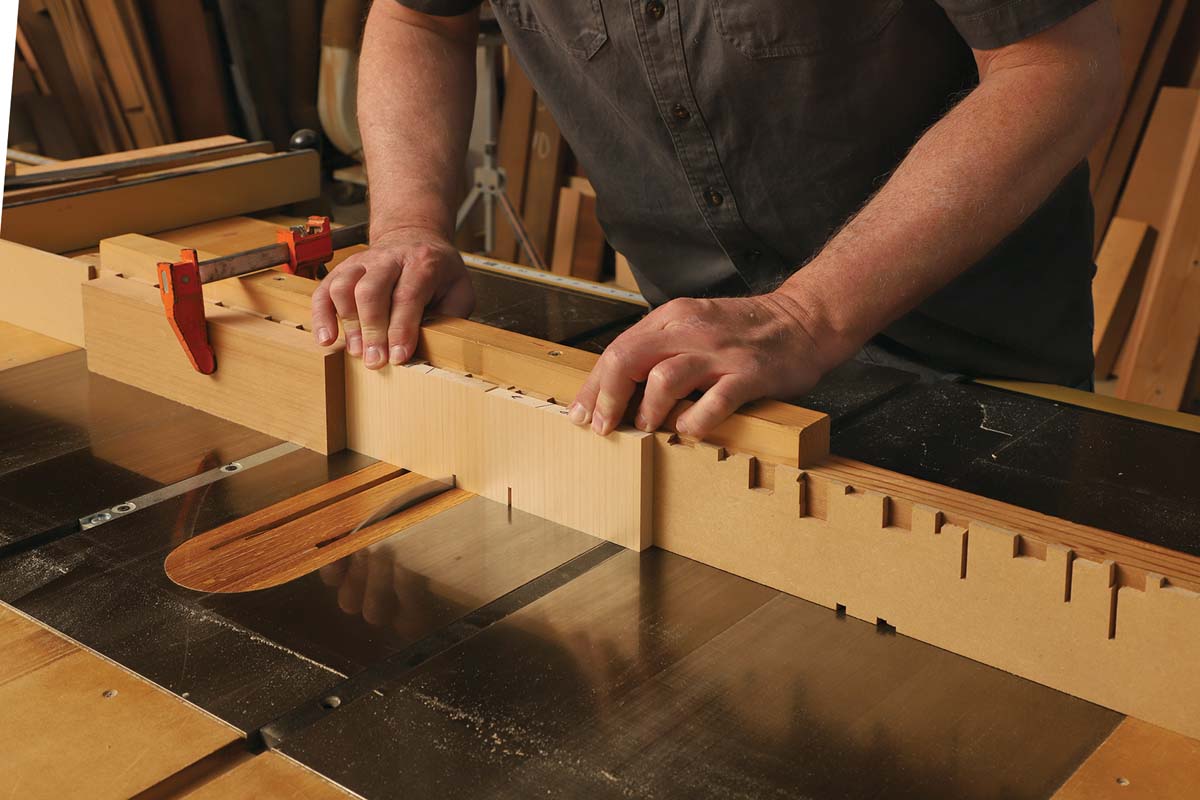
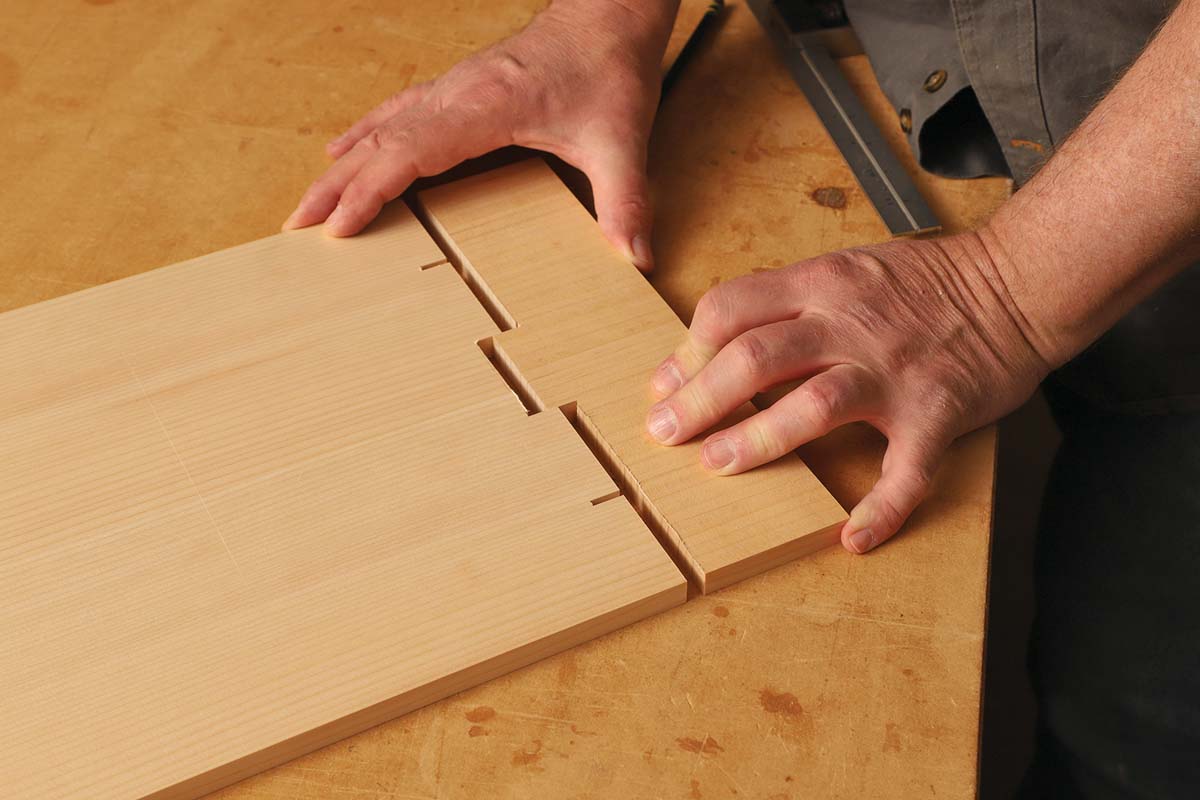
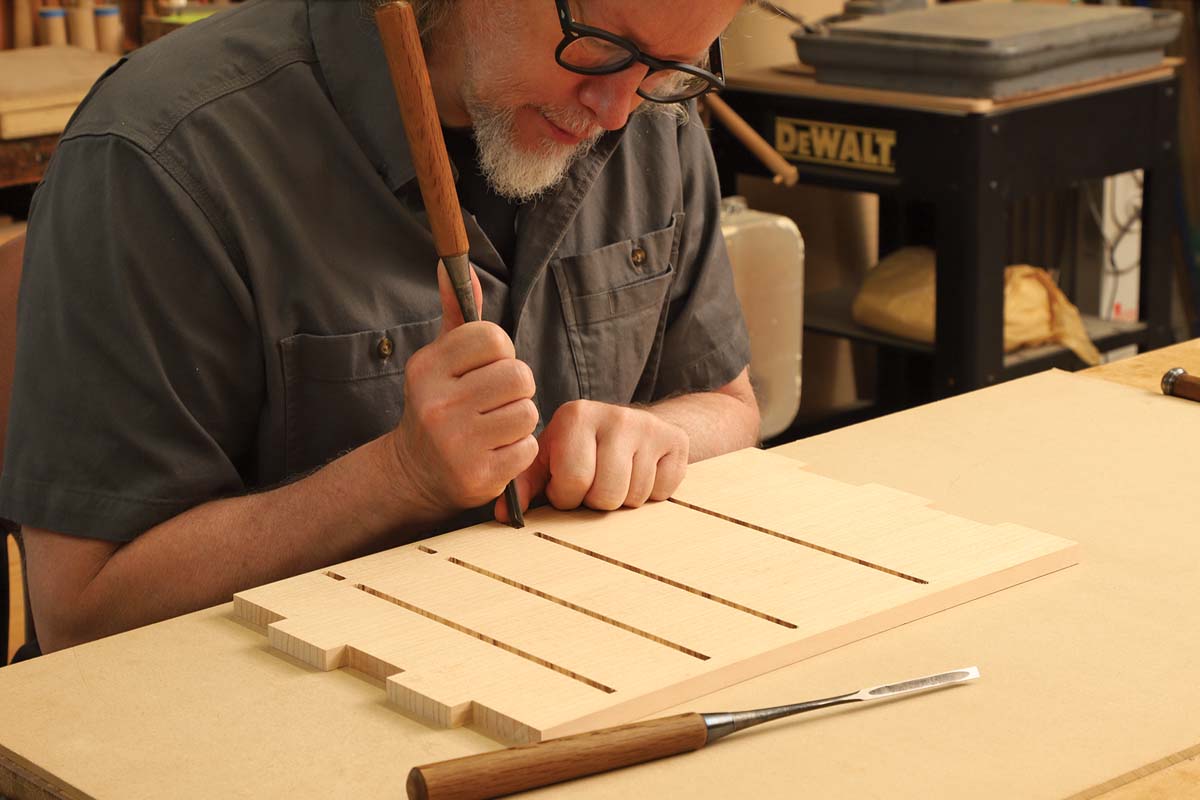
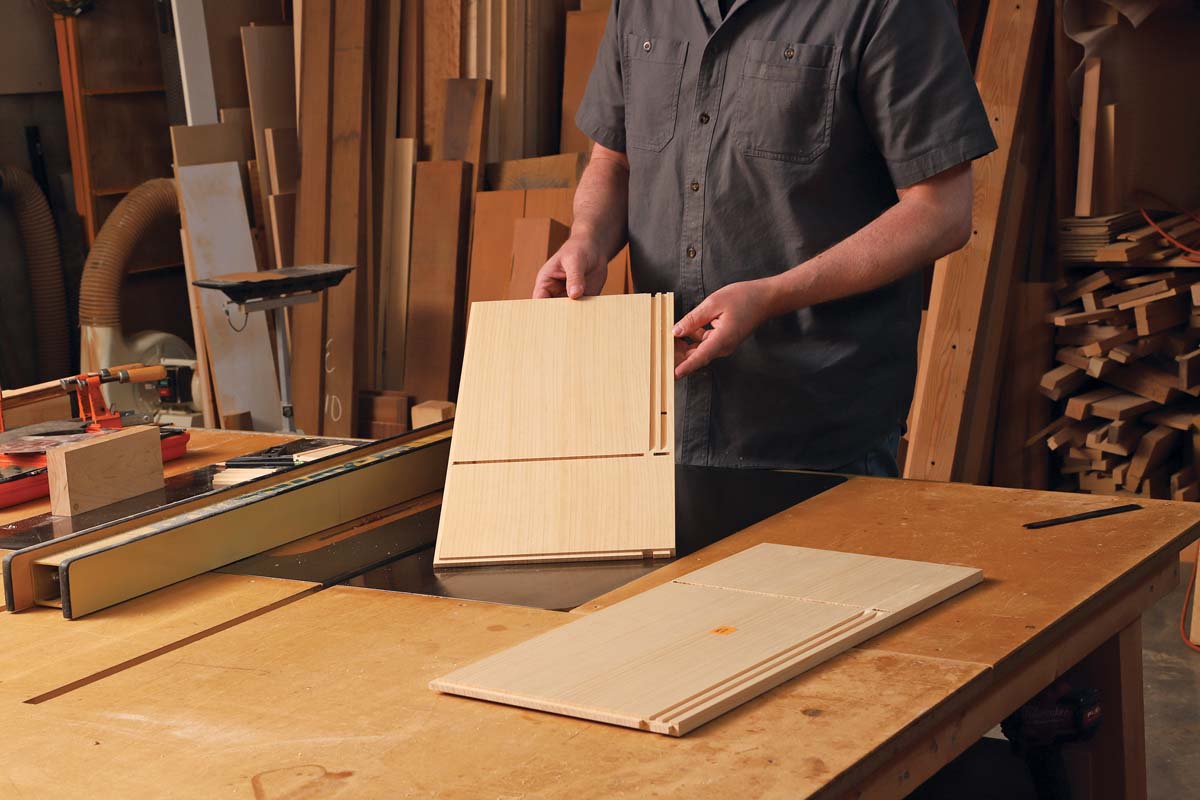
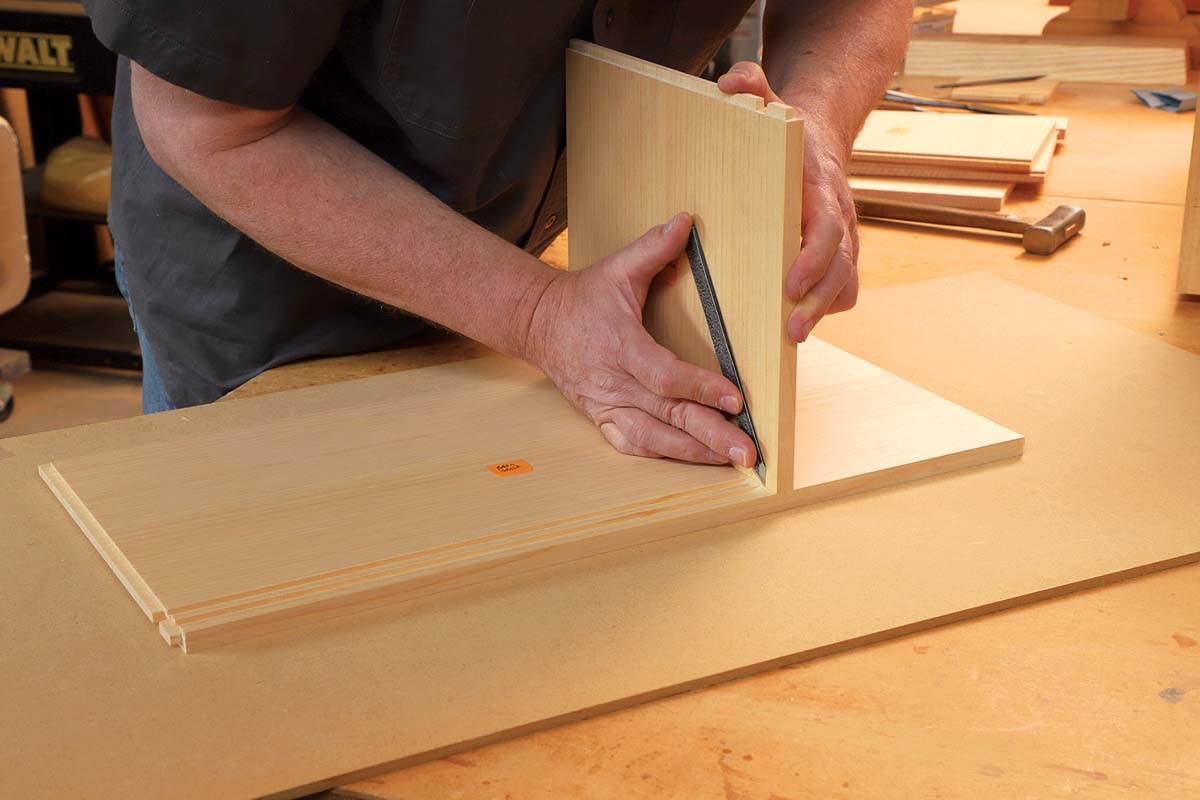
The interior case parts are all joined with a Japanese variation on the tongue-and-groove. A continuous tongue is cut first. Then a notch is cut through the tongue creating a 3⁄4-in.-wide tenon that helps with assembly and keeps the parts from drifting over time.
Using a scrap piece and the dado stack on the table saw, I dial in cuts to create a tongue that is 1⁄4 in. long and 1⁄4 in. wide. I cut tongues on the ends of all of the internal parts, and then modify the tongues by cutting a 1⁄2-in.-deep front shoulder and then the notch that creates the separated tenon at the front. Once all the parts are cut at the table saw, I finish the notch with a chisel.
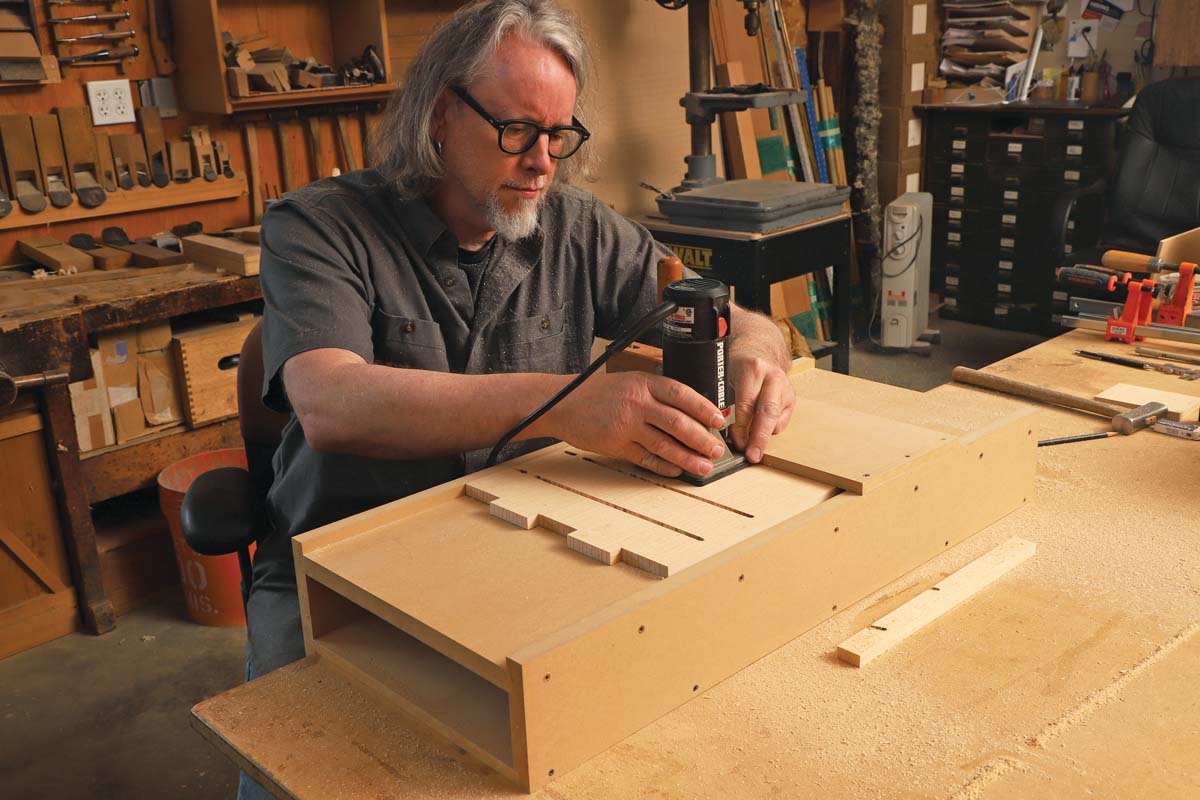
I use my trim router with a 1⁄4-in. bit to make all of the dadoes and mortises for these joints. Because I prefer to chisel my dadoes and mortises square instead of rounding the tenons, I stop a little shy of the lines and finish up with a chisel.
To the back
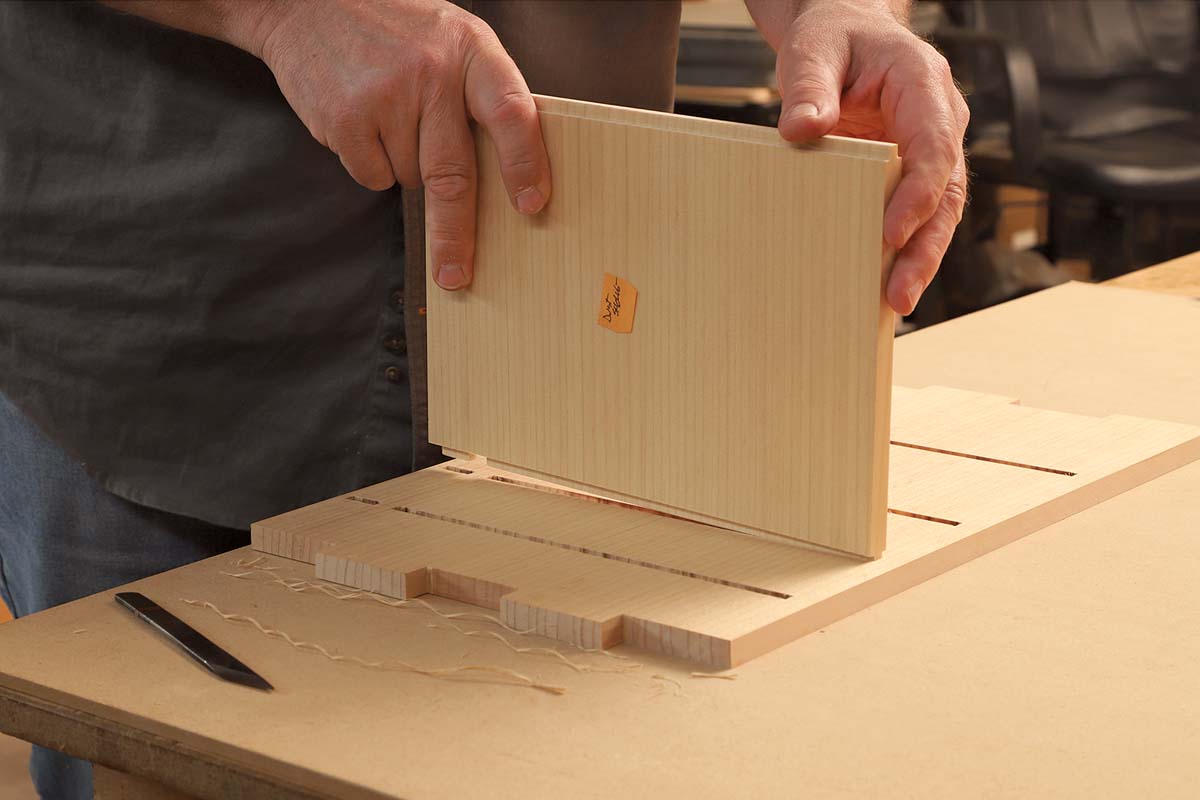
Here I depart from typical tansu construction. Traditionally, the back panel of a tansu is fitted beneath the top and nailed directly to the back edges of the carcase. This causes some wood movement issues, and it’s not terribly attractive. Since this tansu will likely be seen from all sides, I chose to cut a tongue around the back and let it into the case.
Next, I dry-assemble the carcase with the back in place. Then I transfer to the back the location of the dadoes in the sides for the long horizontal dividers. Using those marks and a 1⁄4-in. dado stack, I cut dadoes across the back for the horizontal dividers.
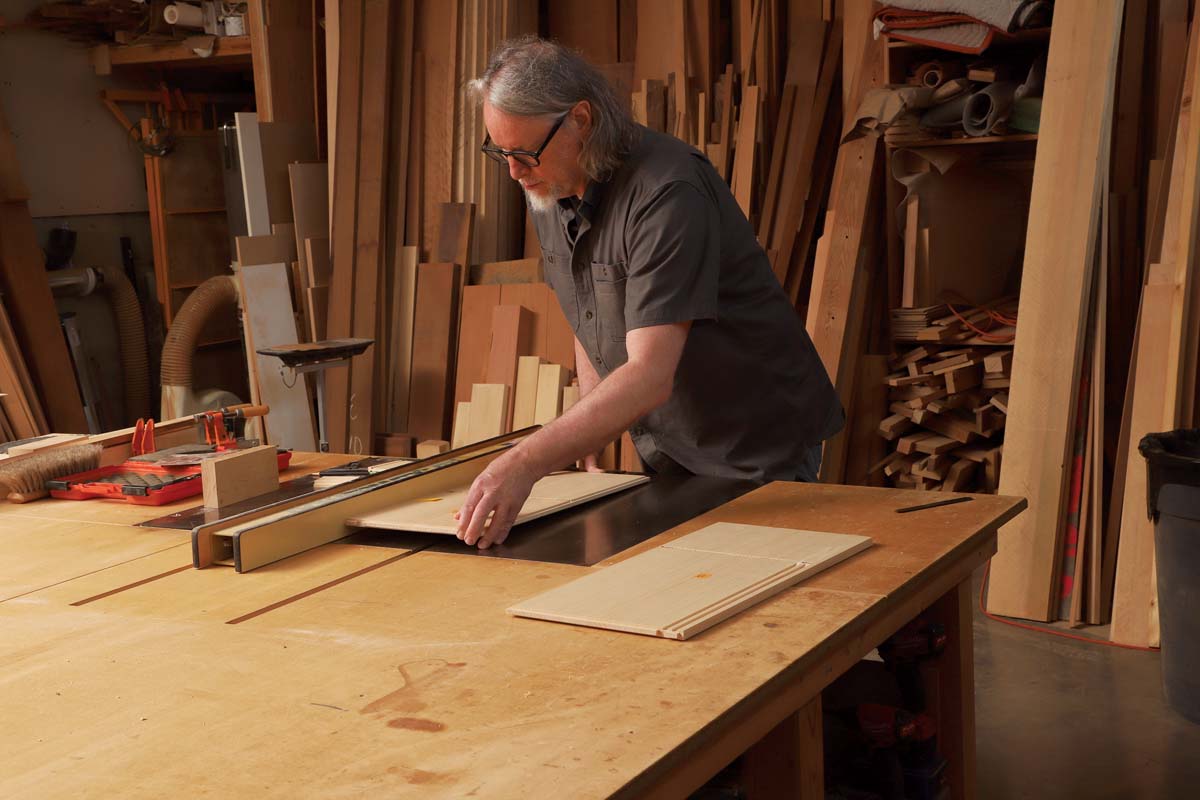
Before moving on to make the sliding doors, I cut the tracks for them in the case top and bottom. At the table saw I use a dado stack and the stop-and-drop method to cut them. I cut the tracks just slightly short, and then I fit the vertical divider into place, mark the track ends with a knife, and finish up with a chisel.
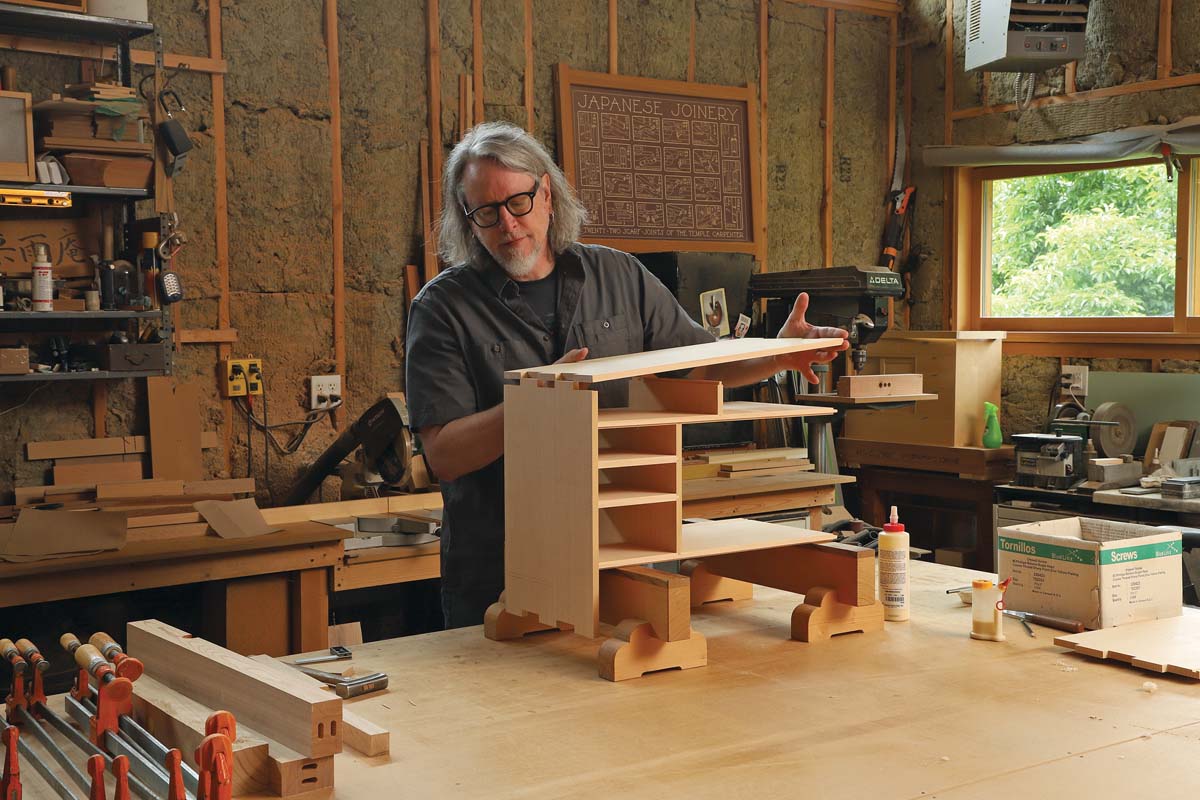
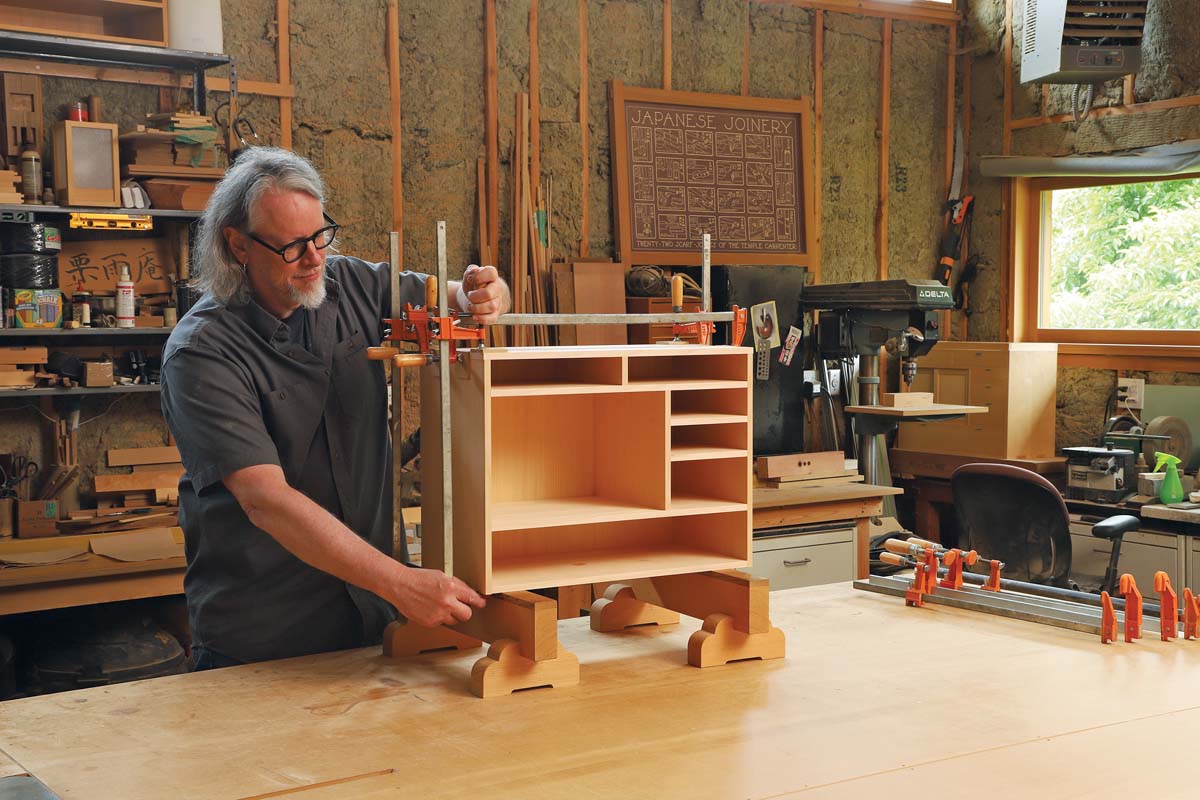
The glue-up
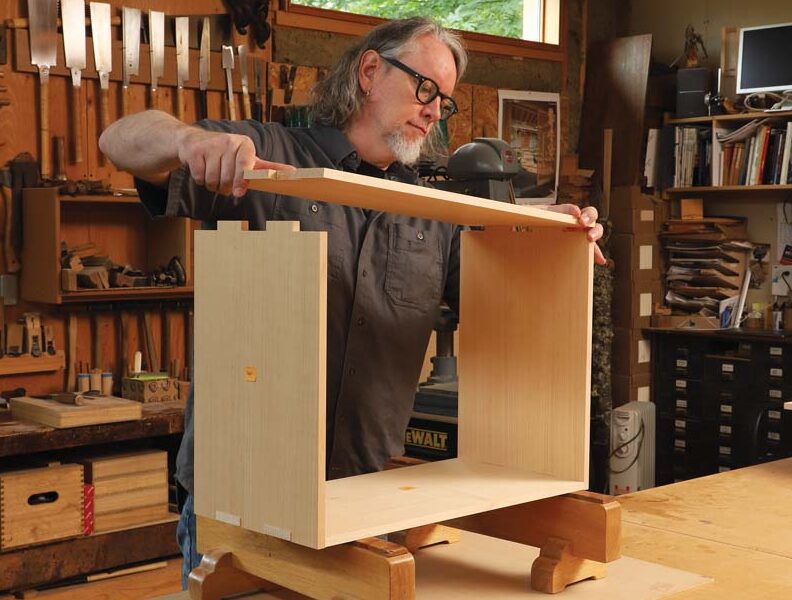
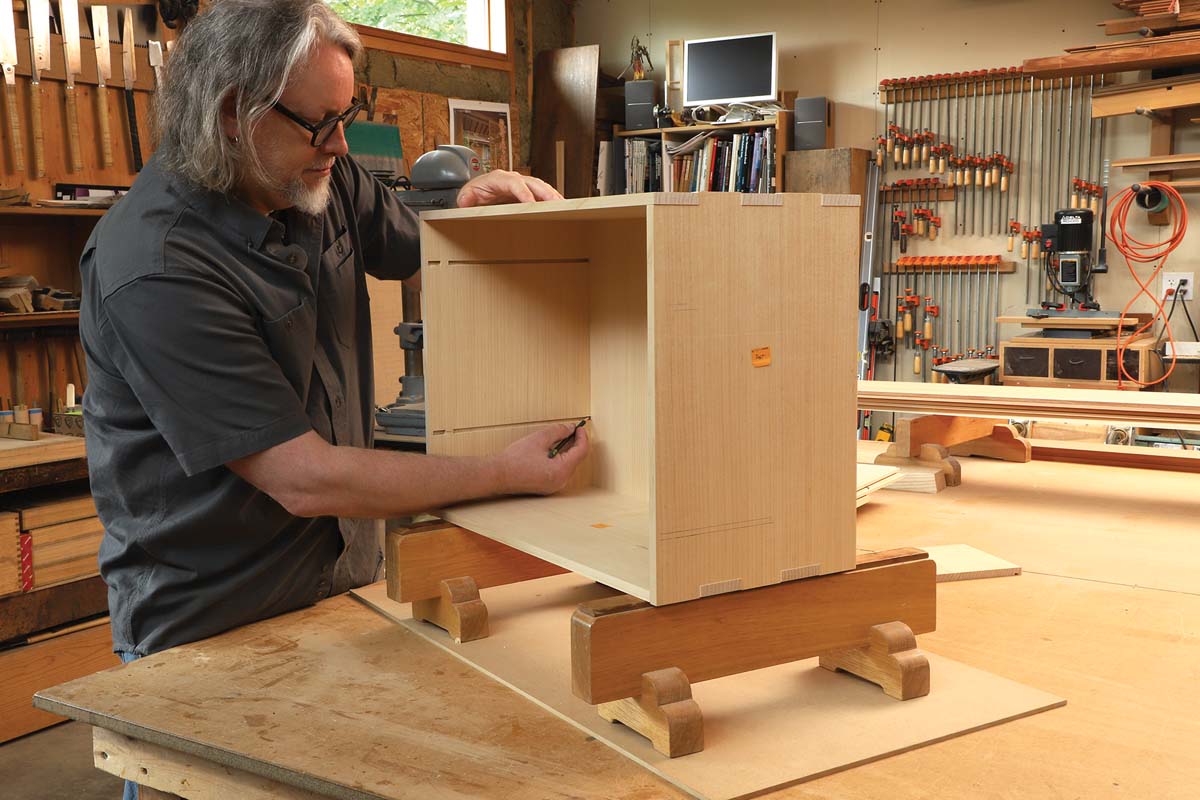
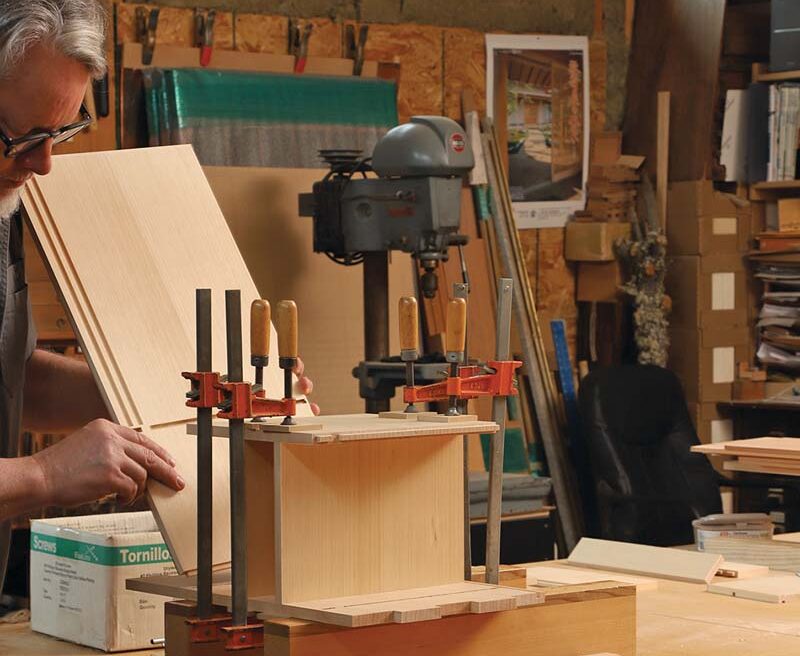
I do the glue-up in two stages. First I glue all the interior parts and the right side. When they have cured, I add the rest of the carcase and the back. When clamping the sides, it helps to have full-length clamping cauls to help keep everything flat and prevent the unsupported finger joints from drifting inward.
When the glue has cured, I remove the clamps and drill for the pins. Each finger gets two 3⁄16-in.-dia. wooden pegs. While tapered wooden nails are preferable, they can be difficult to find; regular birch dowels will suffice. Taking the whole case to the drill press, I drill pin holes 1-1⁄4 in. deep. I cut the pins 1-1⁄2 in. long and, using a pencil sharpener, chamfer one end. While it’s tempting to skip this step, it makes the insertion of the pins easier, and lessens the risk of damaging the surrounding surface. After using a toothpick to lightly apply glue inside the hole and to the pin, I tap them in. When all are in on one face, I clean off the glue and cut off the excess before moving to the next side. When everything is cured, I plane the pins and the fingers flush.
I make the base next, and when I glue up the mortise-and-tenon joints connecting the four parts of the base, I use the finished case as a pattern. When those joints have cured, I glue and pin the base to the case, leaving several inches on each side of the back corners unglued to accommodate some movement of the case.
 |
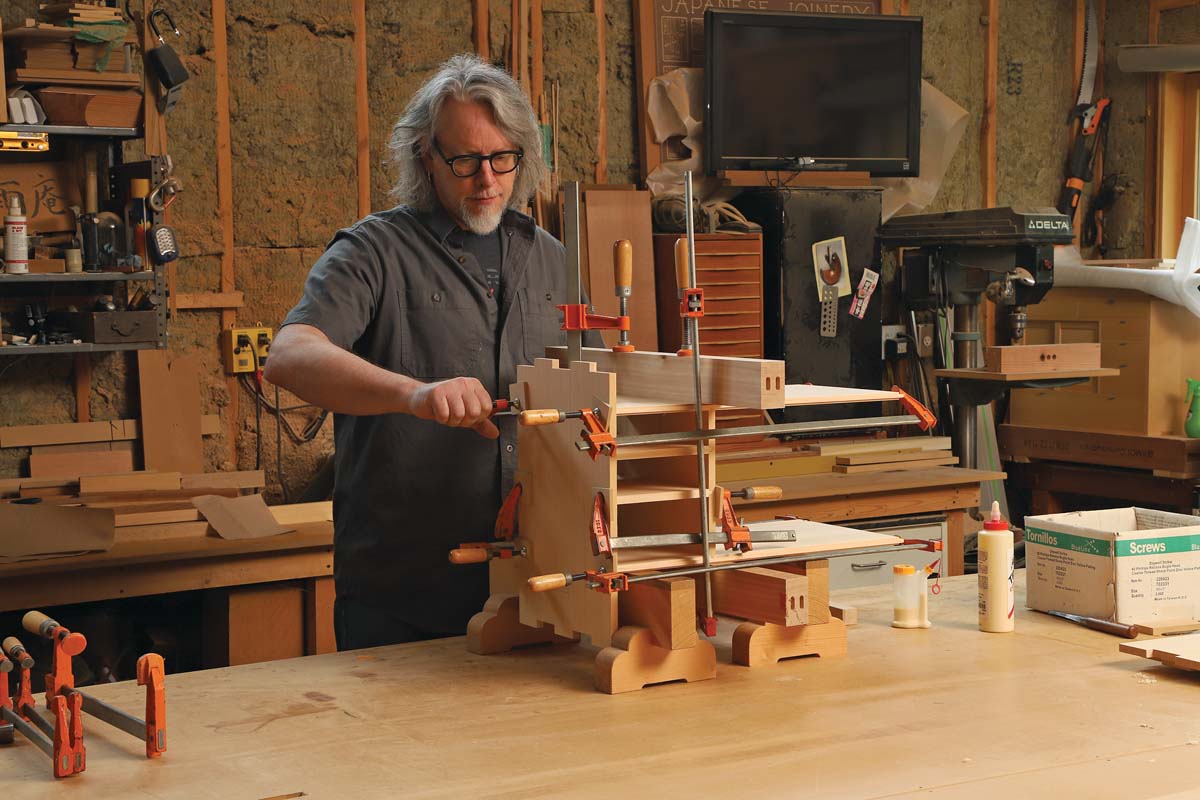 |
Assembling the innards. In the first stage of assembly (above, left and right), Cullum glues up all the interior parts and the right case side.
-This is the first of three posts for this project. Part 2: Drawers and Doors will be available on Feb 21, and Part 3: Shopmade tansu hardware on Feb 28th. Of course, if you can’t wait, the article PDF is available below, and the digital issue is available to Unlimited members now!
Sign up for eletters today and get the latest techniques and how-to from Fine Woodworking, plus special offers.
Download FREE PDF
when you enter your email address below.