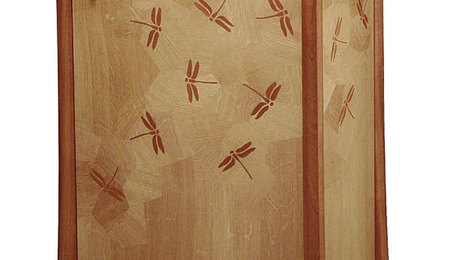
I often veneer my cabinets and tables, shop-sawing the veneer so it matches solid wood parts of a piece. And for several decades now I’ve been making lumbercore plywood as my substrate, because I find modern sheet goods frustrating. Even high-quality veneer-core plywood often comes with a bow to it, and I shy away from MDF since the heft of it can make a small cabinet weigh a hundred pounds! Lumbercore plywood, I discovered, solves both these problems and is quite straightforward to make.
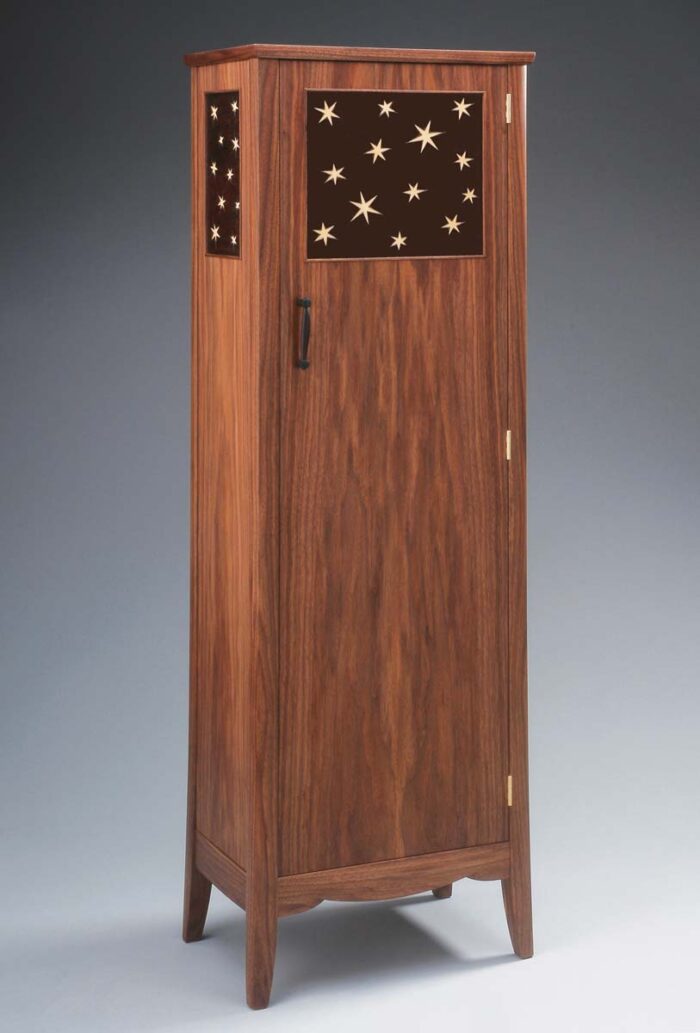
Lumbercore is a sandwich with veneers top and bottom and solid-wood sticks, or staves, laid side-by-side in between. Its crossband veneers limit the movement of the staves, which, instead of being edge-glued, are placed together dry and separated by very small gaps that allow them to expand and contract independently. The result is a panel in a relaxed and stable state, and history has shown that it stays that way.
I was first exposed to lumbercore when I built several tables to match originals in a Frank Lloyd Wright home in Buffalo, N.Y. The original tabletops were veneered over a lumbercore substrate with a mitered solid-wood frame. You’d think movement across the width of the table would blow the miters apart. But evidence from a table in the museum showed the miters as tight as the day they were assembled.
In addition to the proven stability of the product, the advantages of using lumbercore are threefold: You can choose the exact thickness of the panel, it is lightweight, and it stays dead flat!
Staves
My lumbercore plywood has narrow staves of solid basswood sandwiched between pieces of 1⁄16-in. poplar veneer. This crossband veneer is laid so its grain runs perpendicular to the staves.
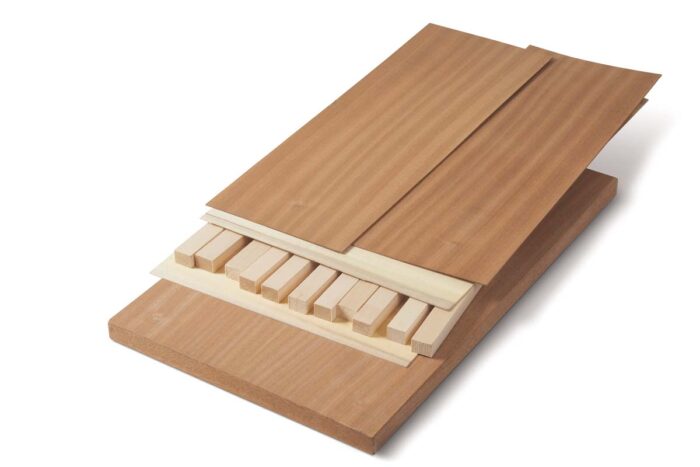
Then the face veneer is applied with its grain perpendicular to the crossband veneer, so parallel with the staves.
I use basswood for the staves because it is readily available, lightweight, and has little movement for a hardwood. Poplar would be another good choice. To determine the thickness of the staves, start with the final thickness of the panel and subtract the thickness of the face and crossband veneers.
I stack the four pieces of veneer and use calipers to gauge their total thickness. In the case of the panel I’m making here, they total 1⁄4 in. To end up with a 7⁄8-in. finished panel, I subtract the 1⁄4-in. veneer thickness and arrive at a stave that’s 5⁄8 in. thick. If you are using commercial face veneer, gauge accordingly; the thinner veneer will require thicker staves to achieve a given panel thickness.
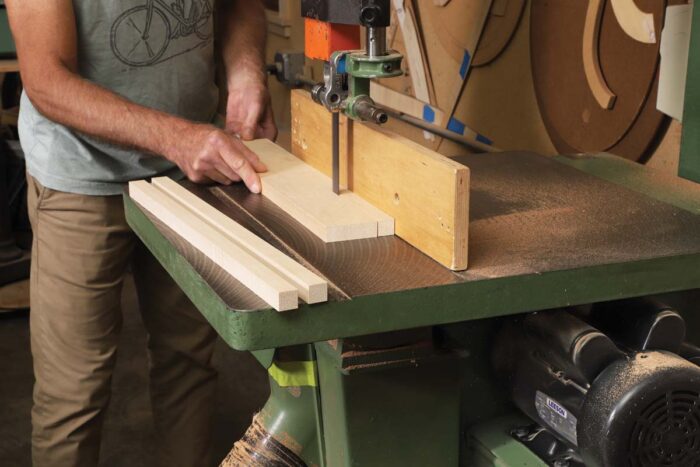
Once the stave stock is milled to thickness, I rip it into 3⁄4-in.-wide staves at the bandsaw. I don’t joint the blank between cuts, since the staves won’t be edge-glued and their rough-sawn edges will help create the small expansion gaps between them. I crosscut the staves 1 in. longer than the finished panel.
Crossband veneer
I used to bandsaw my own poplar veneer for the crossband layer, but since I use lumbercore so often, I now purchase wide sheets of 1⁄16-in. poplar from a veneer supplier (certainlywood.com) to always have it available.
Size the crossband veneer so its width matches the length of the staves, and so its length matches the width of all the staves when they are lightly pushed together.
Gluing up the core
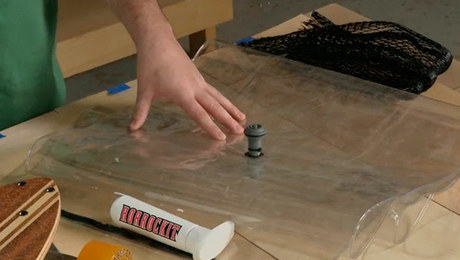
I use polyurethane glue to adhere the crossband veneer to the staves, because it does not introduce any moisture to the assembly. I want my lumbercore to be stress-free, and a water-based glue could create an imbalance if I inadvertently applied more glue to one side than the other.
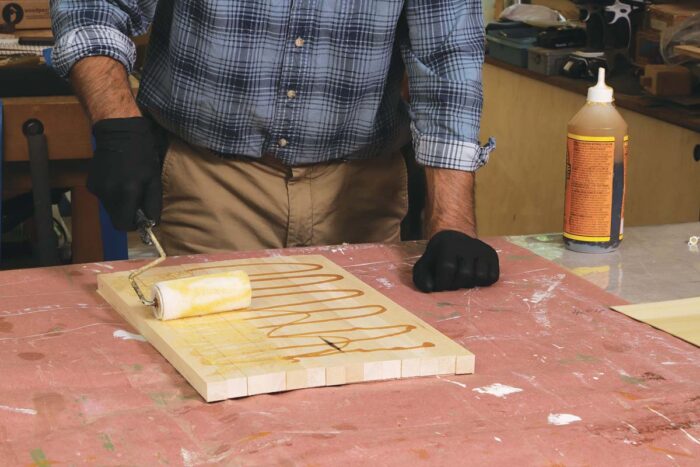
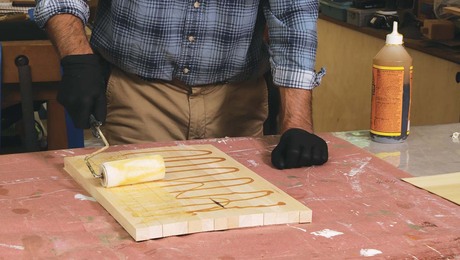
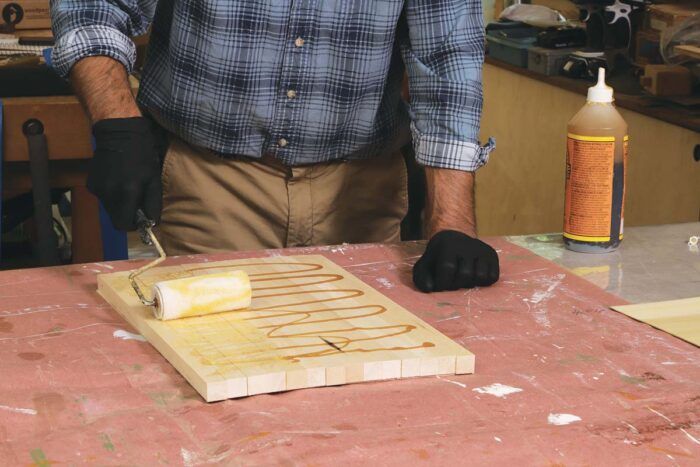
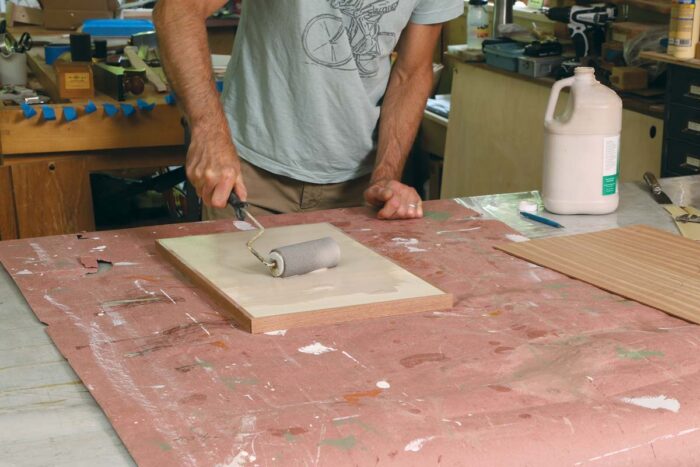
With the staves pressed together, I squeeze the polyurethane onto the surface and spread it with a low-nap roller cover made for adhesives. I use a roller as opposed to a card because I can spread a more uniform coating. All that is needed for a good bond is a thin glaze of adhesive on the staves. Avoid using too much.
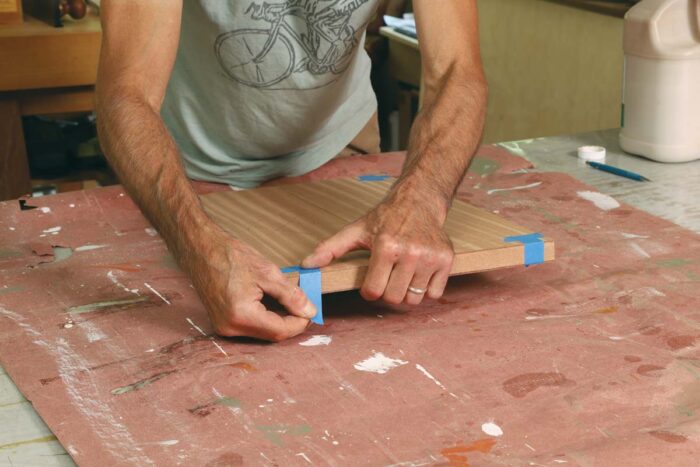
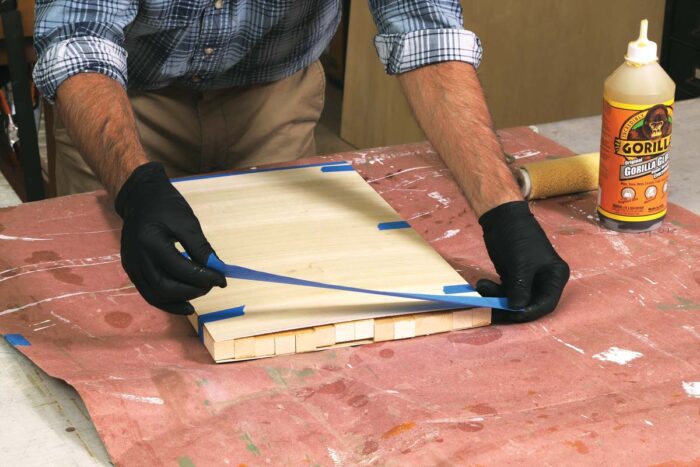
Polyurethane can be messy, and I do not want it sticking to the inside of my vacuum bag. To keep the glue contained, I surround the perimeter with wide blue tape and wrap the taped-up panels with newspaper.
 |
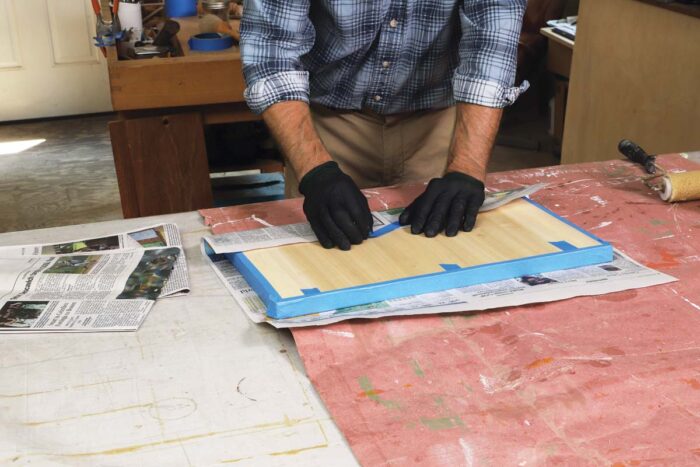 |
Panels stay in the vacuum press for two hours. When they emerge, I stand them upright for several more hours so that air circulates on both sides. At the end of the workday, I stack the panels on top of each other and cover the stack with a piece of plywood. If panels were left to sit on the bench with one side exposed as they cured, the exposed side would respond to the ambient humidity and could begin to warp.
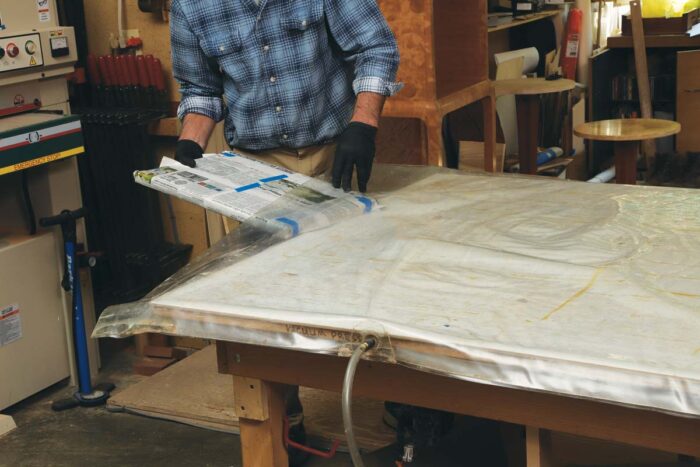 |
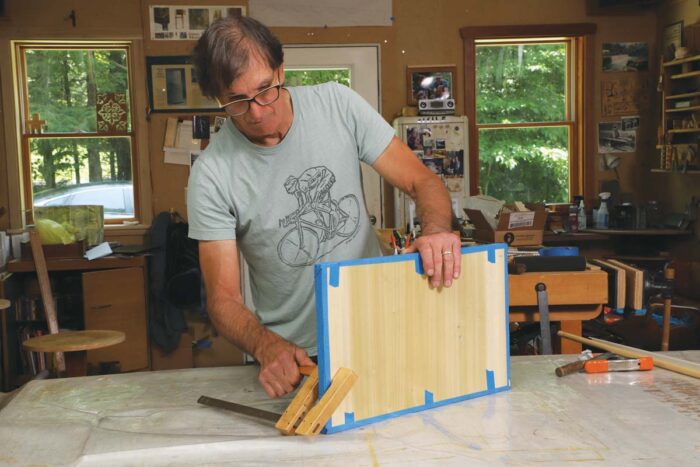 |
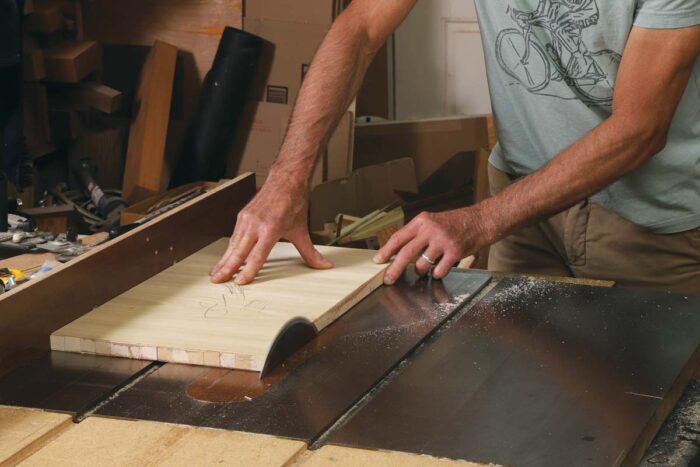
Once cured, the panels are trimmed to size and made ready for face veneers.
 |
 |
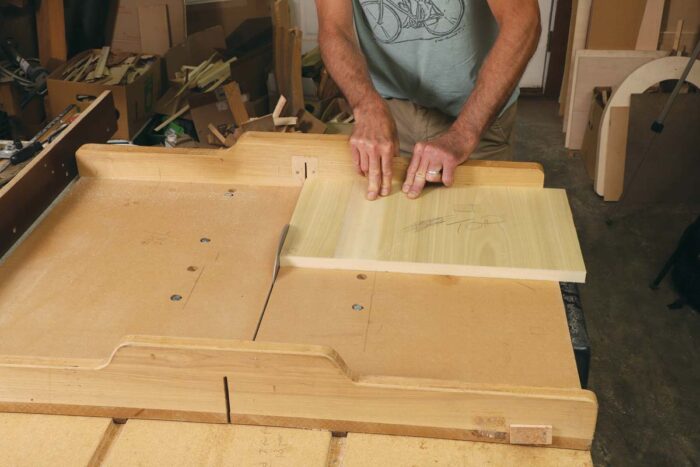 |
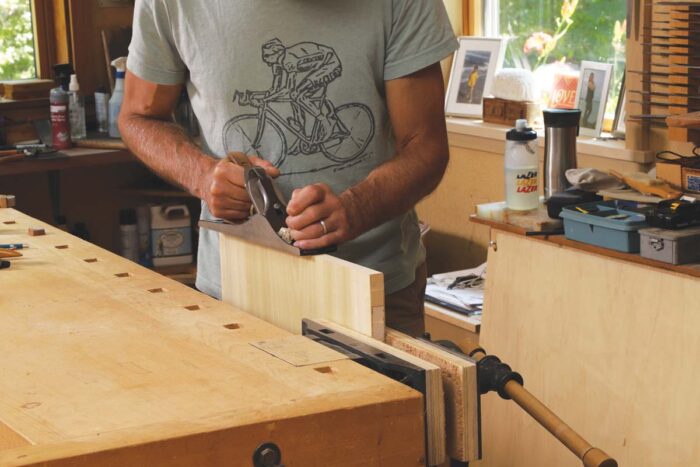
| Use a hand plane to trim the veneers flush to the stave on one side of the panel. Then, with the trimmed edge against the table-saw fence, rip the panel to width. Finally, use a crosscut sled to cut it to length. | ||
Captured edge banding
Many of my designs call for captured edge-banding. This is solid edging that goes on after the crossband veneers but before the face veneers, which cover the edging top and bottom.
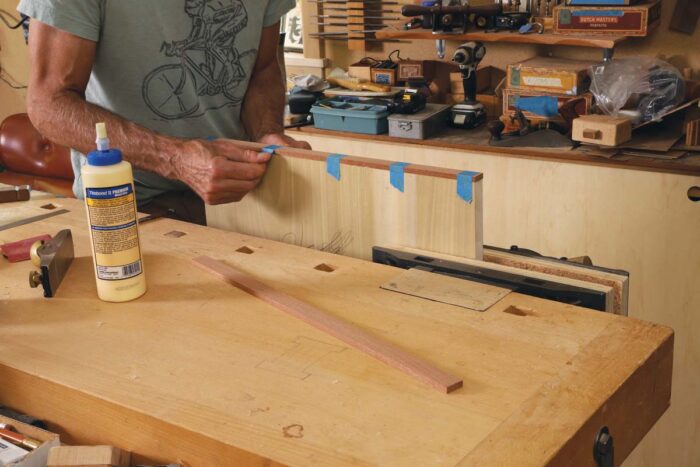
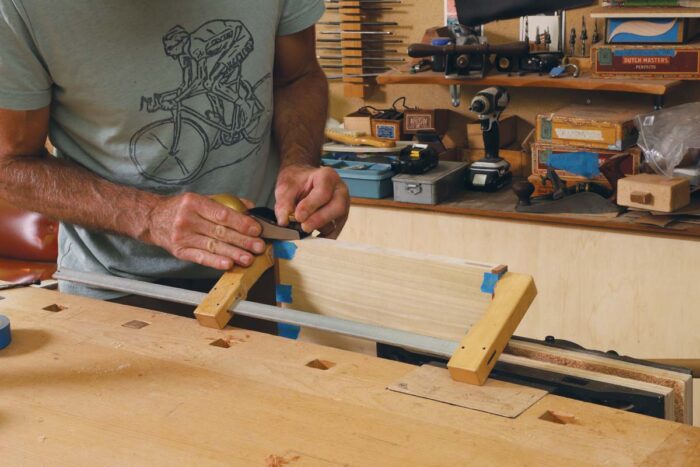
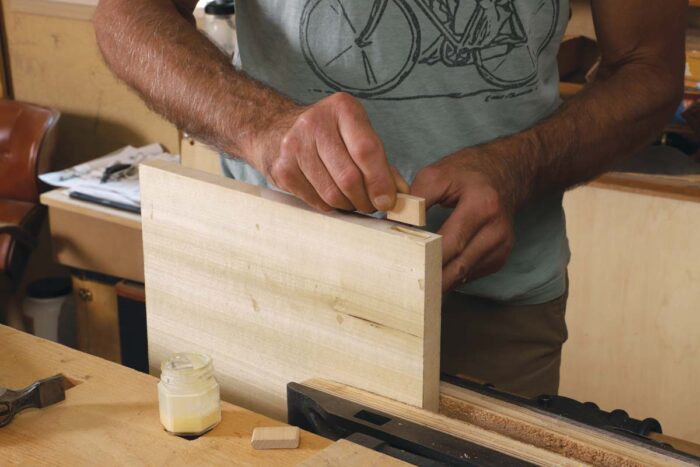
I glue the edging to the substrate, tape it in place, and flush it to the surface when dry. On the sides where the edging is glued to the end grain of the staves, the crossband veneers provide just a thin layer of long-grain glue surface, but once the face veneers are applied, the edging is locked in place.
 |
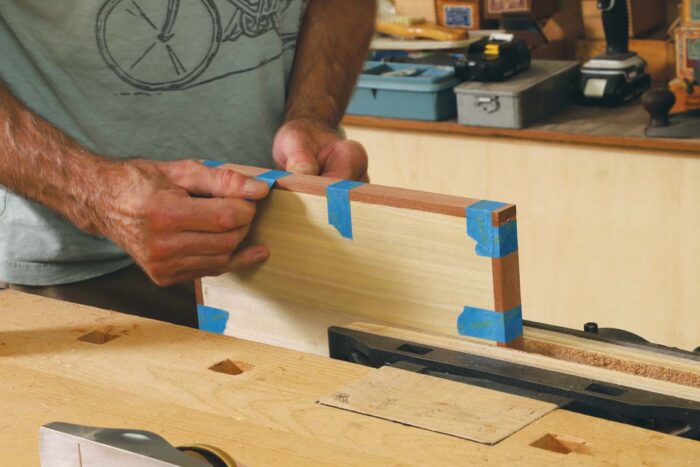 |
I mill the edge stock 3⁄8 in. thick. For captured edge-banding I want a final thickness of 1⁄4 in., since anything much thicker than that has the potential to telegraph through the face veneer. But I make it 1⁄8 in. thicker initially to allow for trimming the panel to final size.
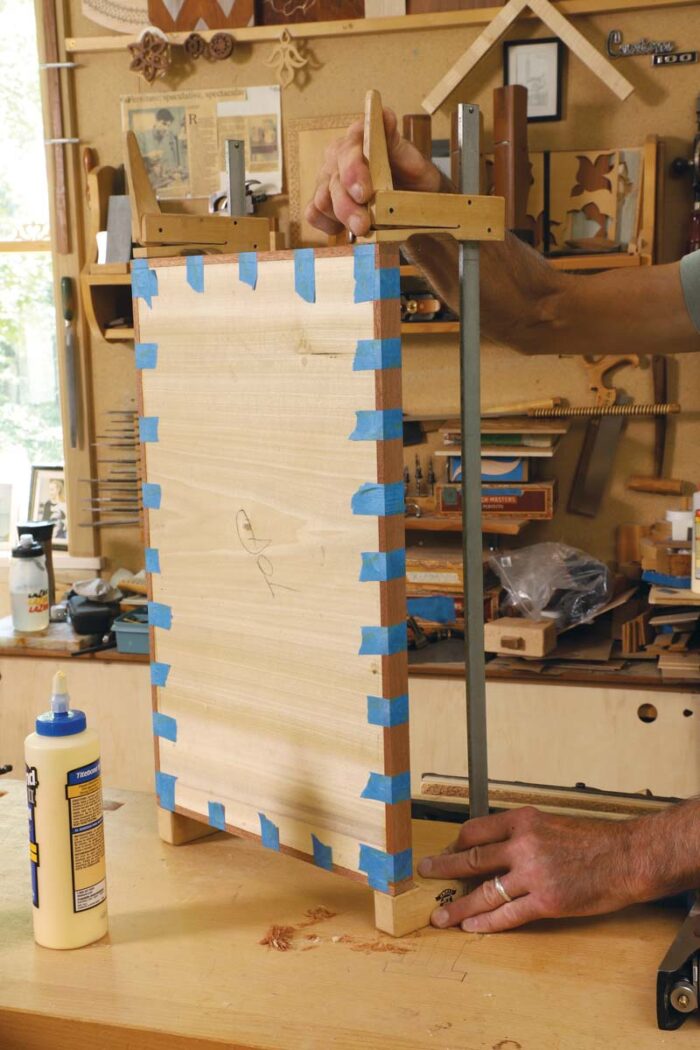
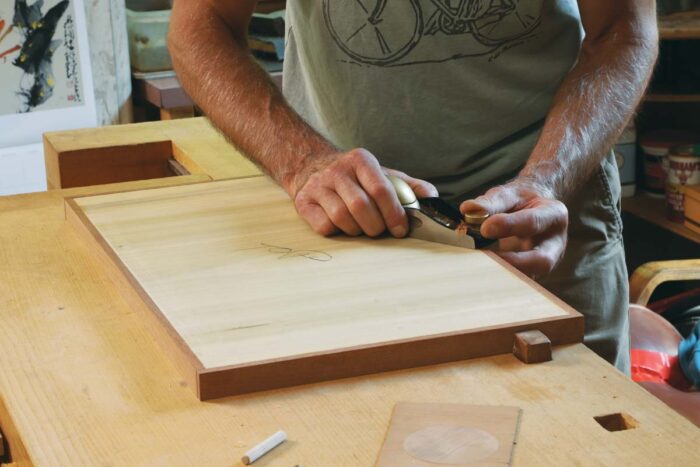
An alternative treatment is applied edge-banding, which goes on after the face veneers. Here the banding can be thicker because it is not covered by face veneers so there’s no worry about telegraphing. However, applied banding glued to the ends of a lumbercore panel has scant long grain to adhere to—only the edge of the crossband veneers. To improve the bond, I mill a 1⁄4-in. tongue on these bandings and cut a corresponding groove in the substrate.
|
|
|
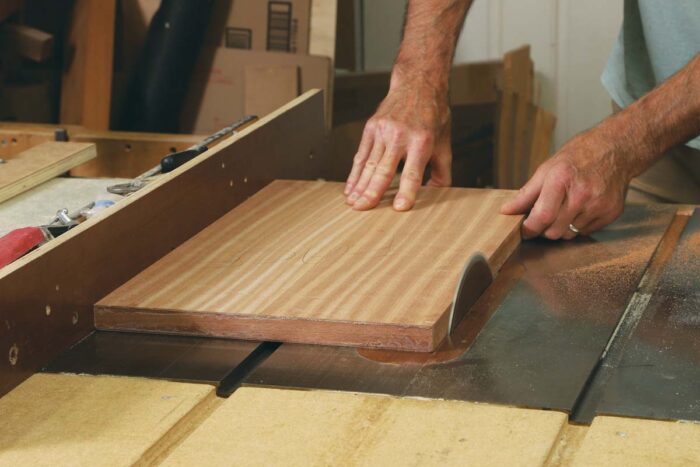
For door panels, I take additional measures for hinge screws. The basswood staves at the heart of lumbercore do not hold screws well, particularly when they are driven into end grain. To provide additional screw purchase, I cut a mortise into the core where there will be screws and insert a maple plug, which is then covered by the edge-banding.☐
Timothy Coleman builds furniture and teaches woodworking in Shelburne Falls, Mass.
Sign up for eletters today and get the latest techniques and how-to from Fine Woodworking, plus special offers.

